Kodeclik Blog
How to make a Roblox game
Roblox games cater to a wide range of interests and preferences. Players can explore virtual worlds, solve puzzles, engage in epic battles, or simply socialize with friends in imaginative environments.
What is an Obby?
An obby, short for obstacle course, is a popular genre of game on Roblox where players navigate through a series of challenging obstacles to reach a specific goal or endpoint. Obbies typically require precise jumps, timing, and sometimes puzzle-solving skills, offering a mix of platforming and adventure elements within a structured course designed by the game's creator.
Here is a step-by-step guide to build your first Obby game using Roblox studio. We will also write code in Lua to add some features to your game.
Step 1: Getting started with Roblox Studio
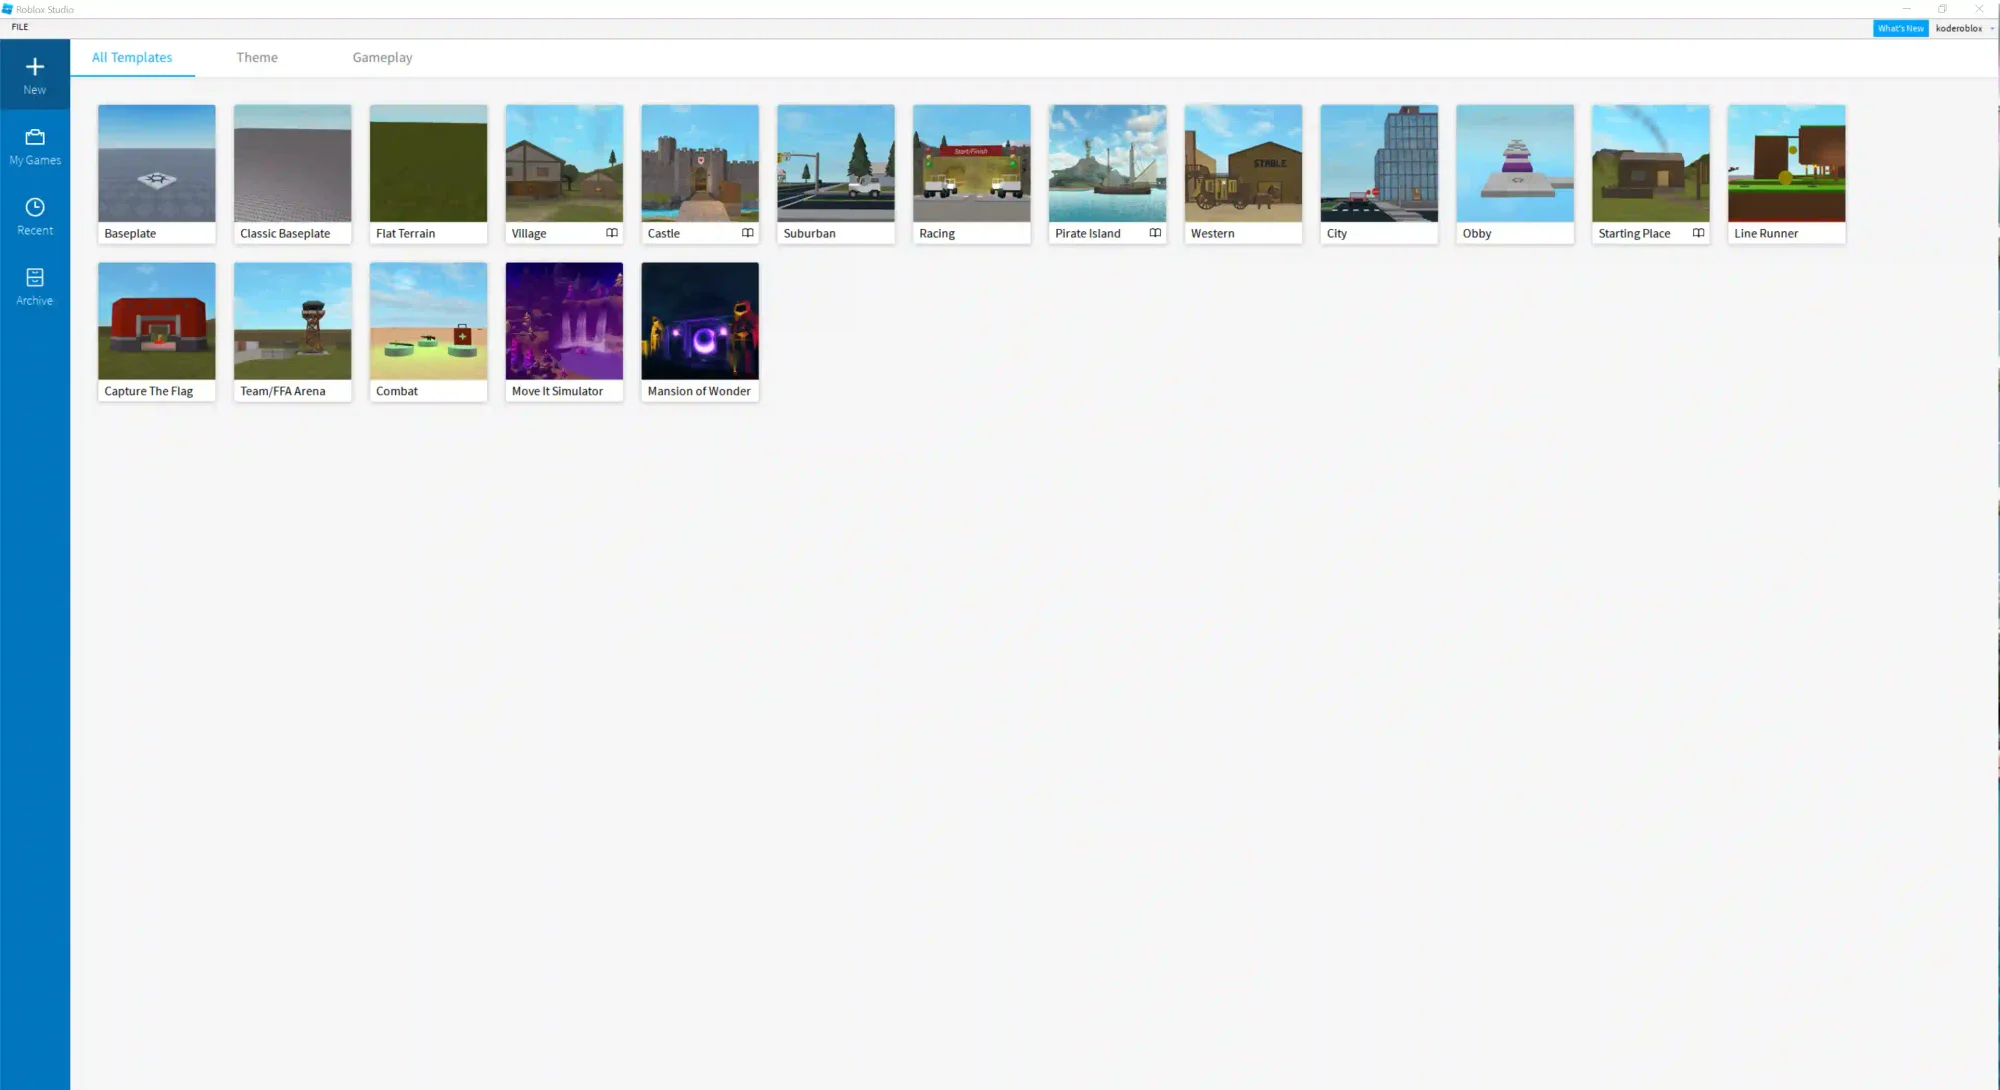
We will be using Roblox Studio and the starter Obby to make our very own roblox game. If you don’t have Roblox Studio you can download it for free at: https://www.roblox.com/create. Once you have logged in/signed up, go to the “New” tab and select “Obby”. We will be using this game as a starter for our very own!
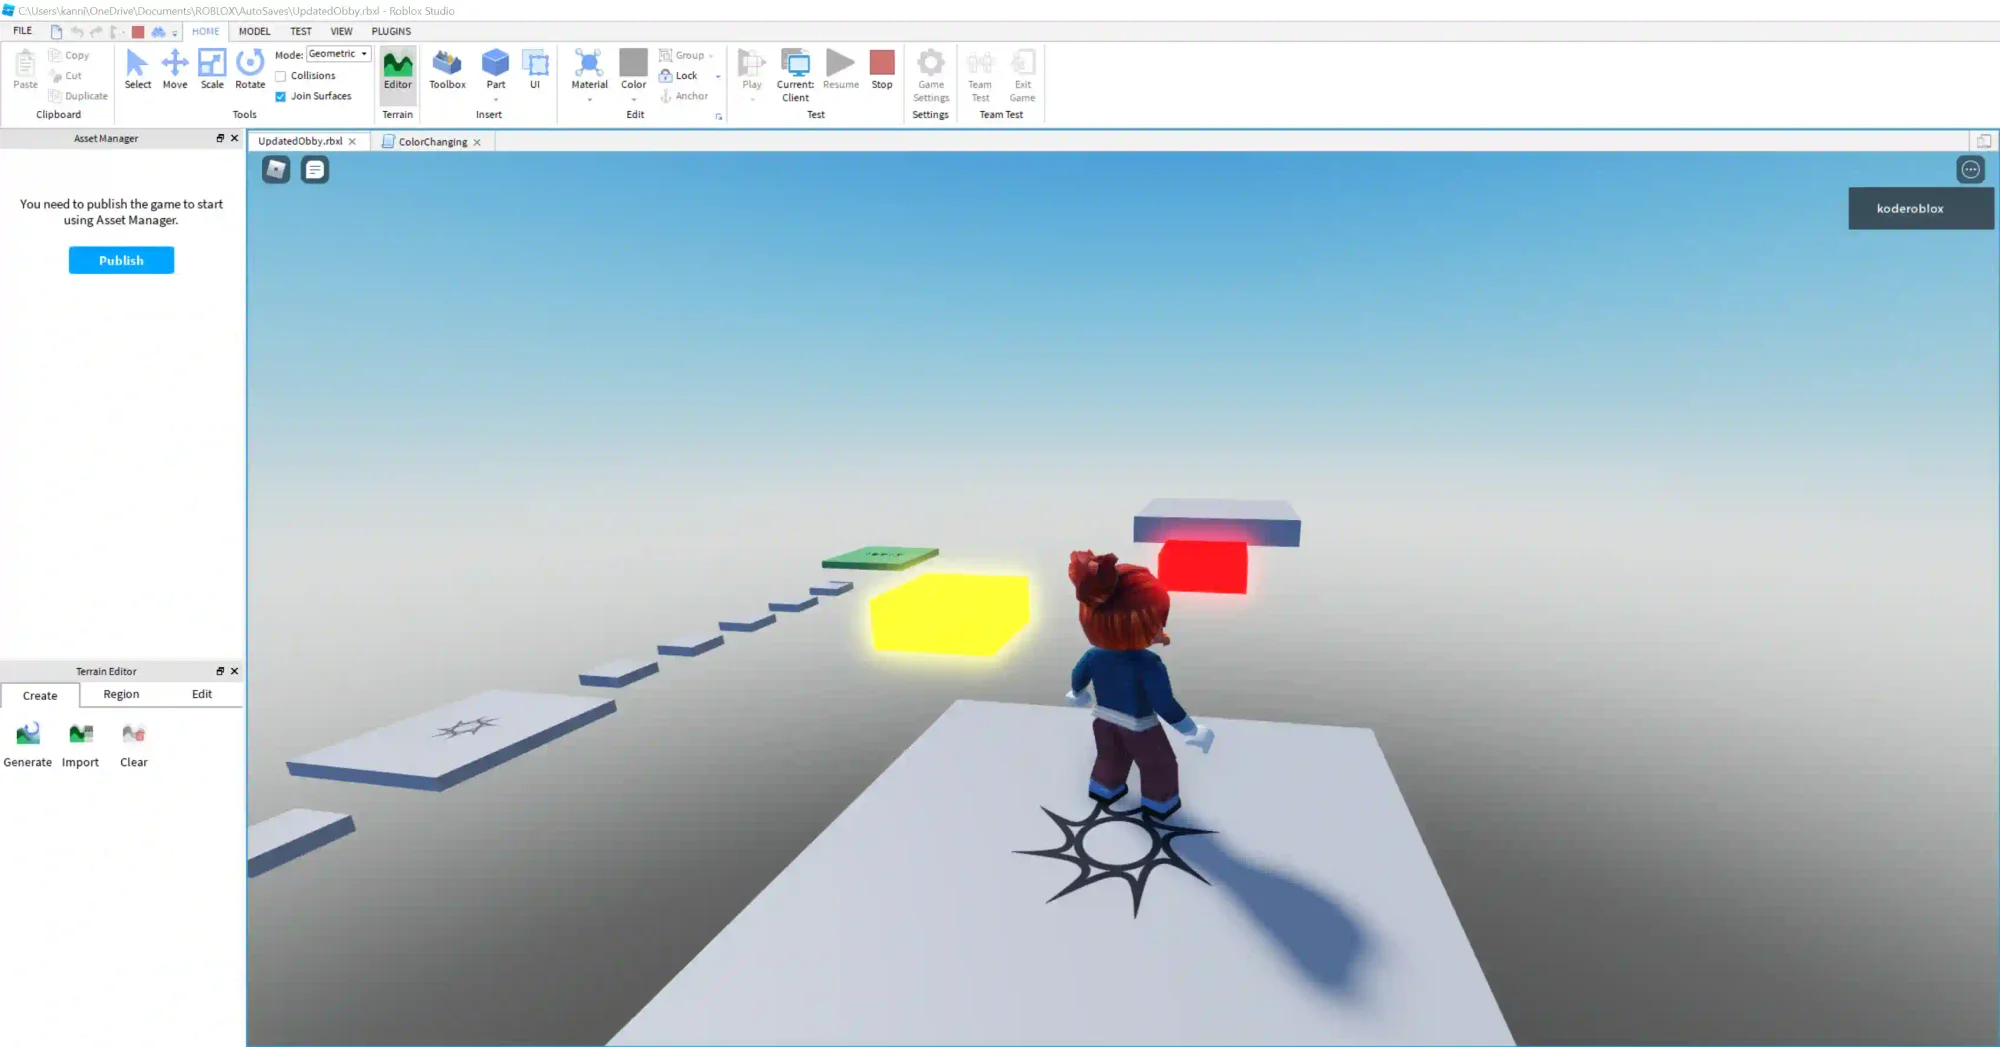
We will extend this game to add a moving platform and a bomb. The goal of this extension will be for the player to get onto the moving platform, then jump on the bomb, and before it goes off, jump to safety!
Step 2: Beginning your Roblox game setup
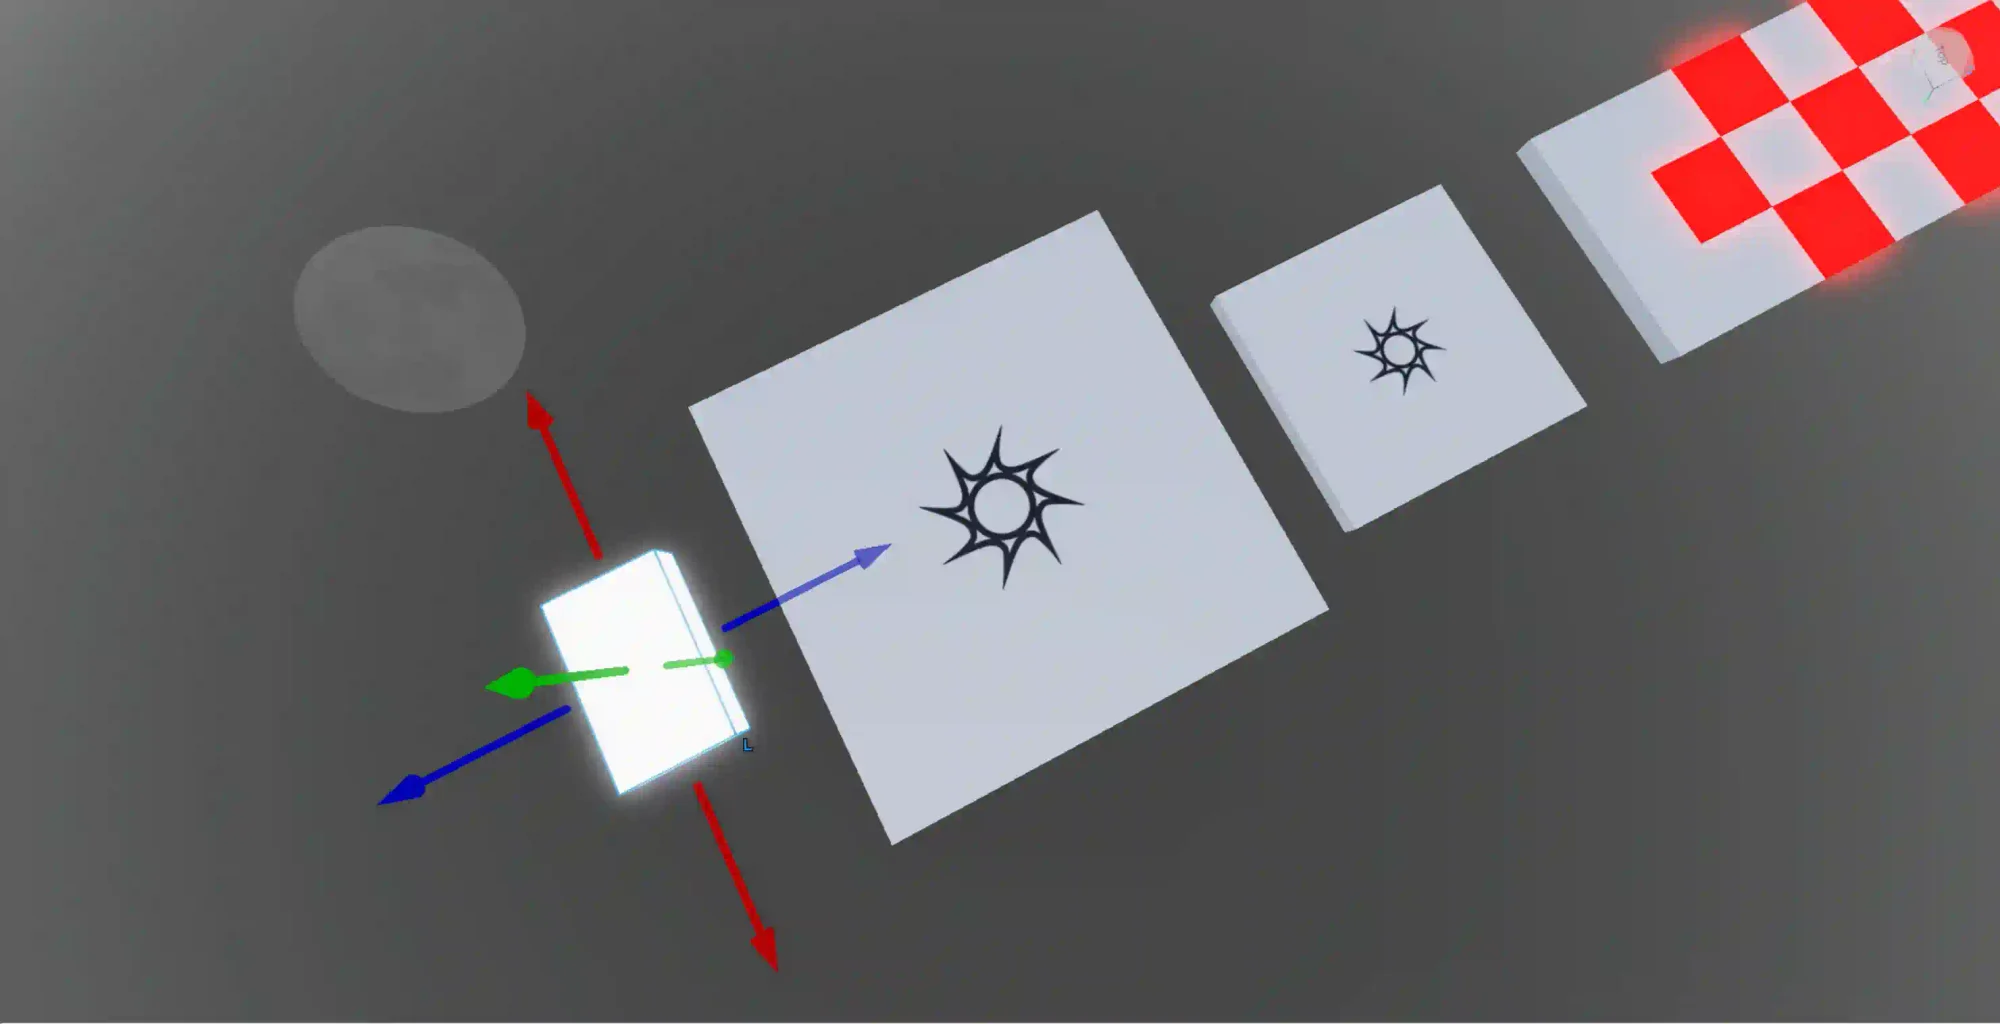
The first thing we will do after opening our game in Roblox Studio is to add some new parts for our extensions. Click the part button and insert a block. Use the move tools to move it in front of the final checkpoint. Scale it to be a bit bigger and click the material button to change the material to neon. Your project should look like the picture below:
Step 3: Adding more parts to the Obby
Next, let us add two more parts. Add a part identical to the part you just added but instead of a random color, make the color red (remember the material must be neon). Next, click on one of the checkpoints (shift click to select the blocks around it) and the blocks should show up in the Explorer Menu. If you do not see the Explorer menu with all the parts, go to the top menu, click “View”, and click the very first option labeled “Explorer”.
Once the checkpoint opens up in the Explorer Menu, right click on it and select Duplicate (Alternatively you could copy and paste the parts using command/control c and v). Drag the duplicated checkpoint in front of the neon red part added before.
Note: All the added blocks must be within jumping distance of each other.
Step 4: Renaming your parts
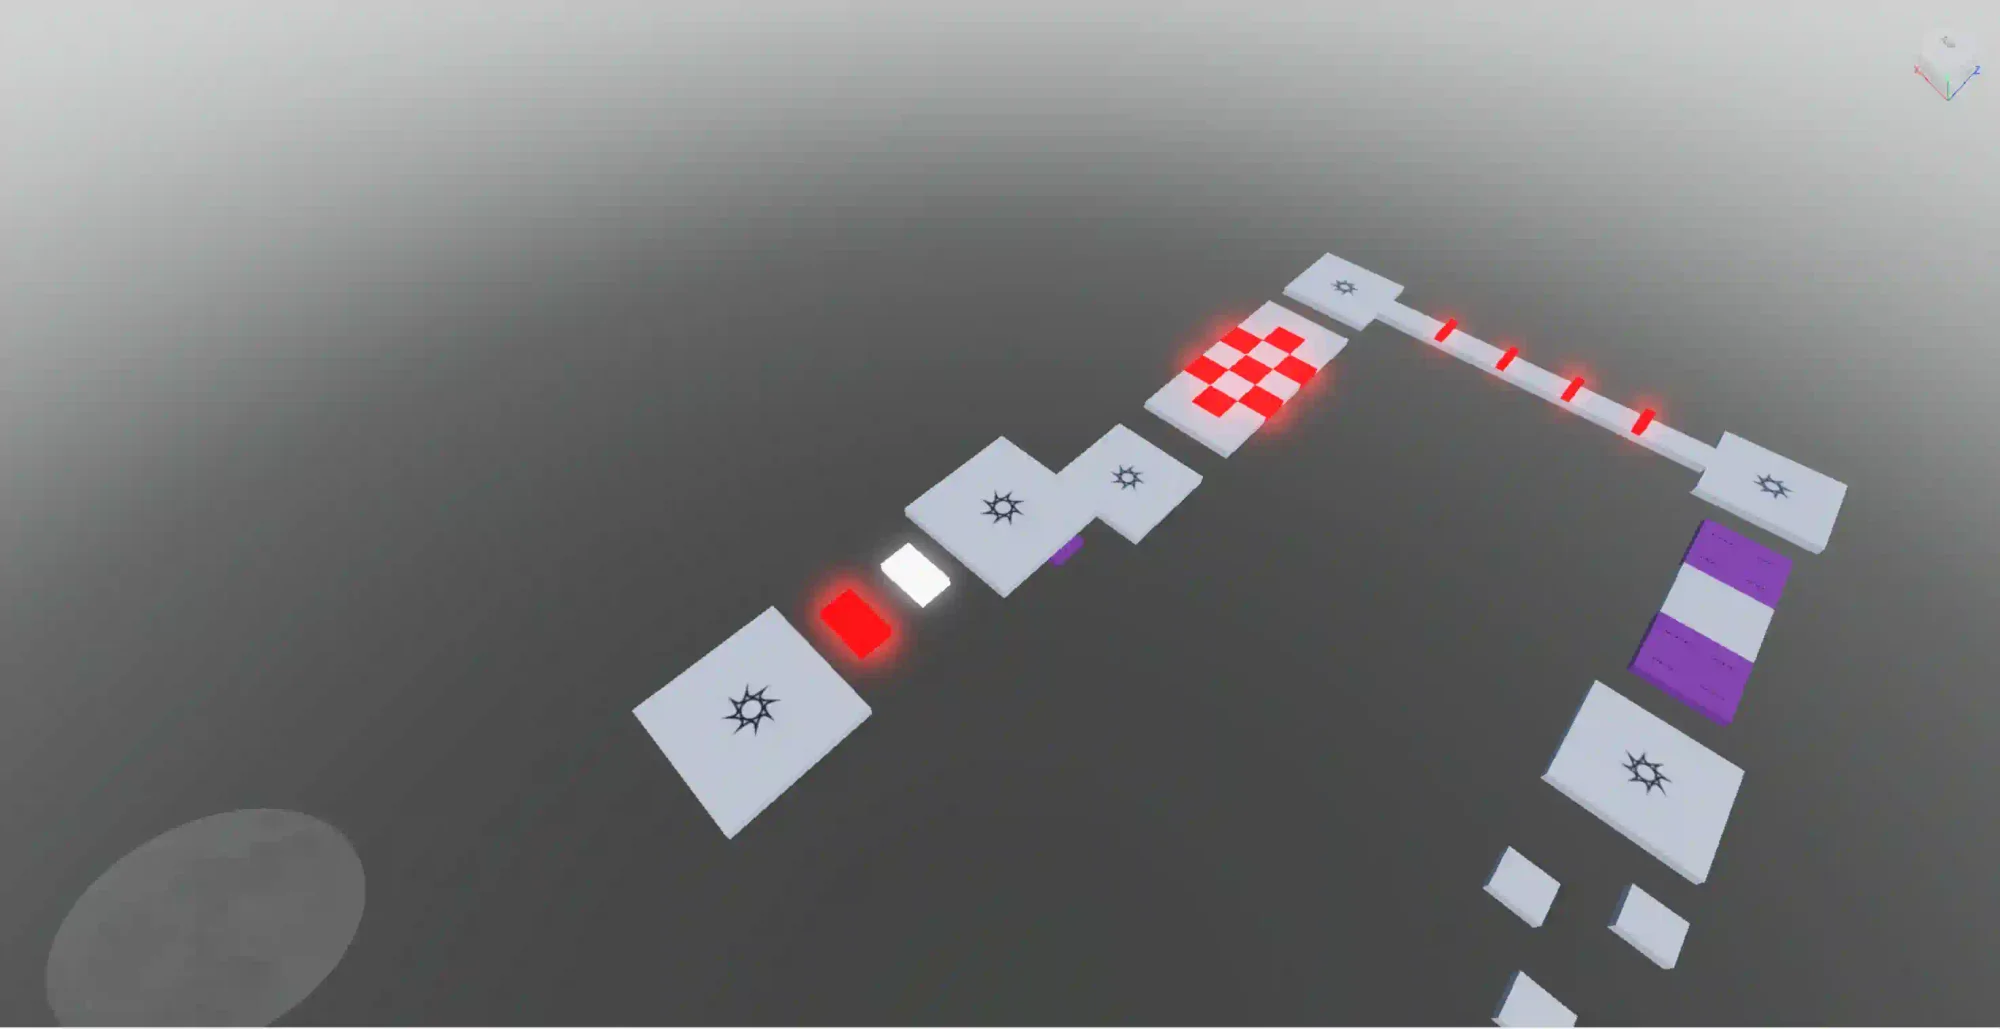
Let us rename these parts for better reference. To rename, right click on the object in the Explorer Menu and click “Rename”. To locate a part in the Explorer Menu, remember to click on it in the editing window and it will show up. Rename the first part to “Moving Brick”, rename the second part to “Bomb”, and rename the third and final part (the duplicated checkpoint) to “End” (Unless of course you are going to add more to this Obby after this project!).
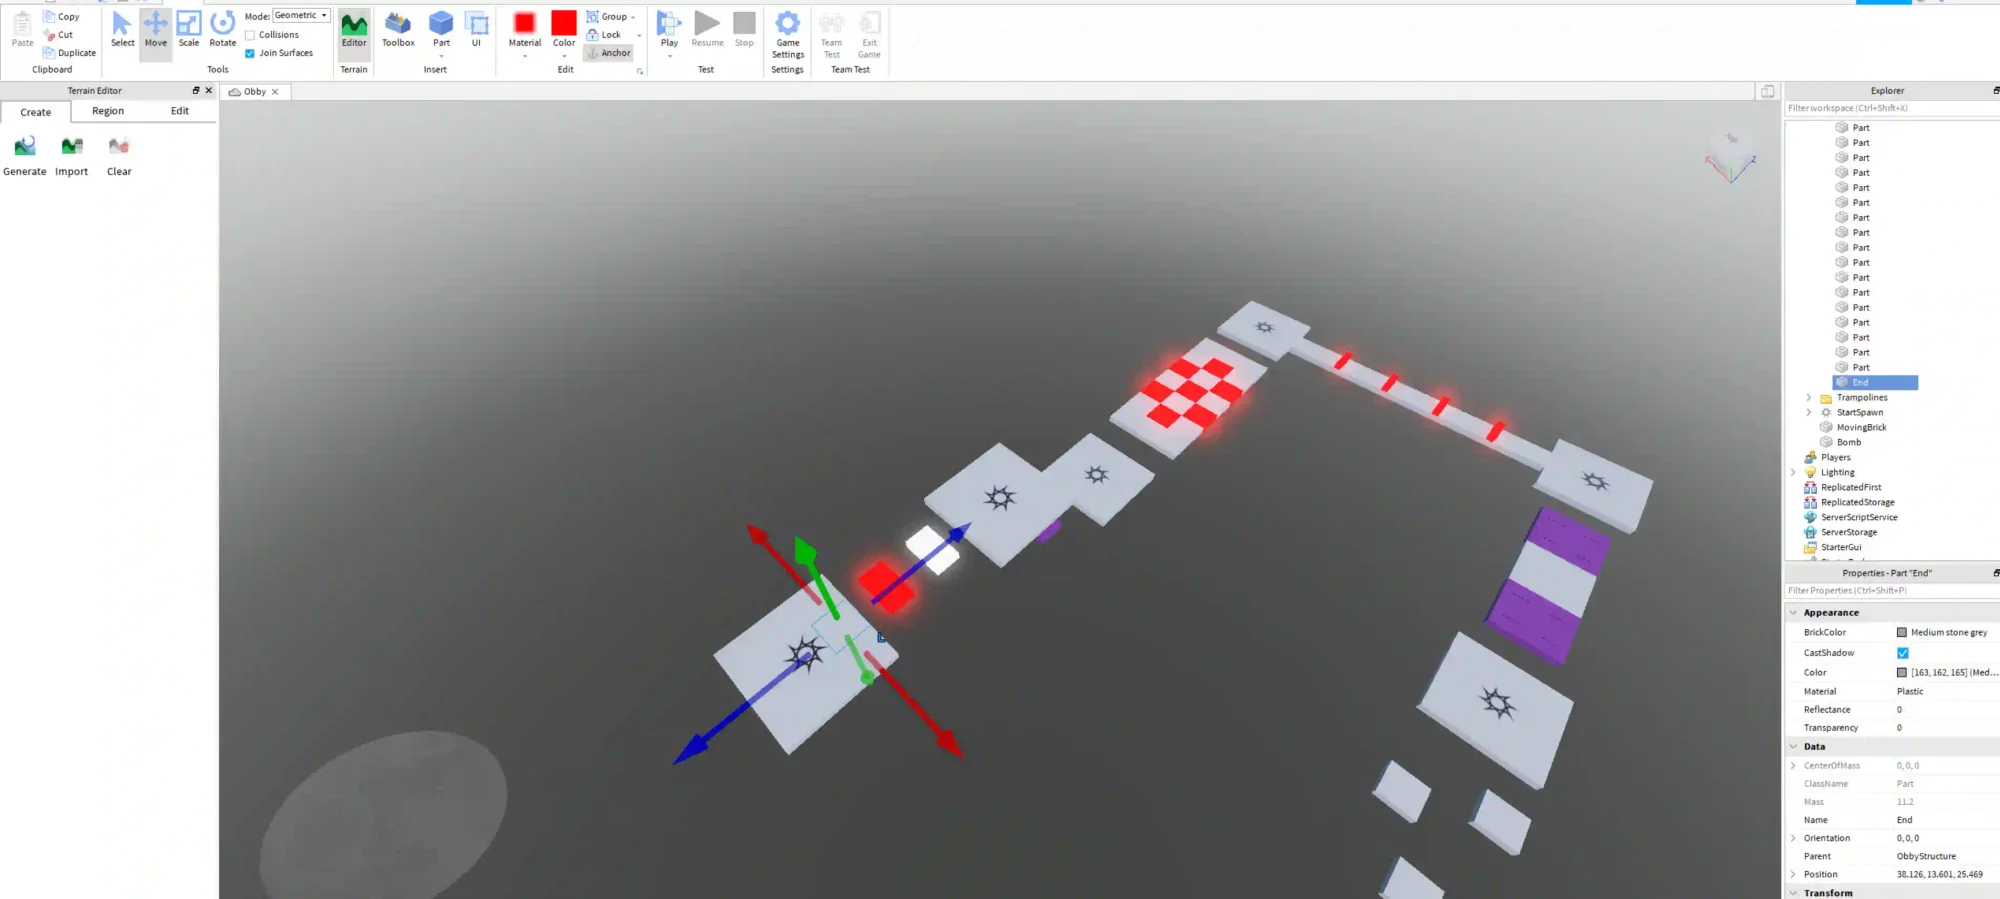
Since we are adding our extension to the end of the game, to test our project it would be cumbersome to start at the beginning and take minutes of parkour and respawning to just test a part of our game. To fix this problem let us move the start block where we want to test our game as shown below. Since we have this feature, remember to test your game at regular intervals!
Step 5: Making the game interesting

Now let us think about what we would like to do. To start, let us make the Moving Brick turn invisible. Then, when we step on a checkpoint part it will be shown again. Go to the Properties Menu (go to “View” and then “Properties” to open it) and set the transparency to one. Also set CanCollide and CanTouch to false. Run your game and you will not be able to see or even touch the block.
Next, create a script by right clicking on Moving Brick and delete any code already in there. Name this script (Right click on the script to rename) “Moving”. We want the part to move along the X-axis so we will create a variable called pos storing the initial position. Then, we will add or subtract to the X-value to move it.
We will place this code in a while loop to make it move forever (since it is going forever non stop, the movement will basically be instantaneous. To stop this instantaneous movement, we will add a wait for the smallest amount of time). Finally, let’s use pos which is our original position to detect if we are too far away and to switch from moving left to moving right or vice - versa (we will do this by negating the amount we want to move so if we want to move forward by one but have to move backwards we will move forwards by negative one).
local dir = 1
local block = script.Parent
local pos = block.Position

local time = 1

while true do

	block.Position = block.Position + Vector3.new(1 * dir, 0, 0)
	wait(0.001)

	if (block.Position.X >= pos.X + 25) then
		dir = -1
	end

	if (block.Position.X <= pos.X - 25) then
		dir = 1
	end

end
Step 6: Color changing script
Next add a new script to Moving Brick and call it “ColorChanging”. This script will constantly change the colors. Make a variable called time and set it to one. Next we will constantly change the Brick Color property of the part and after each change wait for a second (time) before moving one to the next. The reason we used time instead of hard numbers is so if we want to wait a little longer or a bit shorter we only have to change time and not all the wait statements.
block = script.Parent
local time = 1
local a = {"Really red", "Bright orange", "Bright yellow",
          "Bright green", "Bright blue", "Bright violet",
          "Royal purple"}

while true do

	for i = 1,7 do
		block.BrickColor = BrickColor.new(a[i])
		wait(time)
	end

end
Step 7: Adding the final checkpoint
Moving on, let us add code to the final checkpoint before the extension. Locate it by clicking the center piece with the star and locating it in the Explorer Menu. This code sets the respawn point if you touch the checkpoint. Go to where the code says “checkpoint.Value = spawn”. After a sequence of checks, this code tells the game what to do if the player touches the checkpoint: namely, set the player’s spawn to that part.
What we should also do is make the Moving Brick visible again (remember that we made it invisible and all the logic we inserted won’t make a difference if what it does is invisible). So we will set Moving Brick’s transparency, CanCollide, and CanTouch variables to their defaults. To access Moving Brick we must also make a variable that represents it. We can set this variable to the first child named Moving Brick that belongs to “Workspace”, a big folder where all the game parts are saved.
local block = workspace:FindFirstChild("New Block")
local pos = block.Position
local dir = 1

local spawn = script.Parent
spawn.Touched:connect(function(hit)

if hit and hit.Parent and hit.Parent:FindFirstChild("Humanoid") then
  local player = game.Players:GetPlayerFromCharacter(hit.Parent)
  local checkpointData =
        game.ServerStorage:FindFirstChild("CheckpointData")

  if not checkpointData then
    checkpointData = Instance.new("Model", game.ServerStorage)
    checkpointData.Name = "CheckpointData"
  end

  local checkpoint =
    checkpointData:FindFirstChild(tostring(player.userId))
  if not checkpoint then
    checkpoint = Instance.new("ObjectValue", checkpointData)
    checkpoint.Name = tostring(player.userId)

    player.CharacterAdded:connect(function(character)
      wait()
      character:WaitForChild("HumanoidRootPart").CFrame =
      game.ServerStorage.CheckpointData[tostring(player.userId)].Value.CFrame
         + Vector3.new(0, 4, 0)
    end)
  end

  checkpoint.Value = spawn

  block.Transparency = 0
  block.CanCollide = true
  block.CanTouch = true

  end
end)
Step 8: Coding the Bomb Script
Finally, let us add a script to the bomb. In this script we will check for a collision from the player, then the bomb will start flashing and suddenly explode! (Note: Make sure that all blocks are anchored as one, your project might have already gone wrong, and two, all of them will disappear in the case of an explosion).
local function onTouched(object)
local hoid = object.Parent:findFirstChild("Humanoid")
if (hoid ~= nil)then
  local player = game.Players:findFirstChild(hoid.Parent.Name)
  if (player ~= nil) then
    local part = script.Parent
    for count = 1,2 do
      part.Transparency = 1
      wait(0.2)
      part.Transparency = 0
      wait(0.2)
    end
    local explosion = Instance.new('Explosion')
    explosion.Parent = game.Workspace
    explosion.Position = part.Position
    explosion.BlastRadius = 10
  end
end
end
script.Parent.Touched:connect(onTouched)
That’s it! Try jumping on the moving platform and evading the bomb! It will be a fun and exciting challenge!
DIY: Here are more things you can do to make your Obby more interesting!
1. Add more moving platforms to make this challenge even harder!
2. Change the Blast Radius of the explosion to be bigger or smaller to make your game easier or harder.
3. Change the time it takes for the bomb to go off to change the difficulty of the game.
4. Make the platform move slower or faster
5. Make the bomb move!
Learn more about Roblox in our blogpost on Minecraft vs Roblox. Also if you like solid geometry, see our blogpost on using TinkerCAD to create Netflix on Television.
Want to learn Roblox with us? Sign up for Kodeclik's Summer Camps!
