Kodeclik Blog
TinkerCAD Tutorial: Netflix on Television
For this activity go to https://www.tinkercad.com/, click the Sign in button and select the option to either sign in with Google, Apple, or your Autodesk login. Then, click the create new design button and follow the steps listed below.
Step 1: Create a box
First, insert a box by dragging it into the project. Resize it however you like.

Step 2: Merge with another block
Add another block and make it roughly the size of the shaded block above. To get it to be shaded click on the object and select the merge button in the top right corner. Make sure the shape goes in and out of your first block!
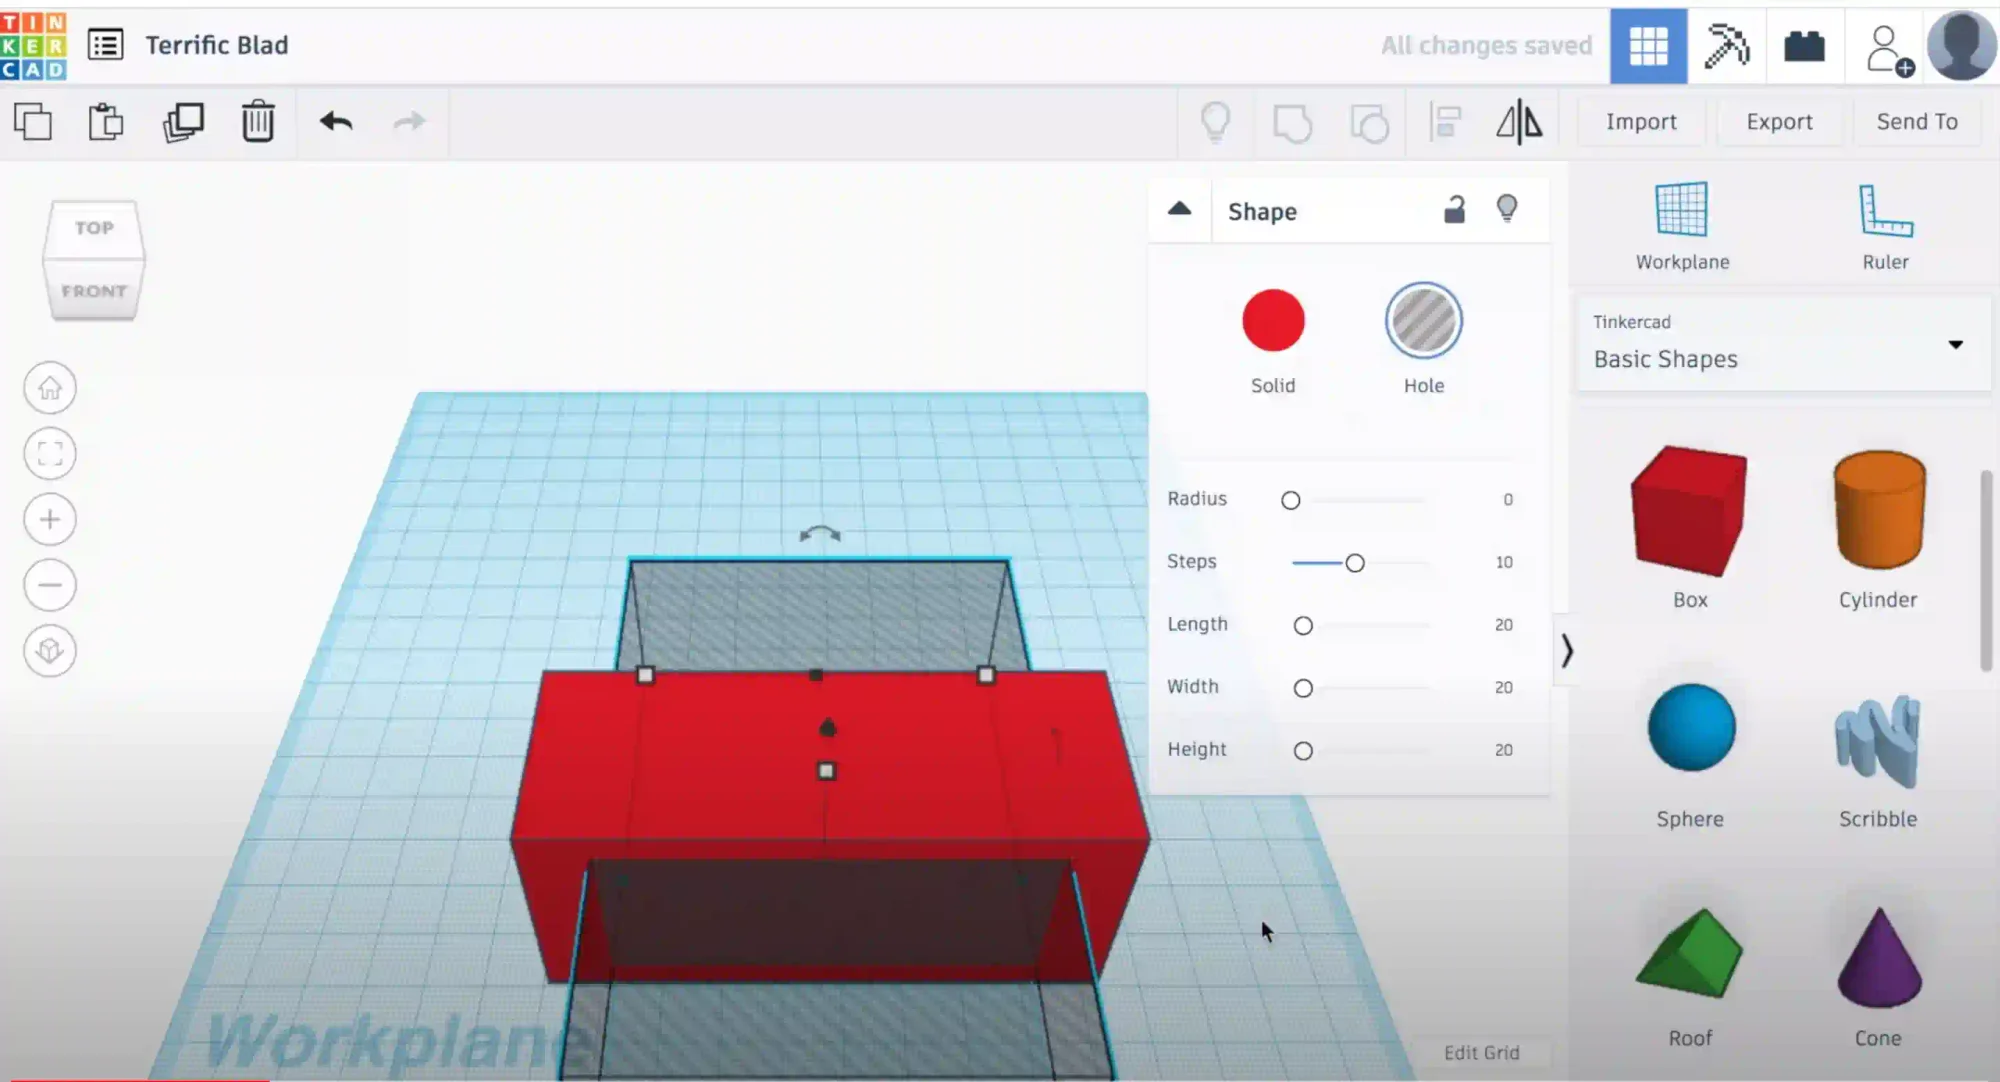
Step 3: Merge Shapes and add Pyramid
Next, shift click both the images and click the merge button. This will merge the shapes and create a shape with a hole in it. Click on the shape and change the color to whatever you want. After that, insert a pyramid (you may need to scroll through the shape options) and change the shape to be a bit wider and move it on to the other object. Change the color to whatever you wish
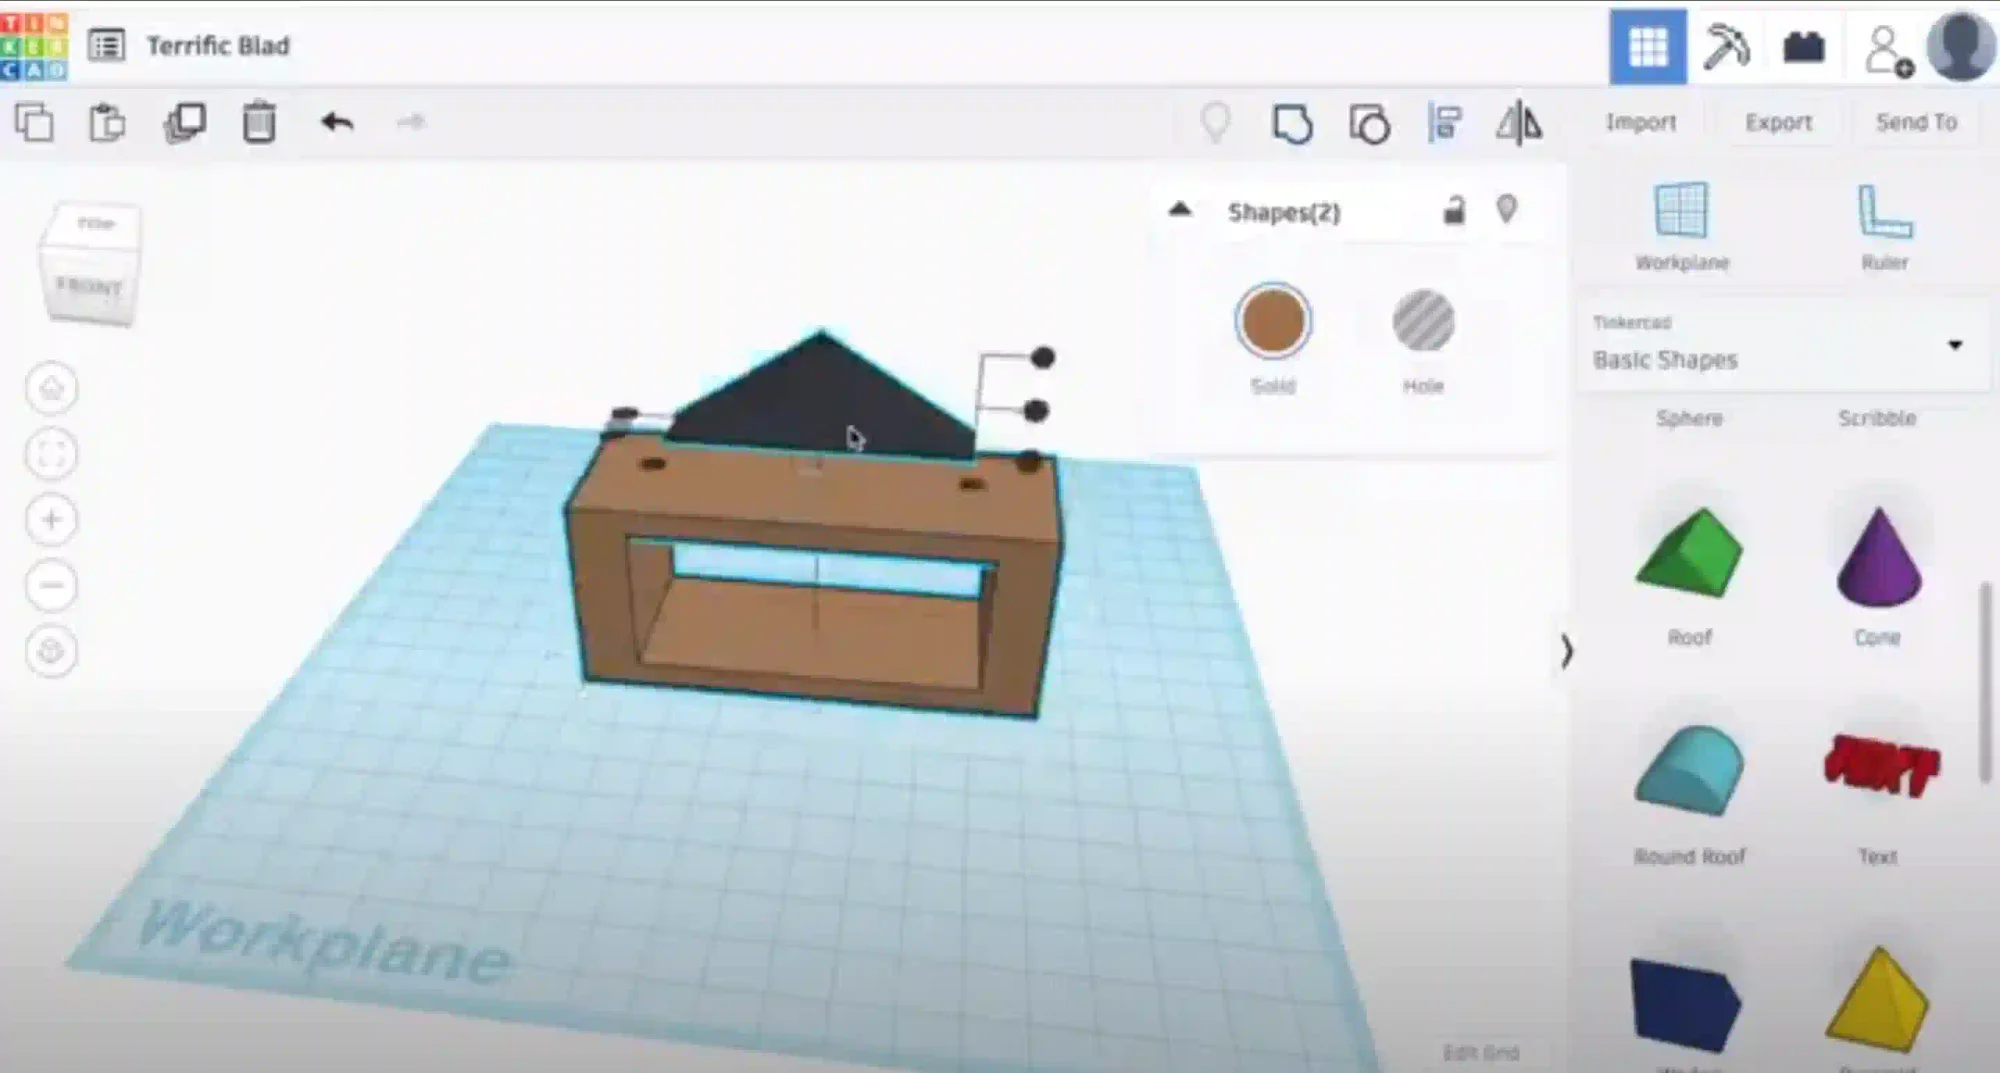
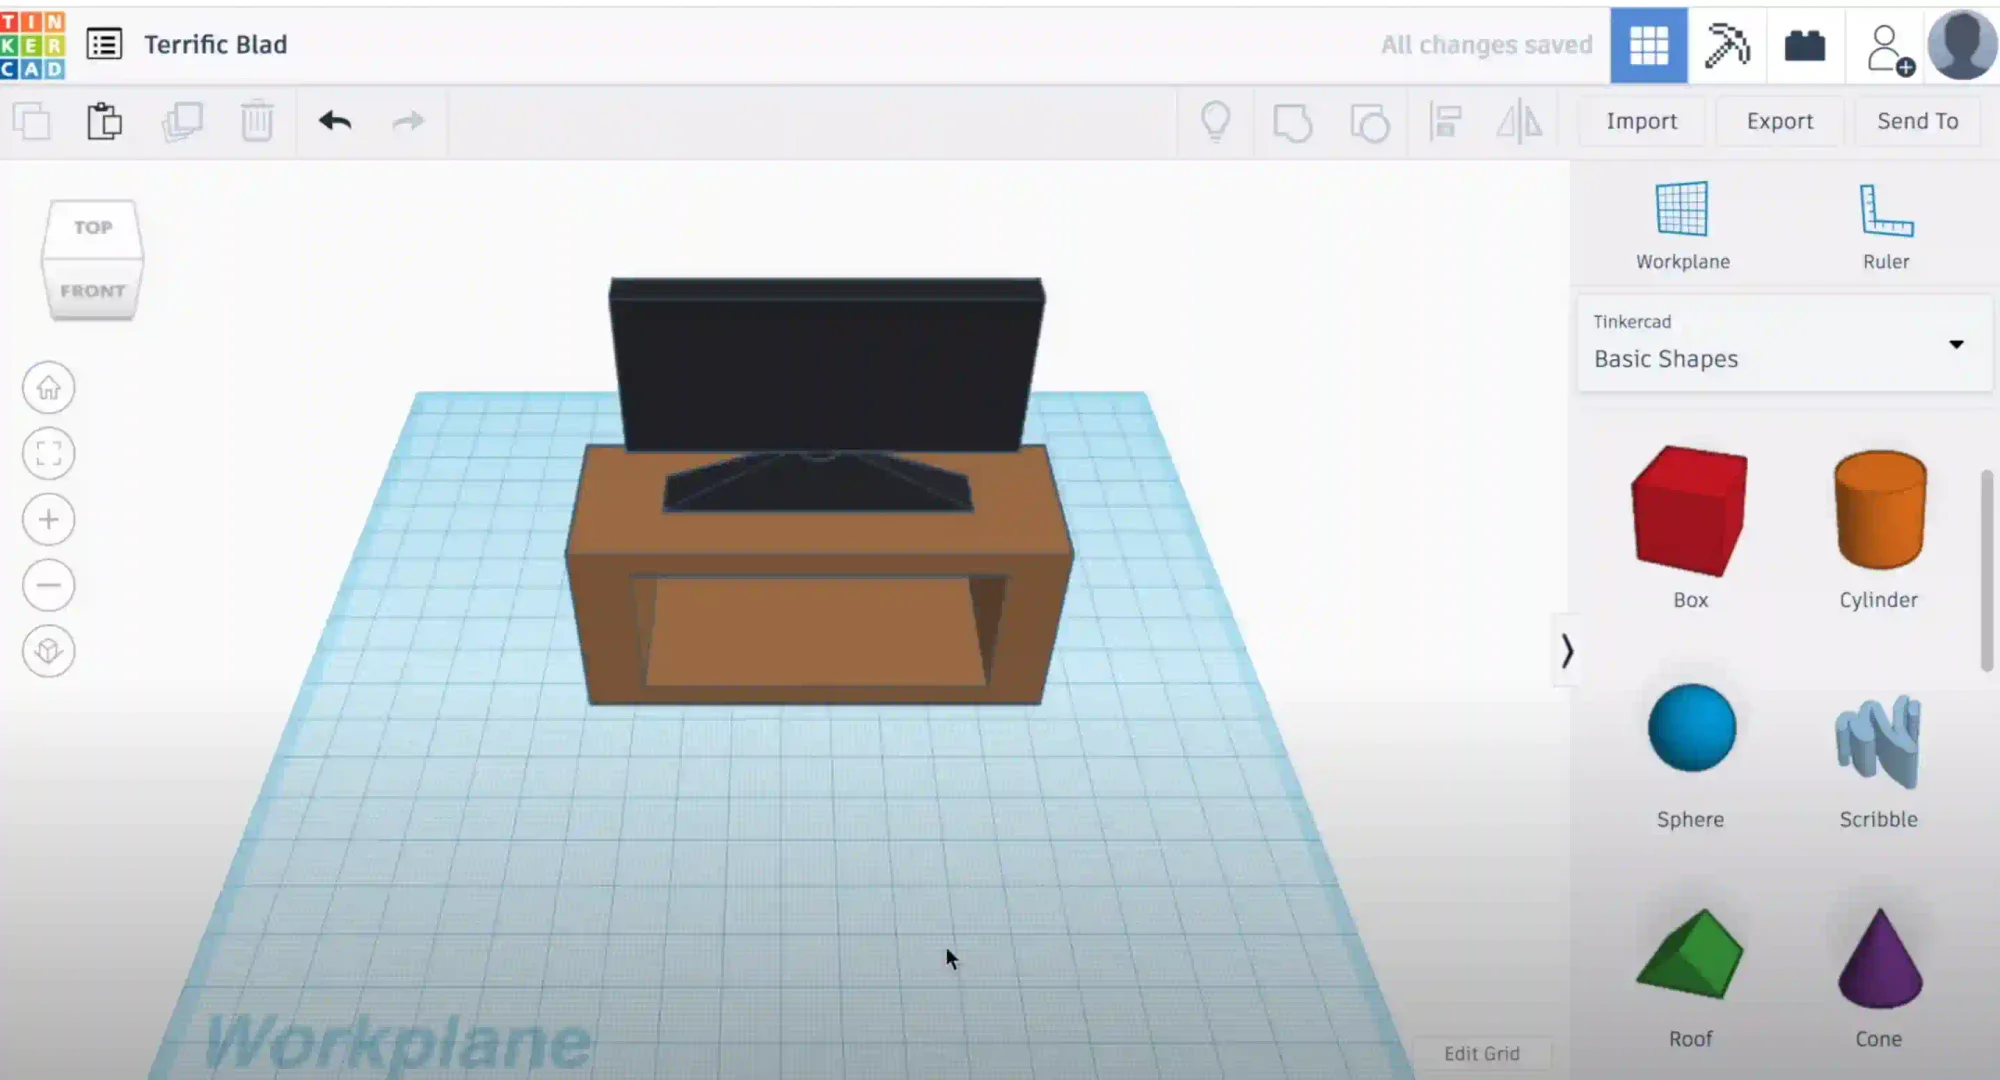
Step 4: Complete the TV
Next, add a cylinder to your project and resize it to make it thinner. After this, add the cylinder to the center of the pyramid. Next insert a box, resize it, and add it on top of the cylinder (as shown above we changed the box and the cylinder to the same color of the pyramid but it can be changed for a nice variety!)
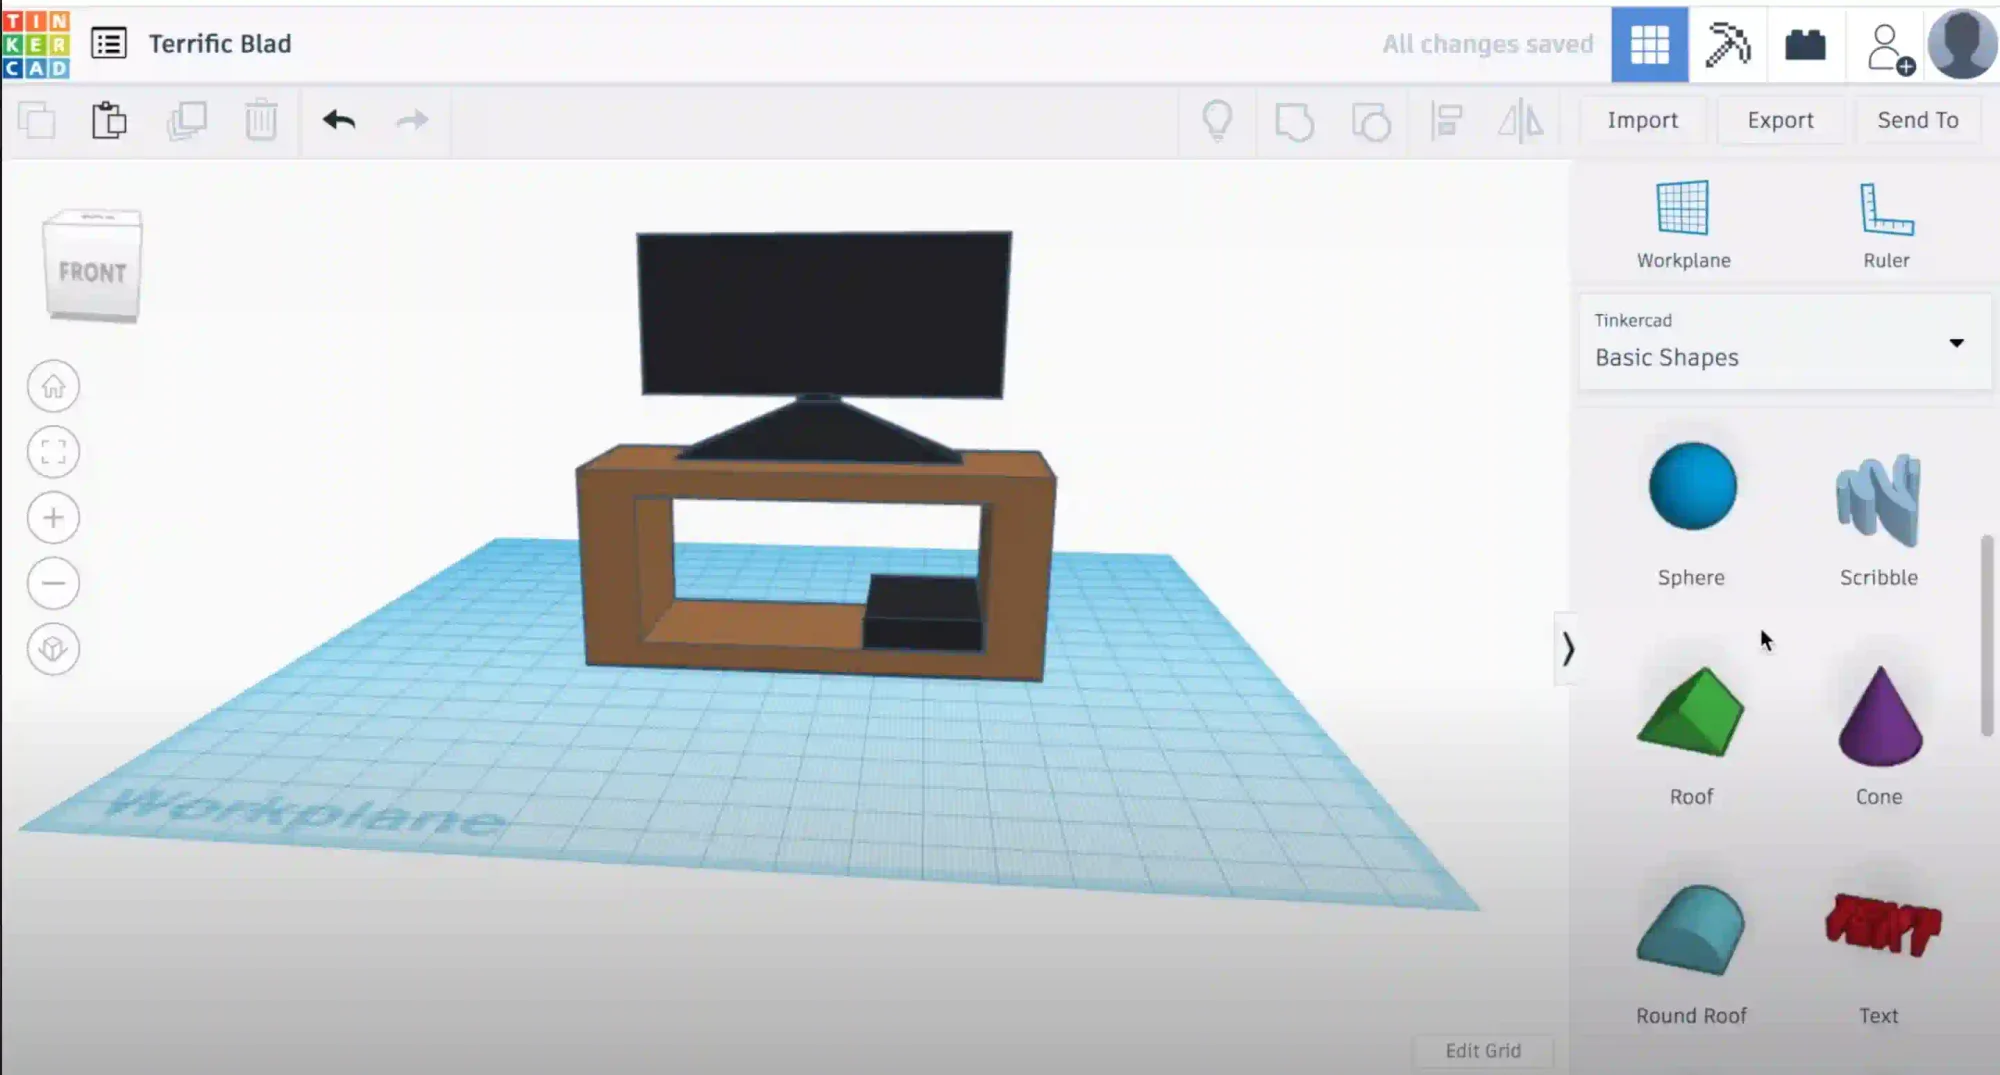
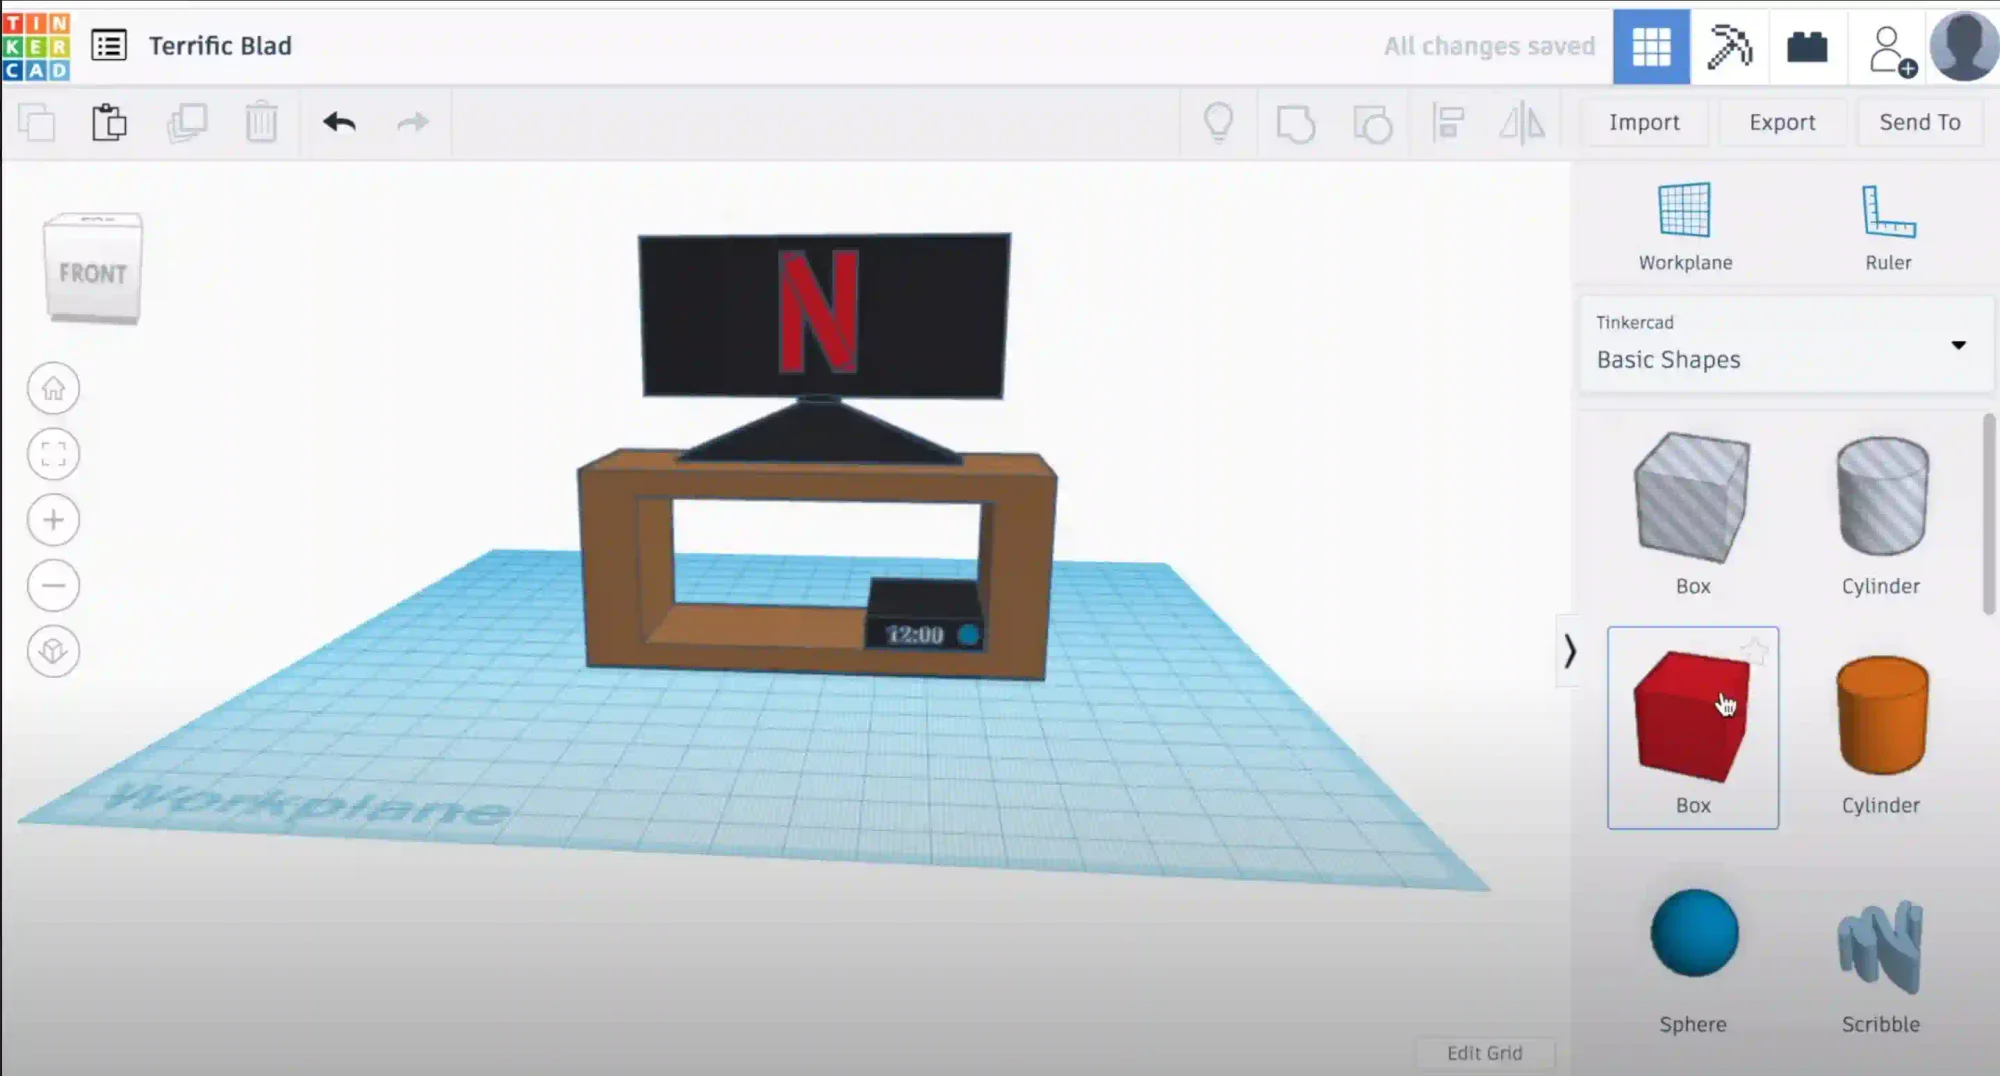
Step 5: Decorate your TV Stand
Next, insert a box and recolor it however you like. Resize the box and put it into the grouped object as shown below.
Step 6: Add Logo and Clock
Add a text block and write “12:00” and add it to the block inserted in the last step. Then, make a blue cylinder turn it on it’s side and make it’s height 0.01 (since tinkercad is 3d this is the closest you will be able to get) . Then, add the shape to the block as shown above.
Step 7: Create Remote
Finally, insert a block and make two buttons; a red one and a green one and insert them as shown below. Add blocks and duplicate them to make buttons.
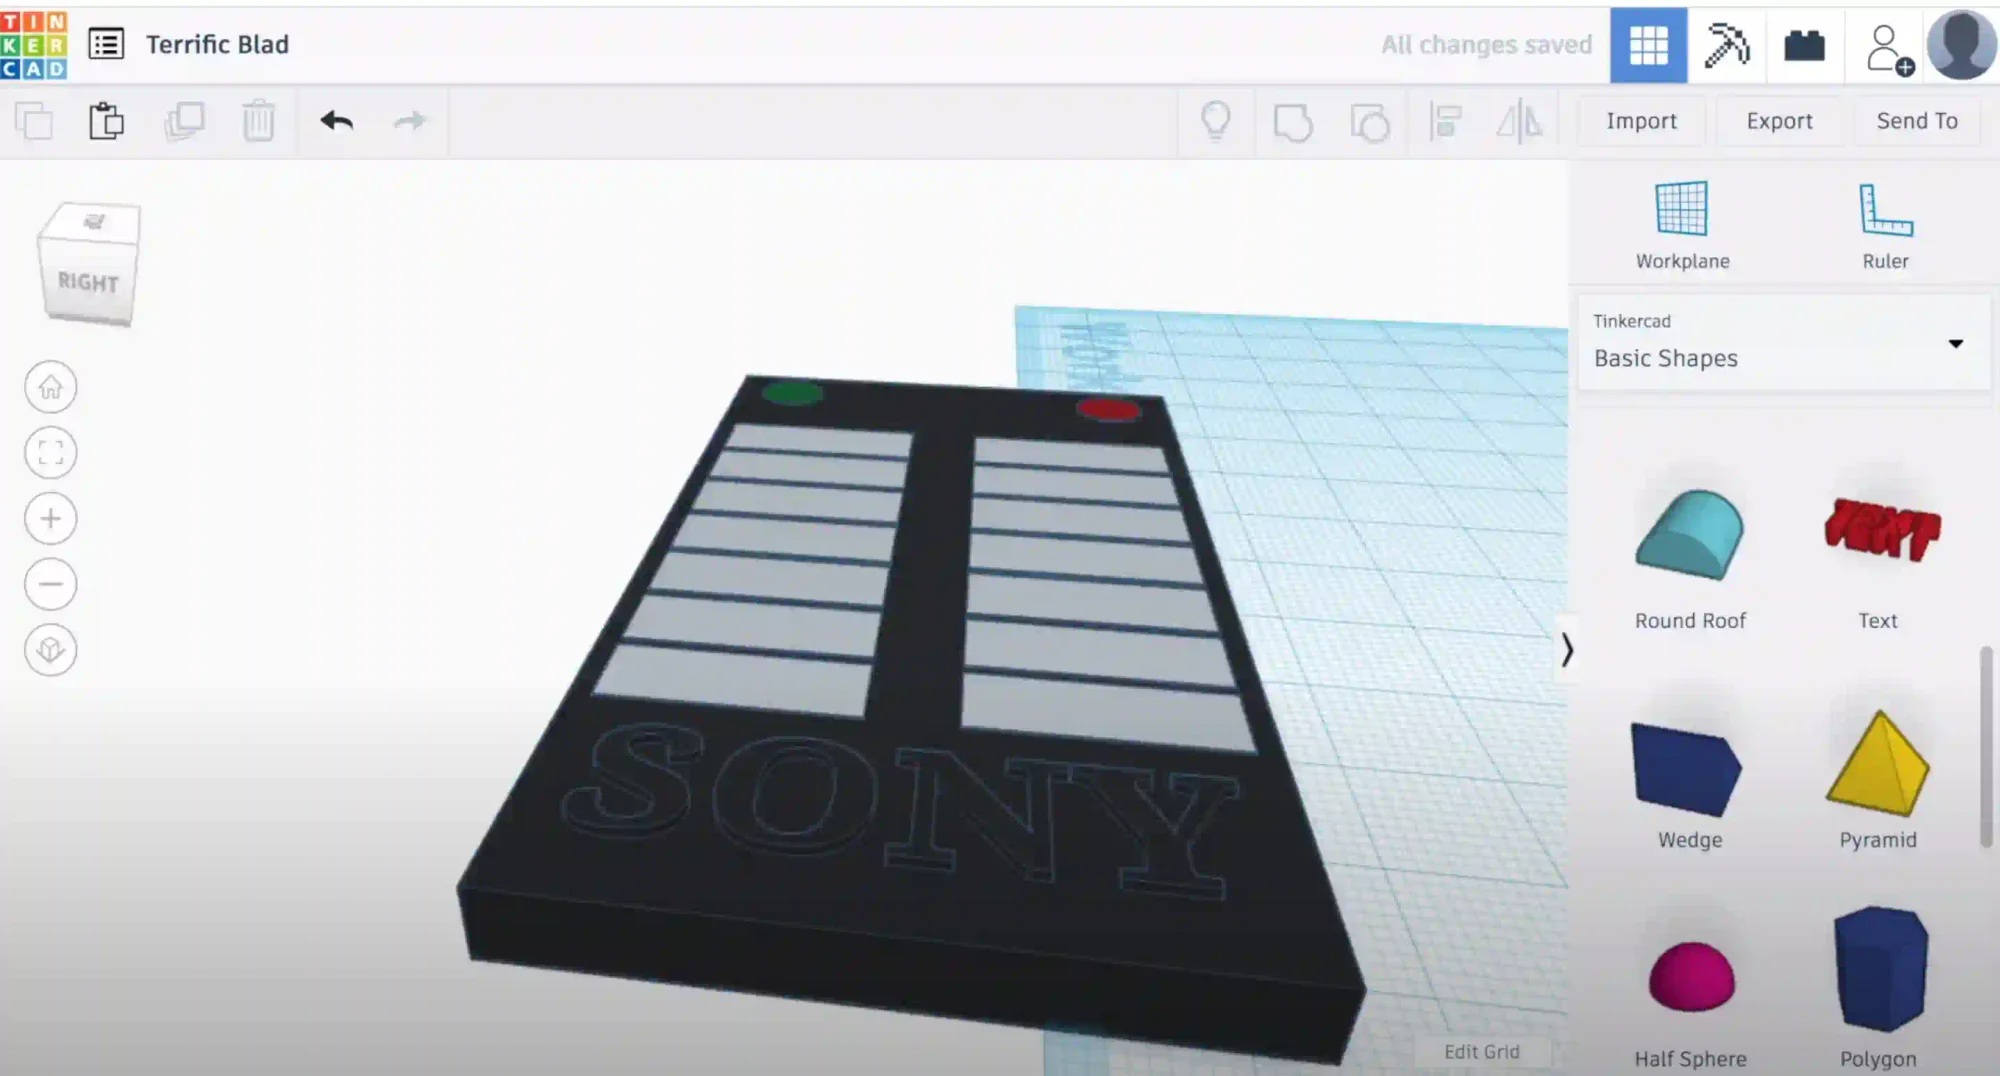
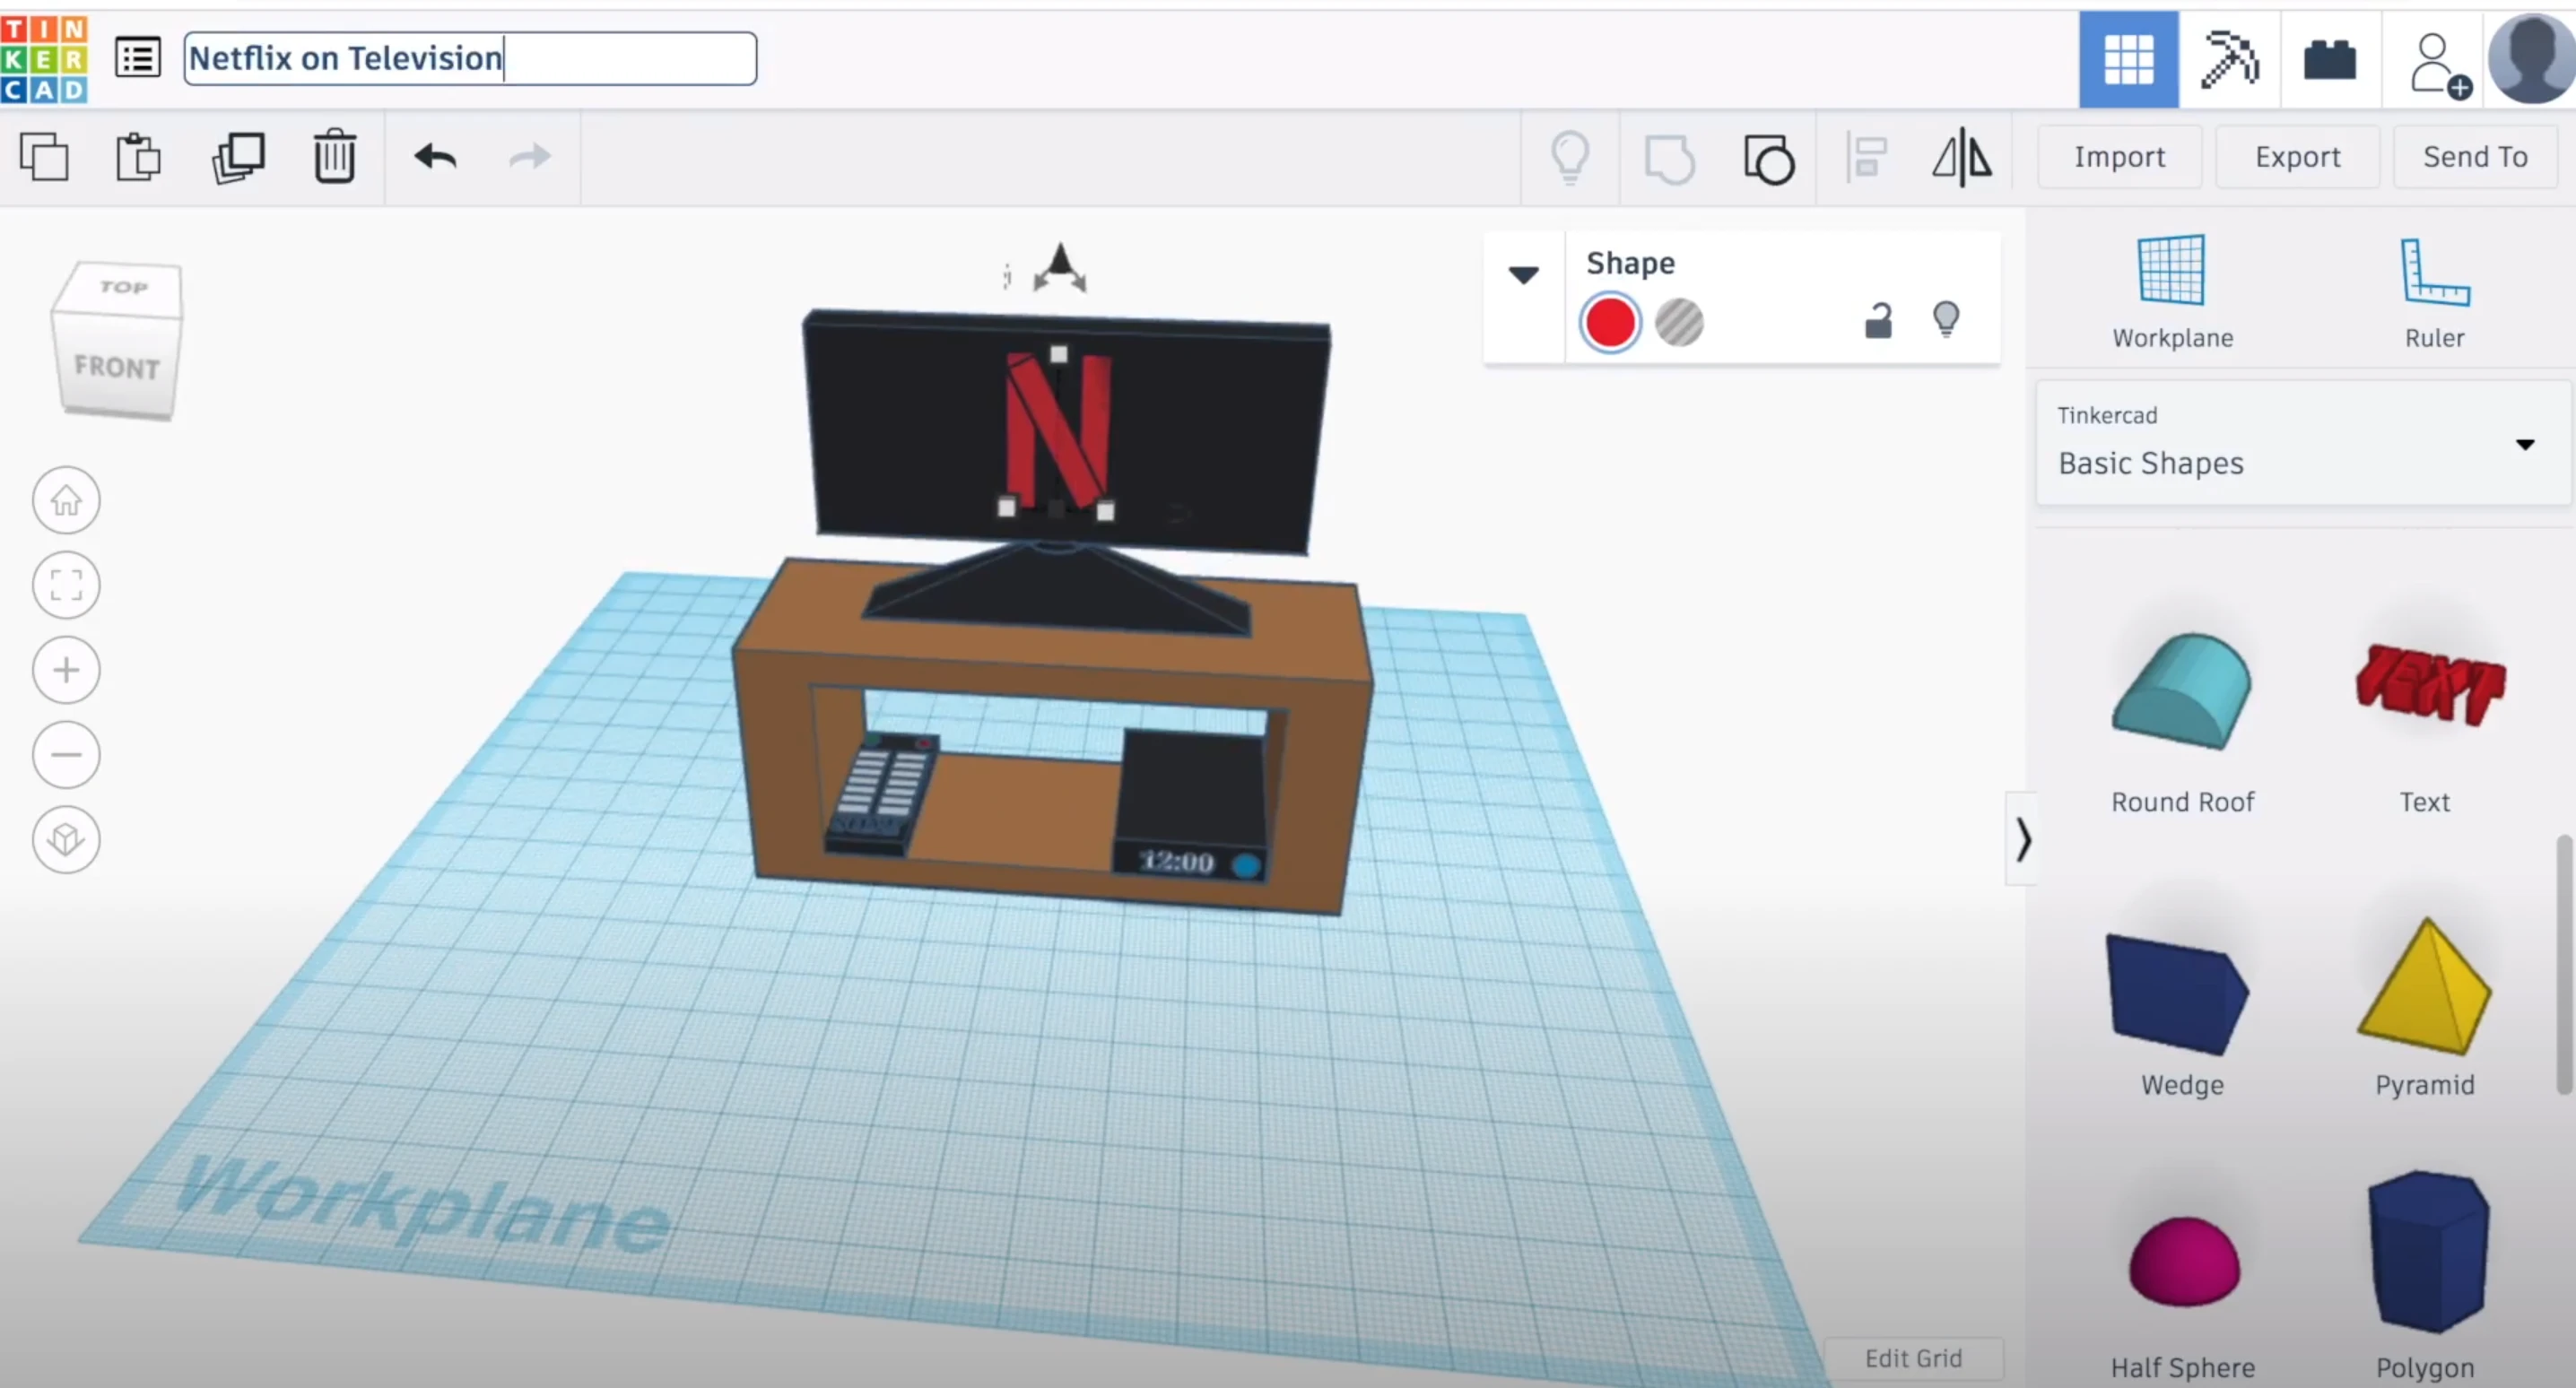
Step 8: Complete Project
Finally add the “Sony” text at the bottom and group the shape. To complete the project, move the remote into the grouped shape we started with (Tinkercad automatically gives your project a wacky name. Click on the text to change it). You project should end up looking like the below:
Want to learn TinkerCAD with us? Sign up for Kodeclik Summer Camps.
