Kodeclik Blog
Hiding Dropdown Values in Javascript
We will learn how to create interactive menus in Javascript so one selection causes dropdown values to be hidden. To understand how to do this, we will write and embed our Javascript code inside a HTML page like so:
<!DOCTYPE html>
<html>

<head>
  <meta charset="utf-8">
  <meta name="viewport" content="width=device-width">
  <title>Hiding Dropdown Values in Javascript</title>
</head>

<body>
  <script>
  </script>
</body>

</html>
In the above HTML page you see the basic elements of the page like the head element containing the title (“Hiding Dropdown Values in Javascript”) and a body with an empty script tag. Any HTML markup goes inside the body tags and any Javascript code goes inside the script tags.
Creating your first menu
Let us create a page that allows users to customize their pizza. We will create a basic webpage that allows you to choose the size and type of pizza. First, let us create a menu for the size of the pizza:
<body>
<h2>Make your own Pizza!</h2>
<select id="size">
<option value="unselected"></option>
<option value="small">Small</option>
<option value="medium">Medium</option>
<option value="large">Large</option>
</select>
<script>
</script>
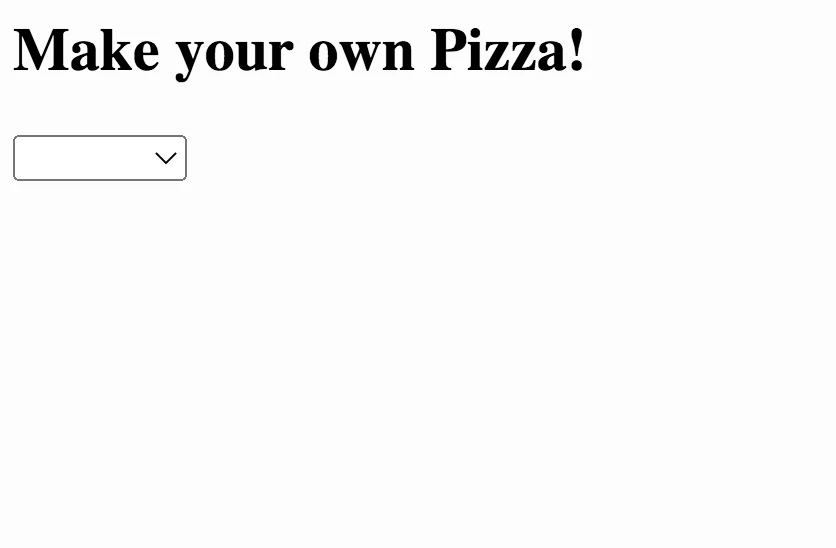
</body>This looks like:
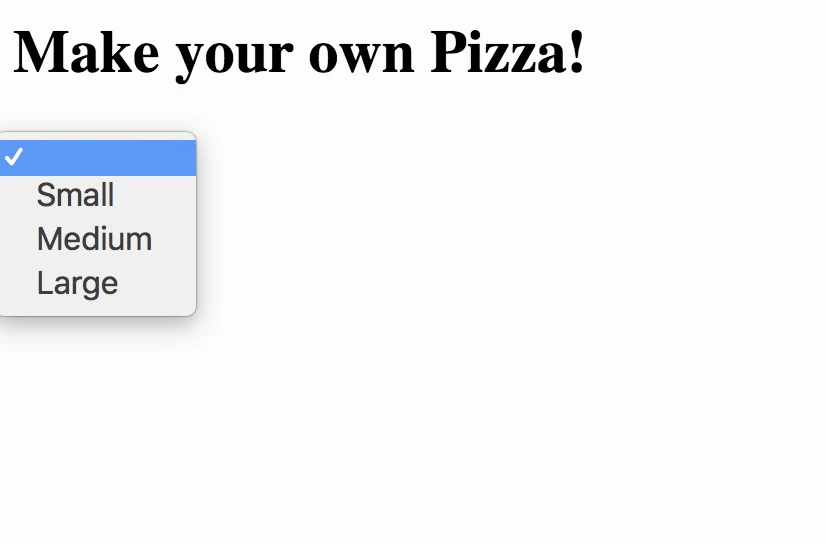
Pulling down the dropdown menu looks like:
Creating your second menu
Let us now add another dropdown menu this time to select the pizza topping:
<body>
<h2>Make your own Pizza!</h2>
<select id="size">
<option value="unselected"> </option>
<option value="small">Small</option>
<option value="medium">Medium</option>
<option value="large">Large</option>
</select>
<select id="topping">
<option value="unselected"></option>
<option id="pepperoni" value="pepperoni">Pepperoni</option>
<option id="veggie" value="veggie">Veggie</option>
<option id="cheese" value="cheese">Cheese</option>
</select>
<script>
</script>
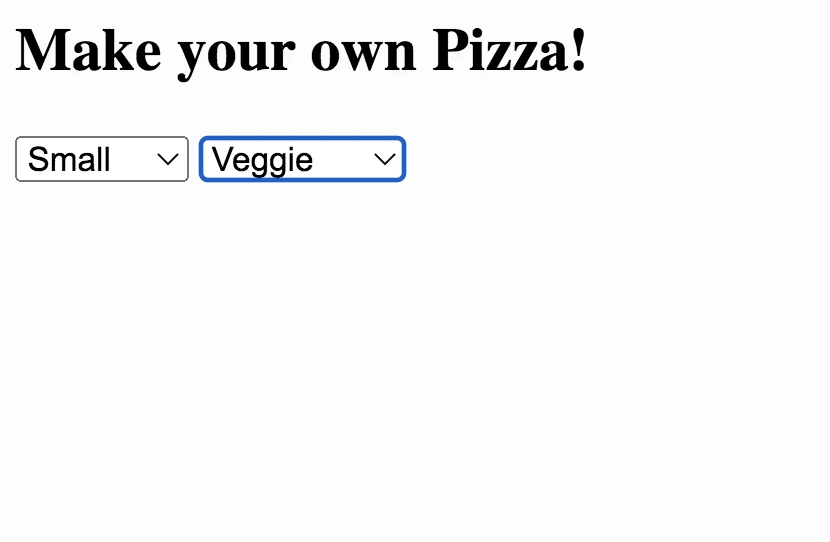
</body>This enables us to make two selections: one for the size and one for the topping. Note that for the second menu we use ids for each option element so that we can refer to them and hide them as necessary based on the options chosen for the first menu. This page renders as:
Hiding dropdown values
Now let us suppose the only small pizzas available are veggie pizzas and that the only large pizzas are pepperoni pizzas. Medium pizzas come in veggie and cheese options but not pepperoni. We seek to incorporate these dependencies so that selection of size should automatically hide dropdown values in the pizza topping that are not applicable.
This means that whenever there is a change detected in the first menu, either selection of one of the three size choices or the unselection (denoted by the first choice of blank) we must update the options in the second menu. We update the first select menu to have an “onchange” element which is set to the function “sizeselected()”. Note that this function does not take any arguments but merely is invoked whenever there is a change. The actual change can be detected inside the sizeselected() function script.
<body>
<h2>Make your own Pizza!</h2>
<select id="size" onchange="sizeselected()">
  <option value="unselected"></option>
  <option value="small">Small</option>
  <option value="medium">Medium</option>
  <option value="large">Large</option>
</select>
<select id="topping">
  <option value="unselected"></option>
  <option id="pepperoni" value="pepperoni">Pepperoni</option>
  <option id="veggie" value="veggie">Veggie</option>
  <option id="cheese" value="cheese">Cheese</option>
</select>

<script>
  function sizeselected() {
    size_selection = document.getElementById("size").value
    if (size_selection == "small") {
      document.getElementById("pepperoni").style.display='none'
      document.getElementById("veggie").style.display='inline'
      document.getElementById("cheese").style.display='none'
    } else if (size_selection == "medium") {
      document.getElementById("pepperoni").style.display='none'
      document.getElementById("veggie").style.display='inline'
      document.getElementById("cheese").style.display='inline'
    } else if (size_selection == "large") {
      document.getElementById("pepperoni").style.display='inline'
      document.getElementById("veggie").style.display='none'
      document.getElementById("cheese").style.display='none'
    } else {
      document.getElementById("pepperoni").style.display='inline'
      document.getElementById("veggie").style.display='inline'
      document.getElementById("cheese").style.display='inline'
    }
  }
</script>
</body>
In the above code, inside the sizeselected() function we first use the getElementById() method to extract the first element and then the .value attribute to find its value. This will give the size that the user has actually selected. Then we have a set of if..else statements. Based on the value of the size, we update the elements in the second menu. Inside each of these collection of statements we use the getElementById() to refer to the specific topping choices. Here we use “style.display = ‘inline’” to display the menu choice and “style.display = ‘none’” to hide it, as the case may be. Finally, observe that there is a fallback option where all the choices are displayed and no choices are hidden.
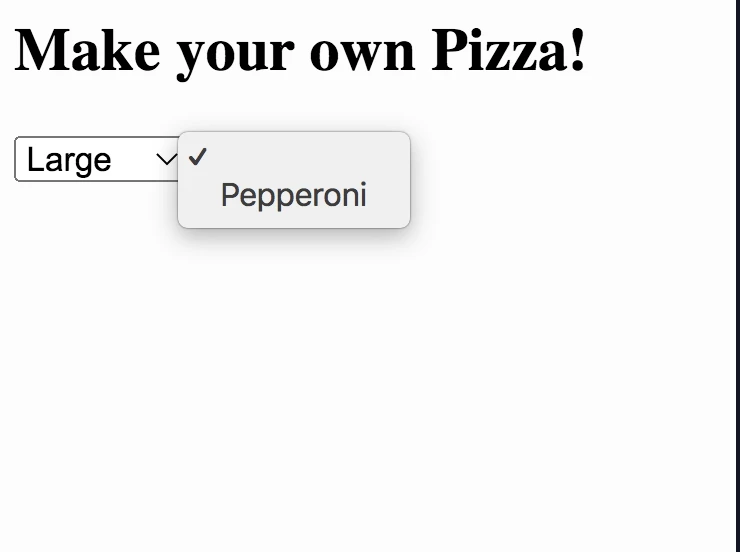
Here is an example of trying this code with the “large” option chosen for the size menu. As we see only one option for the topping is available, namely “pepperoni”.
Caveats: Note that the code above only works in one direction. If you choose the topping first, the size option does not get updated. We will leave it as an exercise for the reader to update the code to make it work in the other direction.
This code above can get complicated as the options increase. In such a case, it is better to use a systematic approach like an array to store the options and constraints and use lookups to update the options as the user interacts with the menus.
If you liked this blogpost, learn how to get values of buttons in Javascript.
Interested in learning more Javascript? Learn how to loop through two Javascript arrays in coordination and how to make a Javascript function return multiple values!
Want to learn Javascript with us? Sign up for 1:1 or small group classes.
