Kodeclik Blog
How to not allow special characters in a textbox
We will show how to validate inputs made in a Javascript textbox. This can be very useful when you have a textbox representing, say, names and as the user types in characters you would like to disallow numbers or other punctuation characters, i.e., only alphabetical and space characters should be allowed. So if the user types a character like “@” we would like to disallow that and not reflect that character in the textbox.

For the above purpose, we will write a Javascript program and embed it inside a HTML page like so:
<!DOCTYPE html>
<html>

<head>
  <meta charset="utf-8">
  <meta name="viewport" content="width=device-width">
  <title>Don’t allow special characters in textbox</title>
</head>

<body>
  <script>
  </script>
</body>

</html>
In the above HTML page you see the basic elements of the page like the head element containing the title (“Don’t allow special characters in textbox”) and a body with an empty script tag. Any HTML markup goes inside the body tags and any Javascript code goes inside the script tags, which is what we will do next.
Creating a basic textbox
<body>
<script>
</script>
<form id="namecheck">
  <H2>Please enter your name</H2>
  <input type="text" name="username" />
</form>

</body>
Note that the script tags are empty, i.e., they do not have any code in between them. Outside of the script tags (but inside the body tags) we have a form. The form has an id (called “namecheck”). The form is composed of a H2 element prompting the user to enter their name. Then it has a textbox input field. The “input” tag specifies the type (in this case, “text”) and the name of the variable that will store what the user types into it (in this case, “username”).
(Usually these forms will also have a submit button but we will forgo that for now since we are aiming to demonstrate how to do input text validation.)
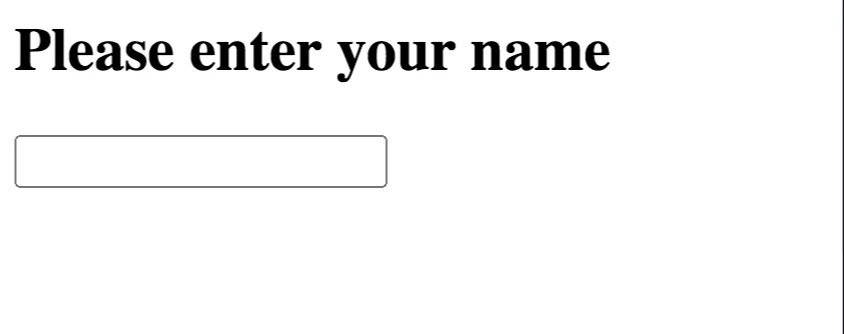
If you try loading this webpage in your browser, it will look like this:

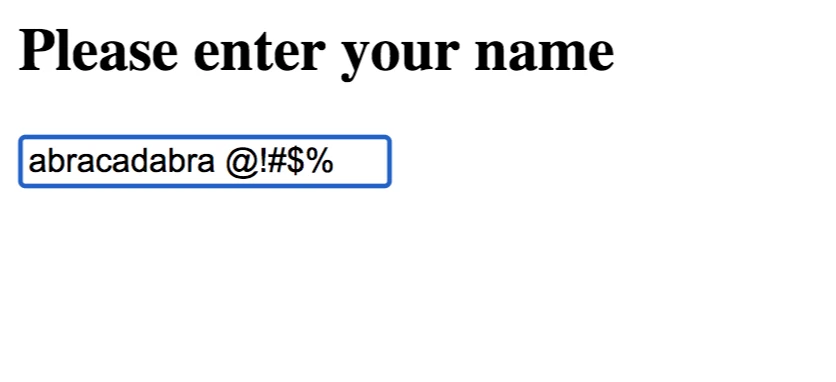
If you now attempt to type some characters into the textbox, like so:

you will see that you are able to enter special characters into the textbox without any validation whatsoever. In the rest of this blog, we will see how to not allow special characters.
Validating textbox user input
First, we will reference a function called “validate()” that will be called everytime the user presses a key in the textbox. This can be accomplished by the following code:
<body>
  <script>
  </script>
  <form id="namecheck">
    <H2>Please enter your name</H2>
    <input type="text" name="username" onkeypress="return validate(event)" />
  </form>
</body>
As the code above demonstrates, everytime the user types something (via a key press), the validate() function is called and the results are returned, to be displayed in the textbox. Note that the validate() function takes as input the event that has triggered it. But there is no such function yet - we need to add the definition of this function in between the “script” tags.
The “onkeypress” is an event handler that is supported by Javascript. When you press a letter key (like”a”) or a number key, e.g., “1”, this event will be thrown. The “onkeypress” event will not be recognized for keys such as the Ctrl key, the Alt key, Shift key etc. Typically, the order of events is “onkeydown” followed by “onkeypress” followed by “onkeyup”. For our purposes, the “onkeypress” event suffices.
Below is some code to validate events as they occur.
<body>
  <script>
    function validate(event) {
      var key = event.which || event.keyCode || 0;
      return ((key >= 65 && key <= 92) || (key >= 97 && key <= 124))
    }
  </script>
  <form id="namecheck">
    <H2>Please enter your name</H2>
    <input type="text" name="username" onkeypress="return validate(event)" />
  </form>
</body>
Note that in the function validate(), we first recognize the key that has been pressed using the “event.which || event.keyCode || 0” expression which should cover multiple versions of Javascript. Once the key is recognized we check if it is an uppercase character (ASCII codes 65-92) or lowercase character (ASCII codes 97-124). If it is, then the validate() event handler will return true that will be used by the input form.
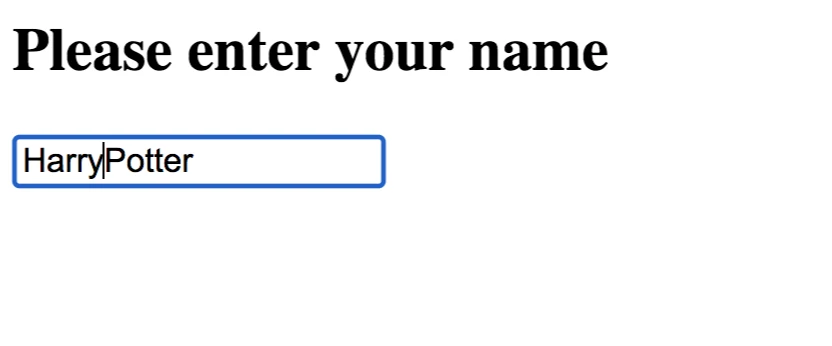
Now let us try using our form by typing “Harry Potter”:

Wow - what happened? Note that the space character is not recognized and thus disallowed in the textbox. If we would like to allow space characters, we should update our list of allowed ASCII codes, like so:
<body>
  <script>
    function validate(event) {
      var key = event.which || event.keyCode || 0;
      return ((key >= 65 && key <= 92) ||
              (key >= 97 && key <= 124) || k==32)
    }
  </script>
  <form id="namecheck">
    <H2>Please enter your name</H2>
    <input type="text" name="username" onkeypress="return validate(event)" />
  </form>
</body>
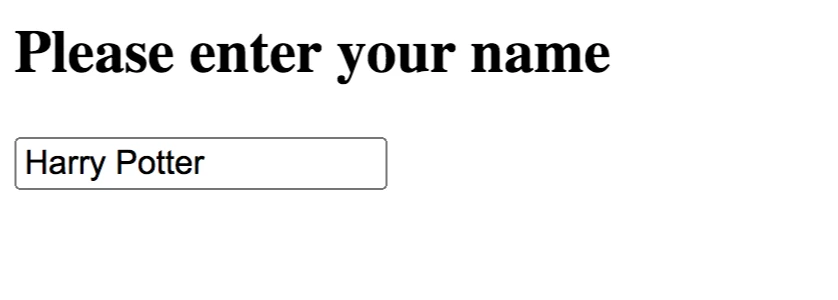
Now let us try typing “Harry Potter”:

In this case, the space character is allowed. Continuing in this manner, you can expand (or shrink) the set of allowed characters. For instance, you can add numbers if you would like to allow them.
If you liked learning about texxtboxes and validating inputs, checkout our blogpost on gathering user input.
Interested in learning more Javascript? Learn how to loop through two Javascript arrays in coordination and how to make a Javascript function return multiple values!
Want to learn Javascript with us? Sign up for 1:1 or small group classes.