Kodeclik Blog
How to send emails using Python
Suppose you are a teacher and would like to email your students their final grades in your course. Let us assume you have your final grades in a file like:
Tommy Student | tommy@myschool.com | B+
Katherine Student | katherine@myschool.com | A
Harry Potter | harry.potter@myschool.com | A-
Mickey Daniel | mickey.daniel@myschool.com | C+
As you can see each line of this file contains a student’s name, their email address, and their grade separated by a pipe “|” character. We need to parse this file and send separate emails, one to each student informing them of their final grade.
Let us create a Python program in repl and also create a file called grades.txt containing the above (or similar) information.
First let us make sure we are able to parse this file and read the various fields. Here is a simple program that reads the file line by line and, for each line, uses split() to separate the fields, then uses strip() to remove leading and trailing whitespace characters (space, newline, etc.) and finally prints them so we can confirm that all the fields are read correctly.
f = open("grades.txt", "r")
for x in f:
    y = x.split('|')
    name = y[0].strip()
    email = y[1].strip()
    grade = y[2].strip()
    print(name + ", " + email + ", " + grade)
f.close()
The output is:
Tommy Student, tommy@myschool.com, B+
Katherine Student, katherine@myschool.com, A
Harry Potter, harry.potter@myschool.com, A-
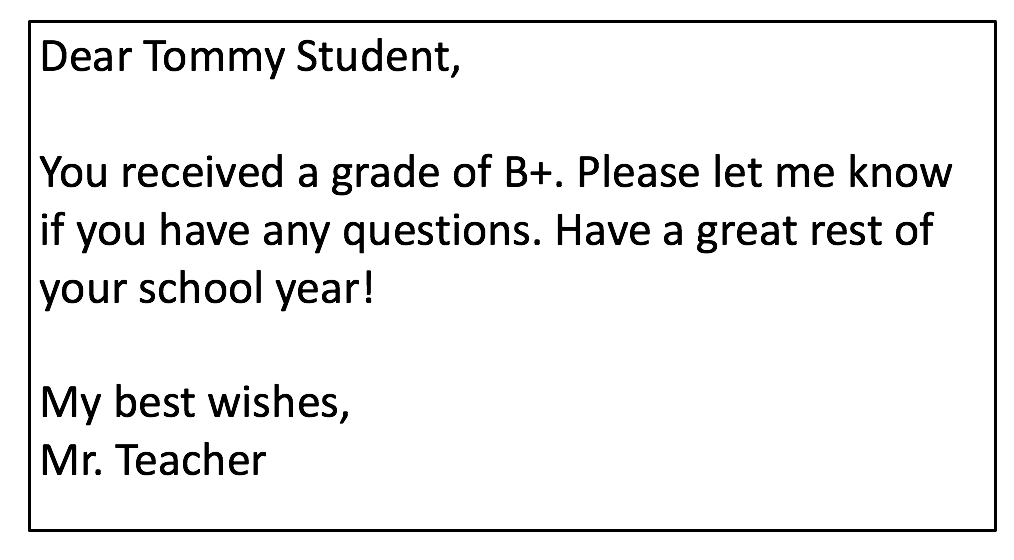
Mickey Daniel, mickey.daniel@myschool.com, C+Now we are ready! To send emails, let us agree on an email format. Obviously the second field is the email To: address. The email content can be something like:
First, we create a string containing this entire message. Notice the use of newline characters.
contentstring = "Dear Tommy Student\\n\\nYou received a grade of B+.
Please let me know if you have any questions. Have a great rest
of your school year!\\n\\nMy best wishes,\\nMr. Teacher"
print(contentstring)
This will produce the expected output:
Dear Tommy Student

You received a grade of B+. Please let me know if you have any questions. Have a great rest of your school year!

My best wishes,
Mr. Teacher
Next, we should learn how to send this email programmatically. For this purpose, we should use one of the numerous email services out there, e.g., SendGrid, Amazon SES (Simple Email Service), BigMailer. In this tutorial, we will show you how to use SendGrid but the same ideas apply to other email services as well.
First, goto https://sendgrid.co and create a SendGrid account (it is free). Once you are logged into your account, you will need to create and verify a “Sender Account” (this is the account from which your emails are going to be sent).
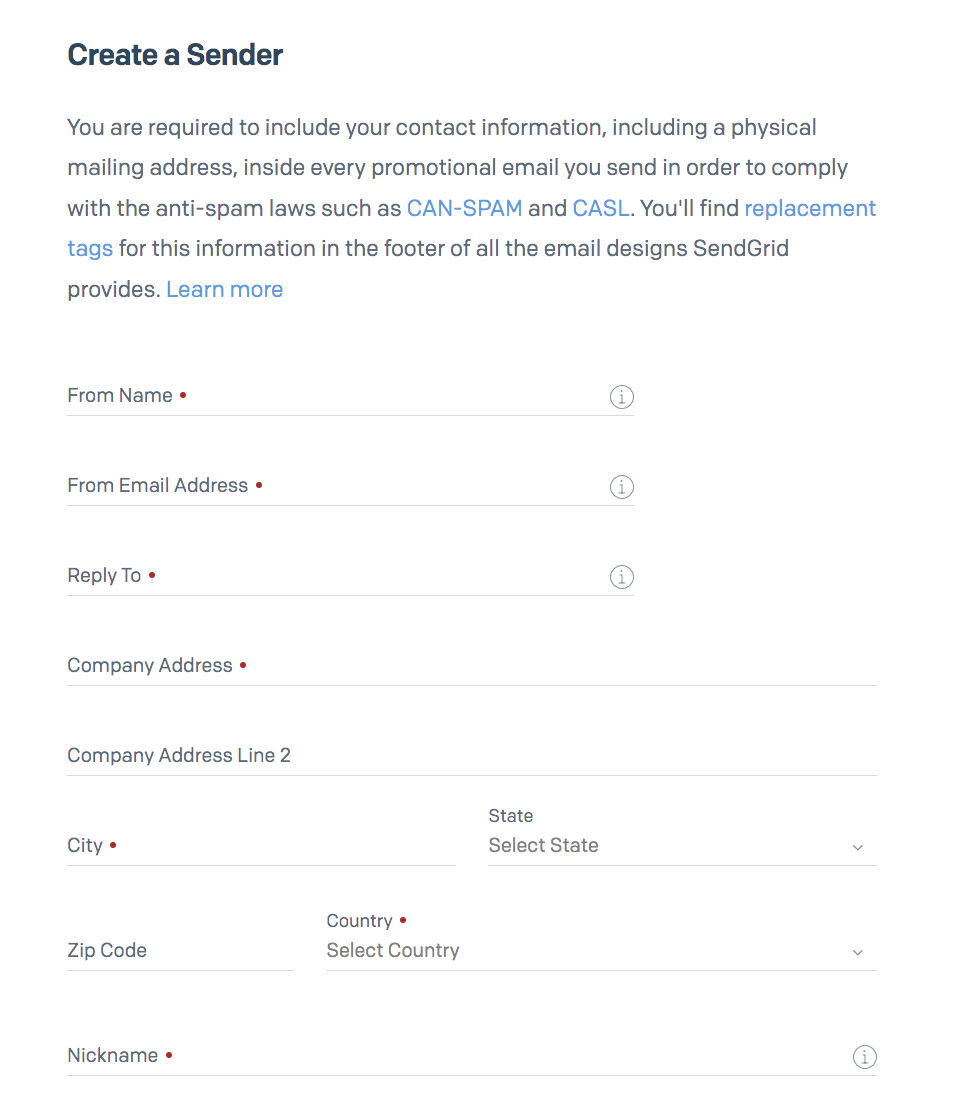
Both the above steps (creating a SendGrid account and creating the Sender Account) will likely send a verification email to you (to confirm that you have access rights to use that email account). You must verify these emails before you can proceed further.
Next, you must setup an API access key. Click on Settings and then “API Keys”. Create a full access key as follows:

This will give rise to a screen like the below:
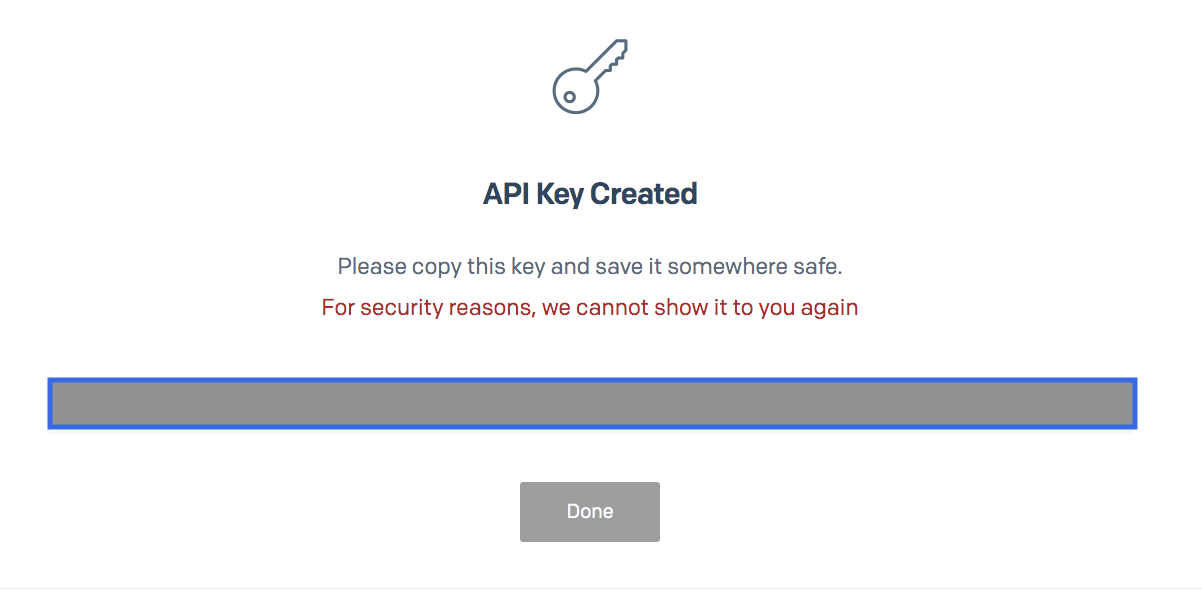
Make sure to note the API key. You should not share this key with anyone! We will need this key in our Python program.
Now we are ready to create our program!
Here is a basic program to send emails.
import sendgrid
import os
from sendgrid.helpers.mail import *

# Update this line with your API key
SENDGRID_API_KEY = 'long-API-key-goes-here'

sg = sendgrid.SendGridAPIClient(api_key=SENDGRID_API_KEY )

# update this line with the From email address
from_email = Email("someone@somewhere.com")

# update this line with the To email address
to_email = To("someone@someplaceelse.com")

subject = "Kodeclik Send Email Example"
content = Content("text/plain", "Yippee! I am sending email!")
mail = Mail(from_email, to_email, subject, content)
response = sg.client.mail.send.post(request_body=mail.get())
Carefully update the parts as mentioned in the comments. Running this program should send this test email to you. Be sure to check your spam folder if you do not receive it.
Now we are ready for the final step! We should organize the content string so we can substitute the student’s name and corresponding grade and then use it in our email delivery program. Here’s an updated program for that purpose (again, make sure to substitute your API keys and email addresses for this to work):
import sendgrid
import os
from sendgrid.helpers.mail import *

# Update this line with your API key
SENDGRID_API_KEY = 'long-API-key-goes-here'
sg = sendgrid.SendGridAPIClient(api_key=SENDGRID_API_KEY )

# update this line with the From email address
from_email = Email("someone@somewhere.com")

contentstring = "Dear {fname}\\n\\nYou received a grade of {fgrade}.
Please let me know if you have any questions. Have a great rest of your
school year!\\n\\nMy best wishes,\\nMr. Teacher"

f = open("grades.txt", "r")
for x in f:
    y = x.split('|')
    name = y[0].strip()
    email = y[1].strip()
    grade = y[2].strip()
    to_email = To(email)
    subject = "Kodeclik Send Email Example"
    emailtext = contentstring.format(fname = name, fgrade = grade)
    content = Content("text/plain", emailtext)
    mail = Mail(from_email, to_email, subject, content)
    response = sg.client.mail.send.post(request_body=mail.get())
f.close()
Note that the content string is parameterized and we are using the Python string format method to fill in the blanks with actual student names and actual student grades. When testing this program make sure to use legitimate email addresses in your grades.txt file. You will receive emails like the following example (other examples not shown for brevity):
Dear Tommy Student

You received a grade of B+. Please let me know if you have any questions. Have a great rest of your school year!

My best wishes,
Mr. Teacher
In this blogpost, you have learnt how to programmatically send email via Python and even how to send a massive number of emails in a systematic manner. You can use a similar program to send invitations to events, updates to your family, or holiday greetings! Enjoy!
Interested in more things Python? See our blogpost on Python's enumerate() capability. Also if you like Python+math content, see our blogpost on Magic Squares. Finally, master the Python print function!
Want to learn Python with us? Sign up for 1:1 or small group classes.
