Kodeclik Blog
How to build a roof in Minecraft
In this comprehensive guide, we'll delve into various types of roofs available in Minecraft, ranging from traditional styles to more intricate and modern designs. We then talk about why you need a roof and how to build one.
1. Gable Roof (A-Frame)
Description: The gable roof, also known as an A-frame roof, is one of the most common and traditional roof designs. It features two sloping sides that meet at a ridge.
Materials: Wood planks, cobblestone, bricks, or any suitable building material.
Construction Tips:
• Start by creating a triangular shape using stairs or slabs.
• Extend the sides downward to form the sloping roof.
• Experiment with different slopes and overhangs to achieve desired proportions and aesthetics.
Uses: Suitable for cottages, barns, medieval structures, and cabins.
2. Hip Roof
Description: The hip roof has slopes on all four sides, meeting at a ridge with no gables or vertical sides.
Materials: Various types of blocks like stone bricks, cobblestone, or wood planks.
Construction Tips:
• Begin with a square or rectangular base.
• Slope each side inward towards the center, creating a pyramid-like shape.
• Use stairs and slabs to create smooth transitions between slopes.
Uses: Ideal for houses, temples, and structures requiring a symmetrical and elegant roof design.
3. Flat Roof
Description: Flat roofs provide a modern and minimalist look with a level surface.
Materials: Concrete, quartz blocks, iron blocks, or any other sleek and solid material.
Construction Tips:
• Create a flat surface using full blocks or slabs.
• Consider adding functional elements like skylights or rooftop gardens for added interest.
Uses: Suitable for modern houses, office buildings, and industrial structures.
4. Mansard Roof
Description: The mansard roof features a double slope on all sides, creating additional attic space.
Materials: Wood, dark oak planks, stone bricks, or any material suitable for a detailed and historical appearance.
Construction Tips:
• Build the lower slope using stairs or slabs.
• Add a steeper upper slope above, allowing for windows or dormers to be included.
Uses: Commonly found on Victorian houses, chateaus, and historical buildings.
5. Gambrel Roof
Description: Similar to a mansard roof but with vertical gable ends instead of a flat top.
Materials: Wood planks, cobblestone, or any material that complements a barn-like or rustic appearance.
Construction Tips:
• Create a steep lower slope using stairs or slabs.
• Add a shallower upper slope above to maximize interior attic space.
Uses: Ideal for barns, farmhouses, and rustic-themed builds.
6. Pyramid Roof
Description: A pyramid roof features a single, steeply pointed slope on all sides, meeting at a central point.
Materials: Stone bricks, sandstone, or any material suitable for a solid and geometric appearance.
Construction Tips:
• Start with a square or rectangular base.
• Slope each side evenly towards the center, creating a pyramid shape.
Uses: Suitable for towers, temples, and structures requiring a monumental and symmetrical roof design.
7. Saltbox Roof
Description: The saltbox roof is characterized by asymmetrical slopes, with one side typically longer and lower than the other.
Materials: Wood planks, stone bricks, or any material that complements a quaint and traditional appearance.
Construction Tips:
• Create two slopes with different heights and lengths, resembling the profile of a saltbox lid.
• Use stairs and slabs to achieve the desired asymmetrical shape.
Uses: Commonly used in colonial houses and period architecture for its charming and unique profile.
8. Dutch Gable Roof
Description: A hybrid of a gable and hip roof, featuring a gable with a small hip roof section below.
Materials: Mix of wood, stone bricks, or any combination that enhances its hybrid appearance.
Construction Tips:
• Start with a gable roof structure.
• Add a small hip roof section below the gable, creating a distinctive and decorative feature.
Uses: Often seen in eclectic or historical architecture, adding complexity and visual interest to larger structures.
9. Dome Roof
Description: The dome roof features a curved, spherical shape, resembling the dome of a building.
Materials: Quartz blocks, iron blocks, or any material that allows for smooth curves and a solid appearance.
Construction Tips:
• Begin with a circular or elliptical base.
• Gradually slope the sides inward using stairs or slabs to create a dome shape.
Uses: Ideal for cathedrals, observatories, and grand architectural statements requiring a majestic and imposing roof structure.
10. Combination Roof
Description: Combination roofs blend two or more roof styles into a single design, combining their aesthetic and functional benefits.
Materials: Various materials depending on the styles being combined, such as wood, stone bricks, or concrete.
Construction Tips:
• Experiment with different roof styles.
• Integrate them seamlessly to achieve a cohesive and unique appearance.
Uses: Provides versatility for complex structures, offering both visual interest and practical functionality.
Additional Roof Types
11. Shed Roof
Description: The shed roof, also known as a lean-to roof, is a single-sloping roof attached to a taller wall.
Materials: Wood planks, stone bricks, or any material that complements its simple and functional design.
Construction Tips:
• Build a single slope from one wall to another.
• Create a slanted roof surface, using stairs or slabs to create a gradual slope, ensuring proper drainage.
Uses: Ideal for small structures, additions, and modern architectural designs.
12. Terrace Roof
Description: Terrace roofs are flat roofs designed to serve as outdoor living spaces or gardens.
Materials: Grass blocks, dirt, or any material suitable for landscaping and outdoor environments.
Construction Tips:
• Create a flat surface using full blocks or slabs.
• Use fences, planters, and decorative elements to define the terrace area and add greenery.
Uses: Perfect for modern houses, urban buildings, and structures requiring outdoor recreational spaces.
Why do you need a roof?
Roofs are an essential part of any Minecraft build, but apart from aesthetic purposes, some might question why roofs are even useful.
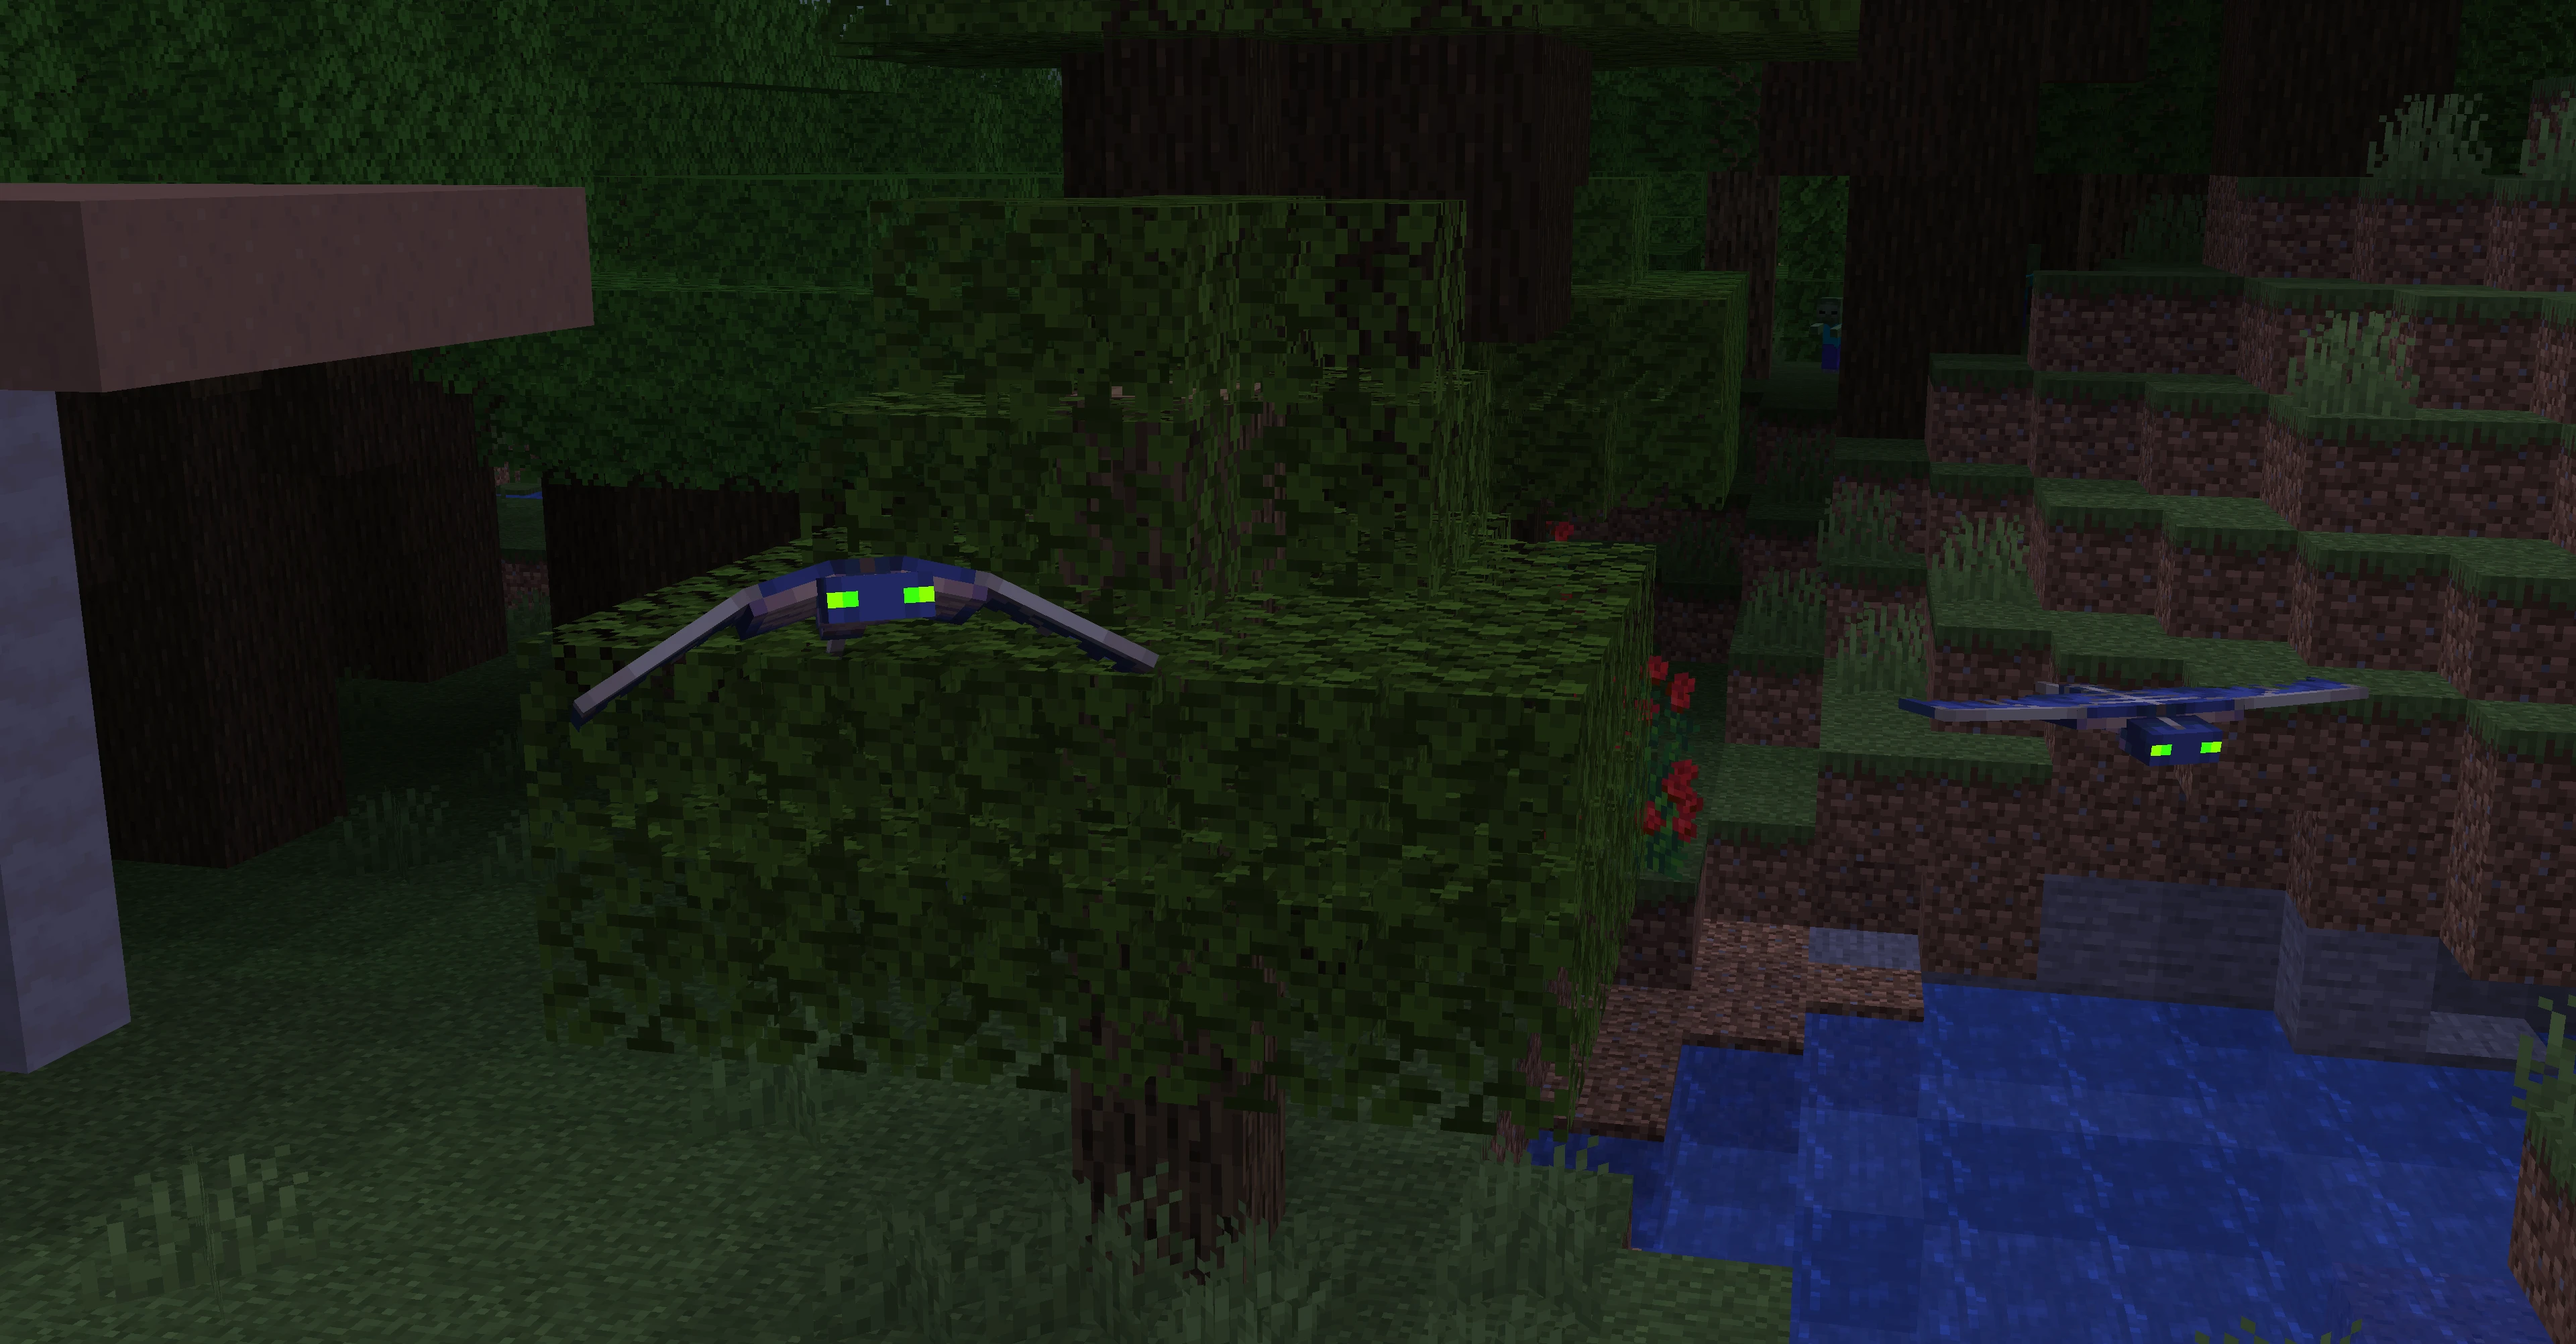
Reason 1 (Phantoms)
Phantoms are hostile mobs that spawn during night and attack if you haven’t slept recently. If you want to be able to pull off some nighttime activity in your base, a roof is very, very useful.
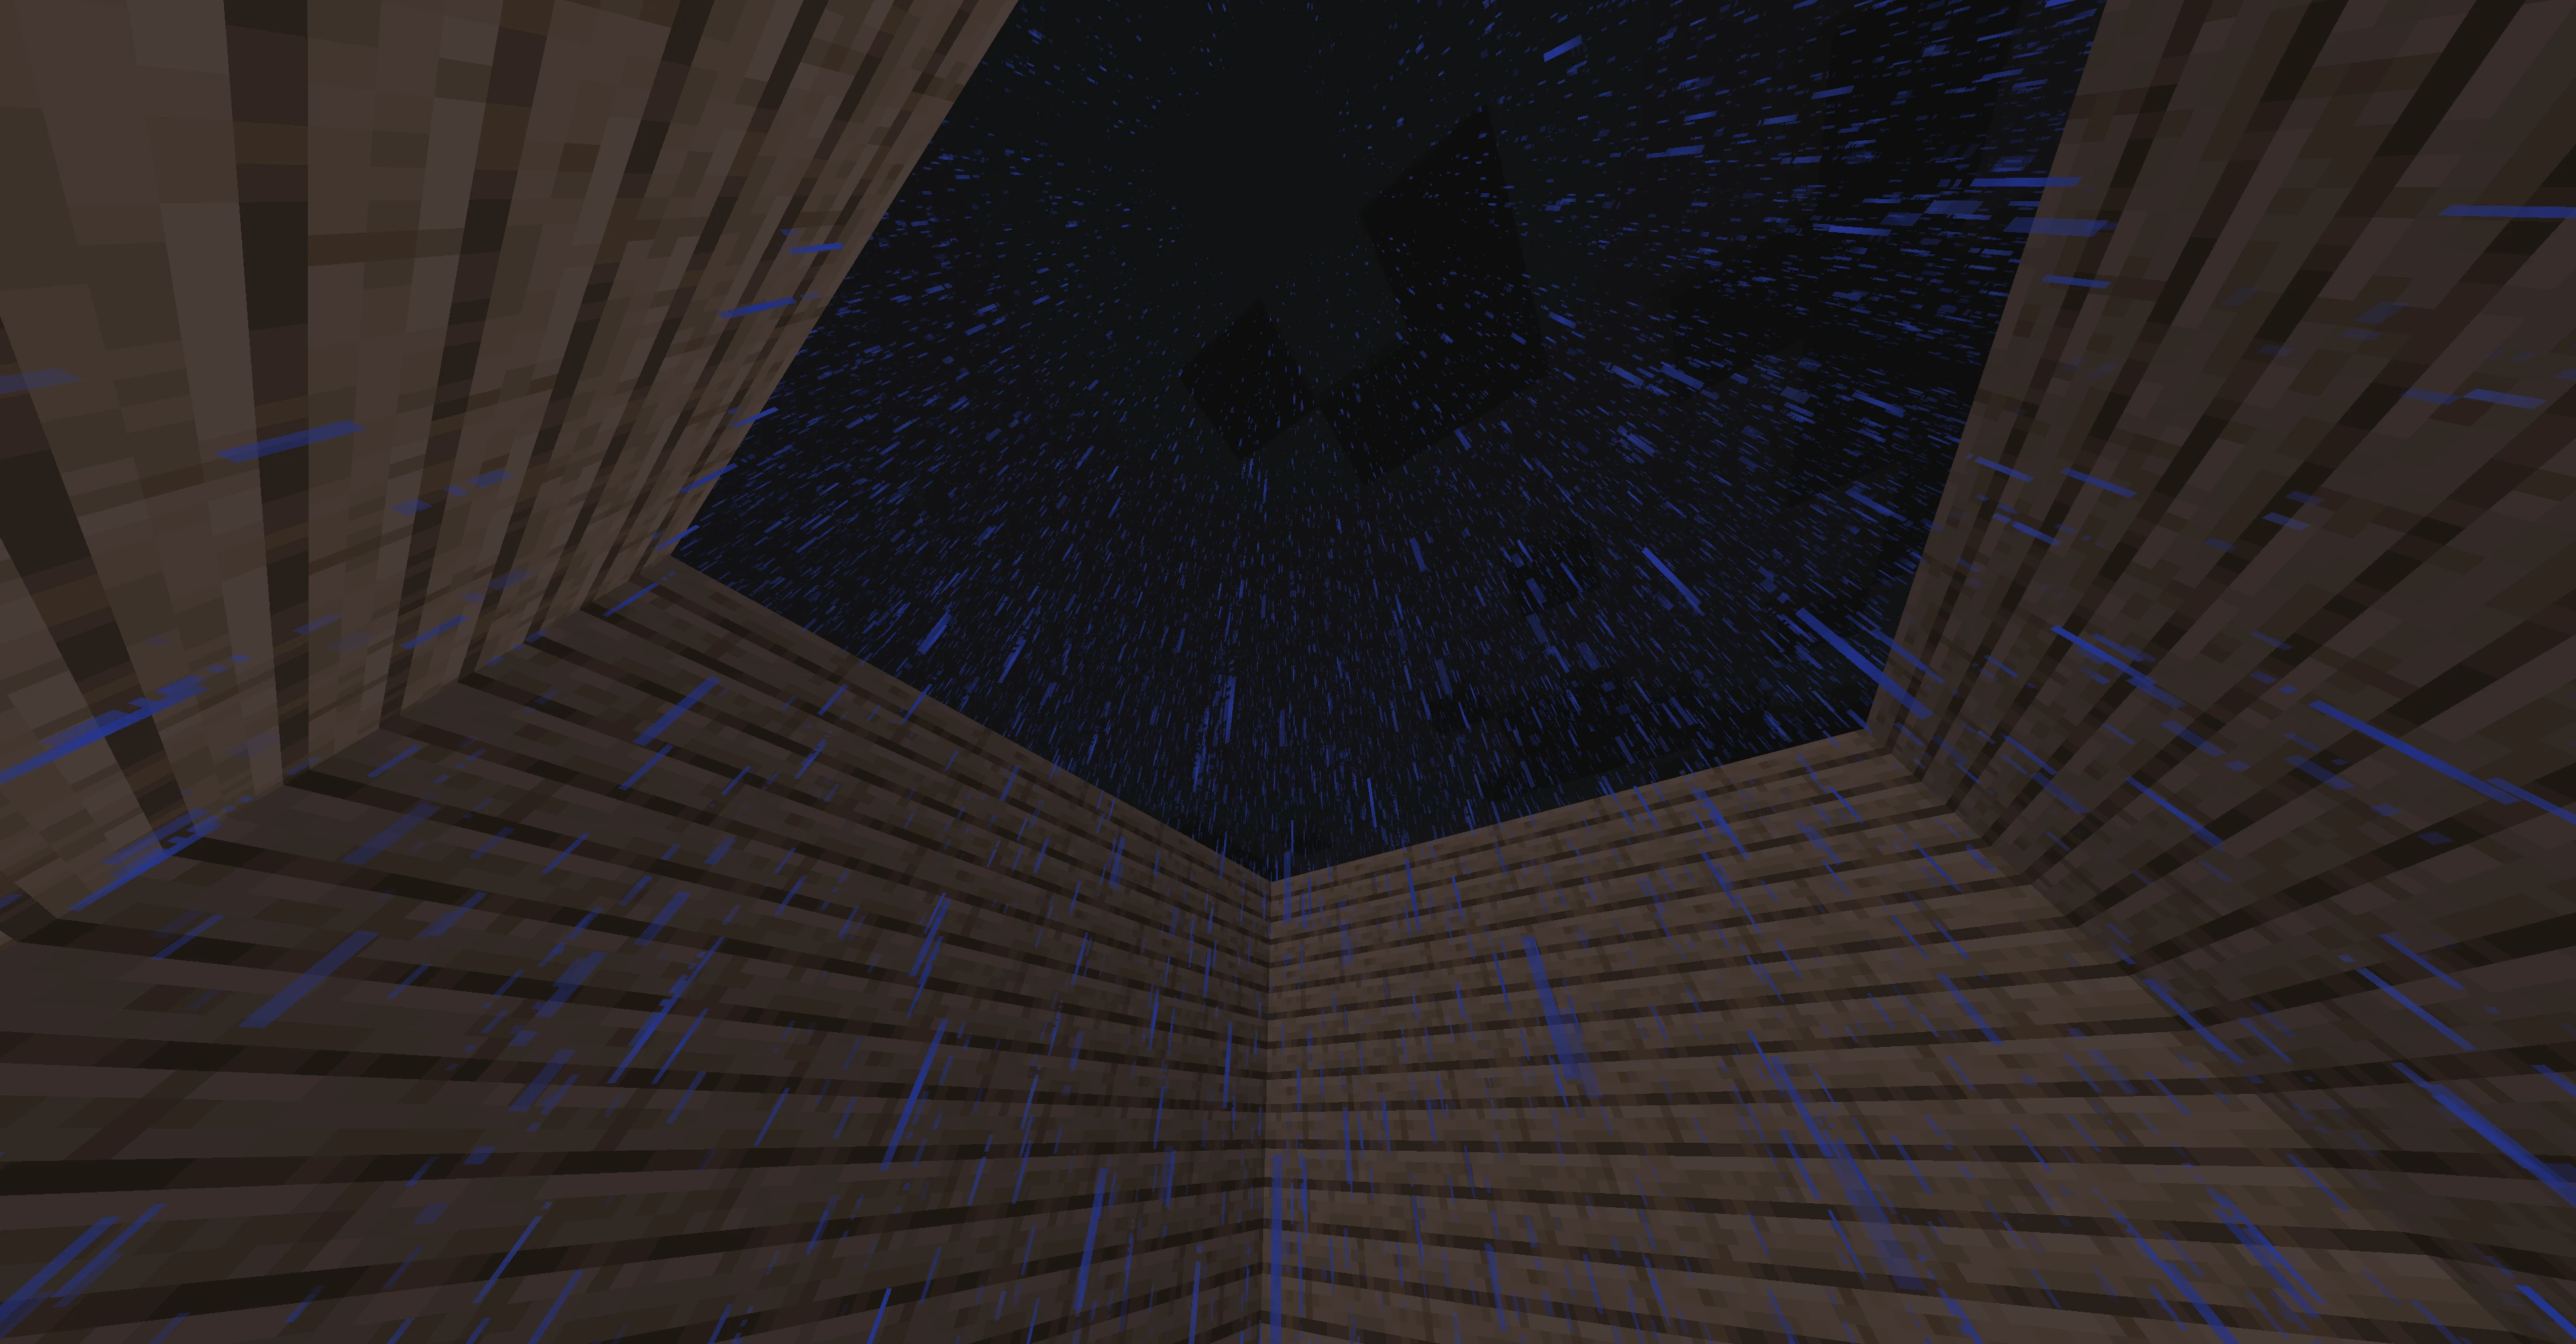
Reason 2 (Rain)
While rain does not affect a player in Minecraft, it is annoying. It can prevent you from seeing very far on your screen no matter how high your brightness is (you might not be able to tell if it is day or night!). A roof easily stops this and you need not worry about rain anymore.
How do you build a roof?
Now that you want to build a roof, the rest of this blog will show you how to. Lets step away from the simple method of placing one layer of blocks for your roof and calling it a day. These methods will really help look your base just a bit nicer.
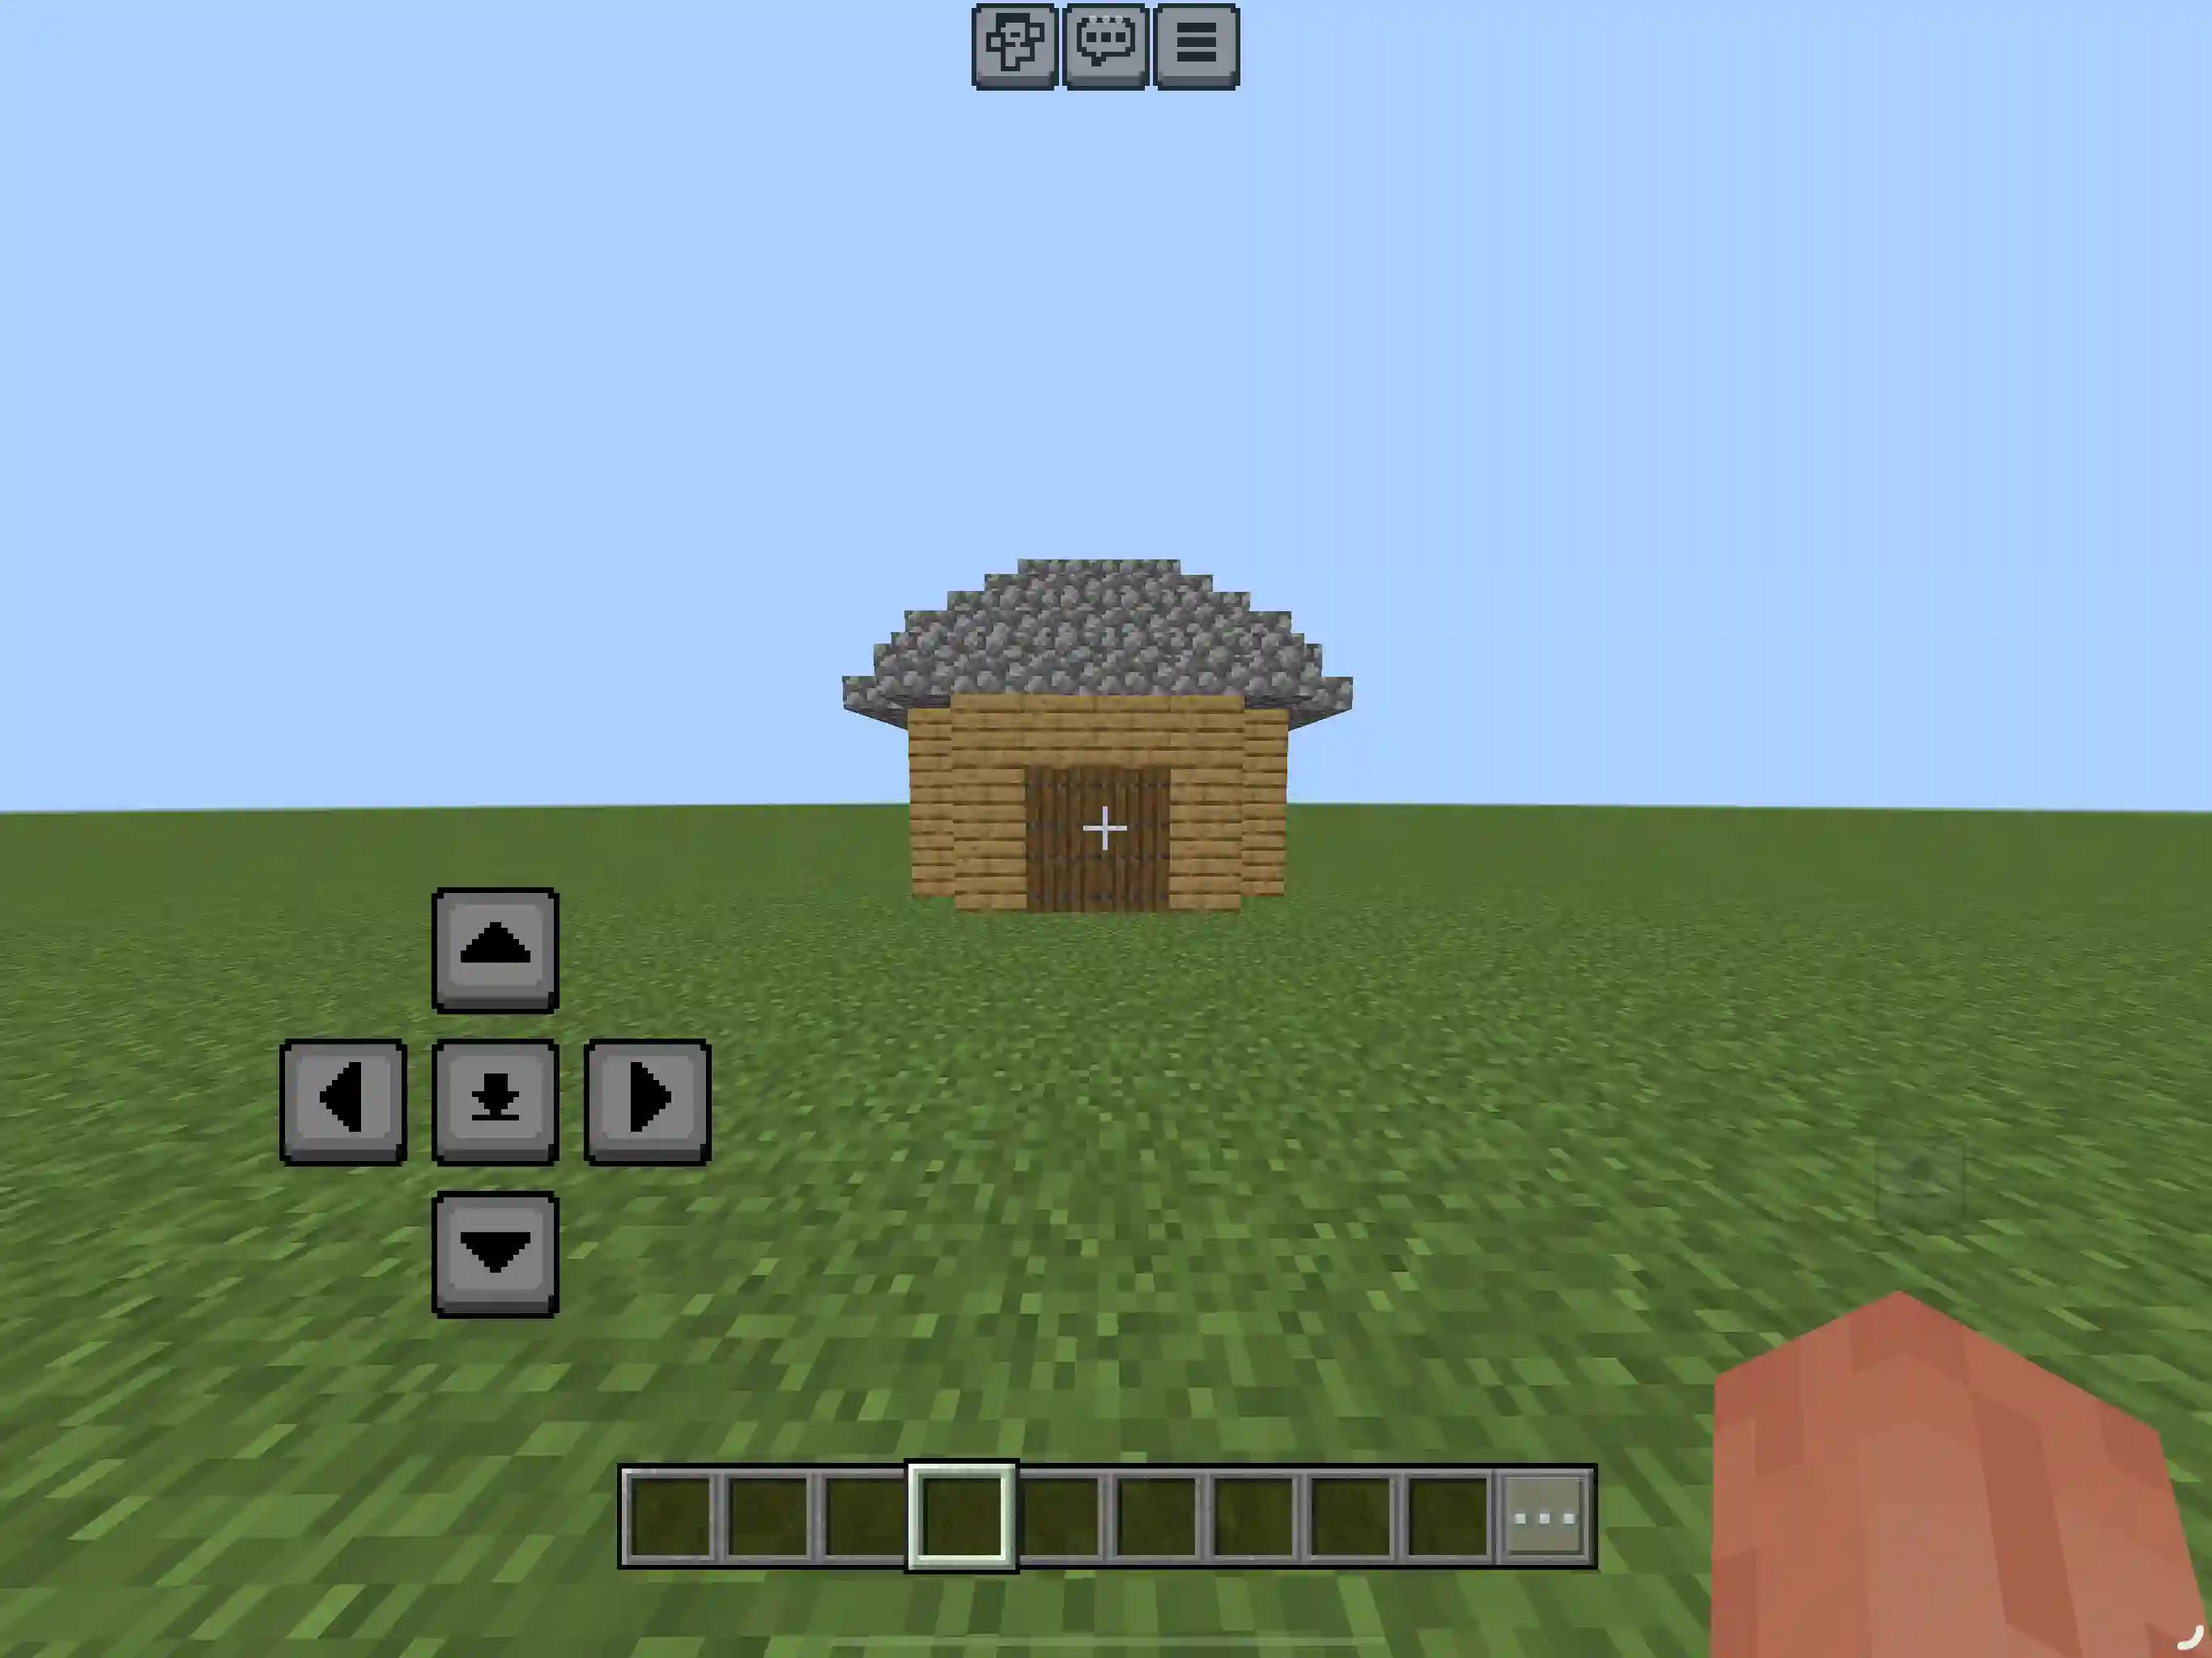
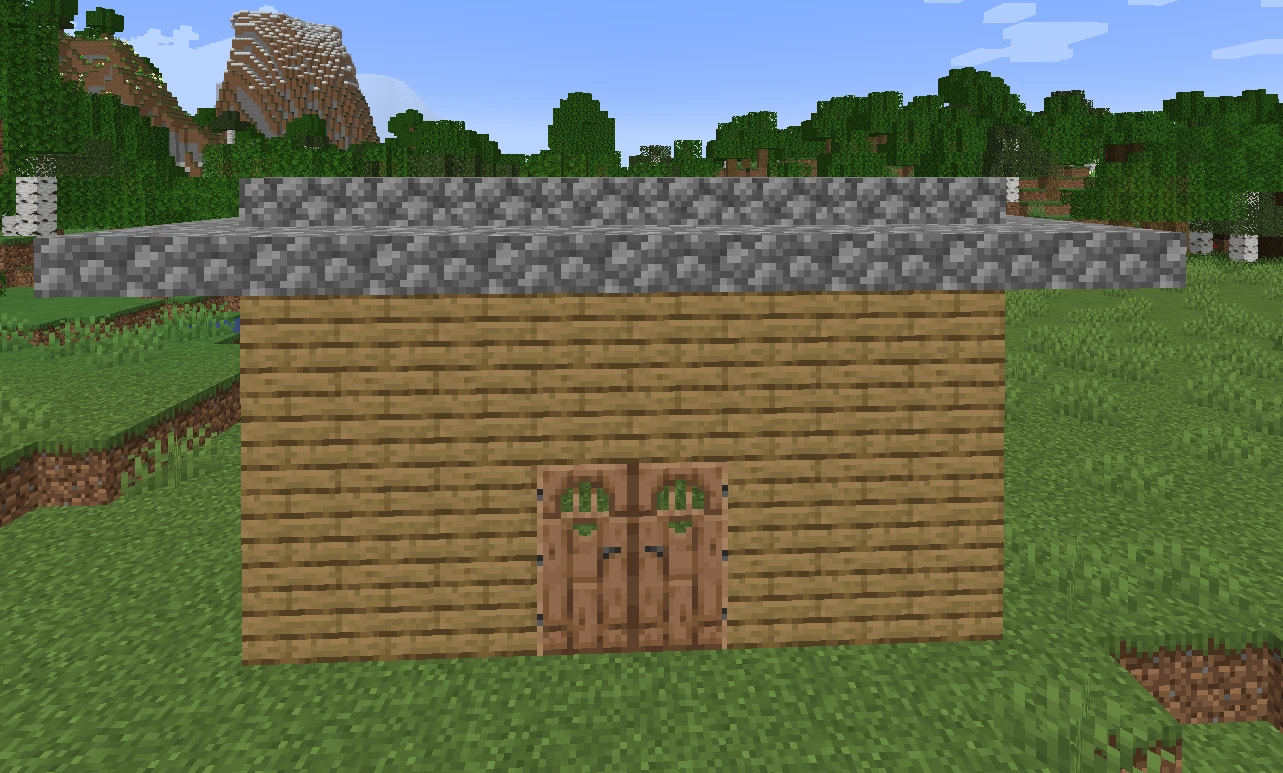
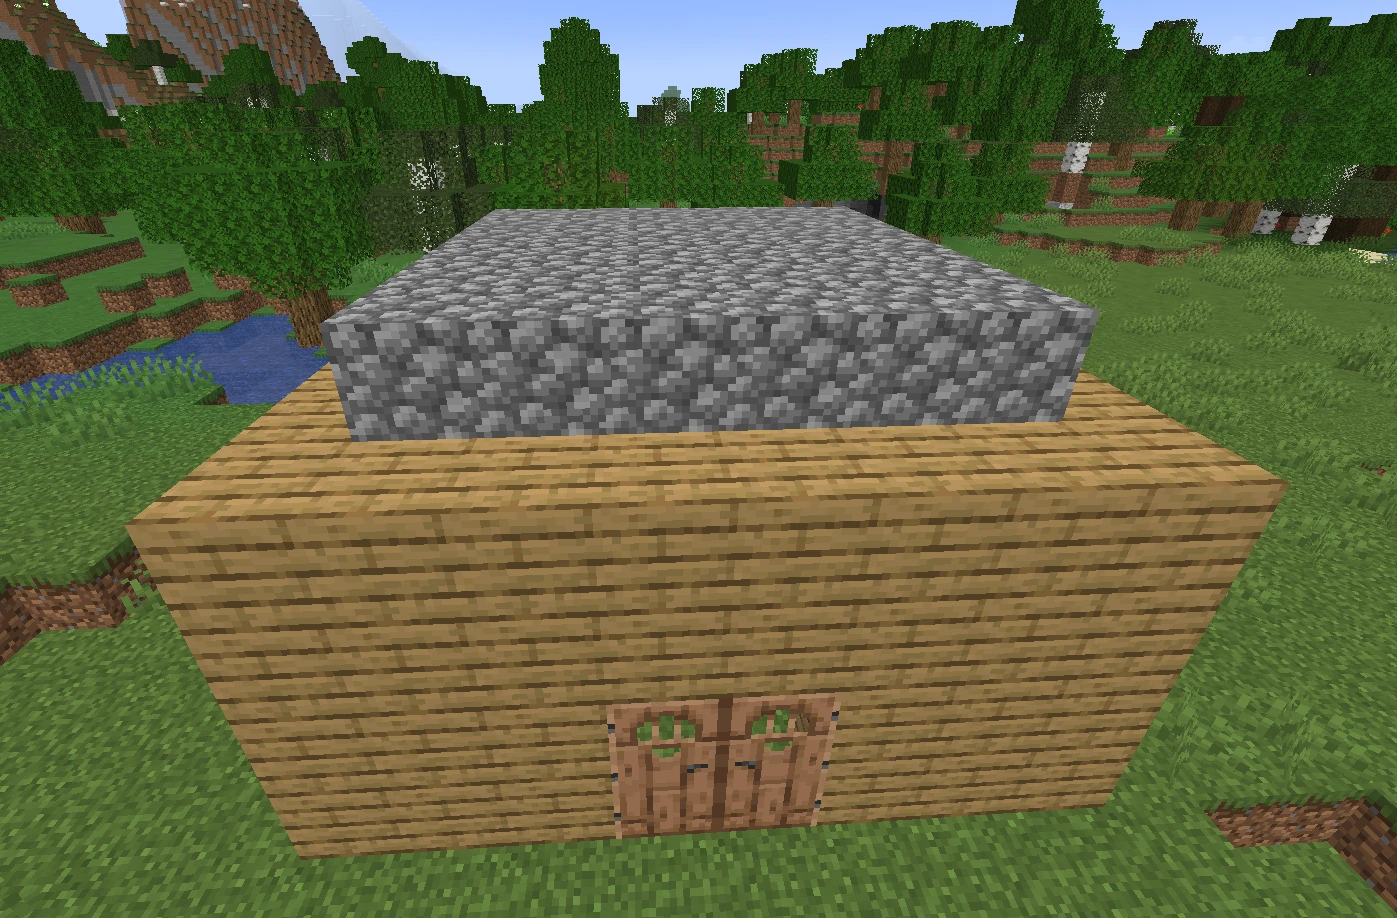
Method 1 (Slabs)
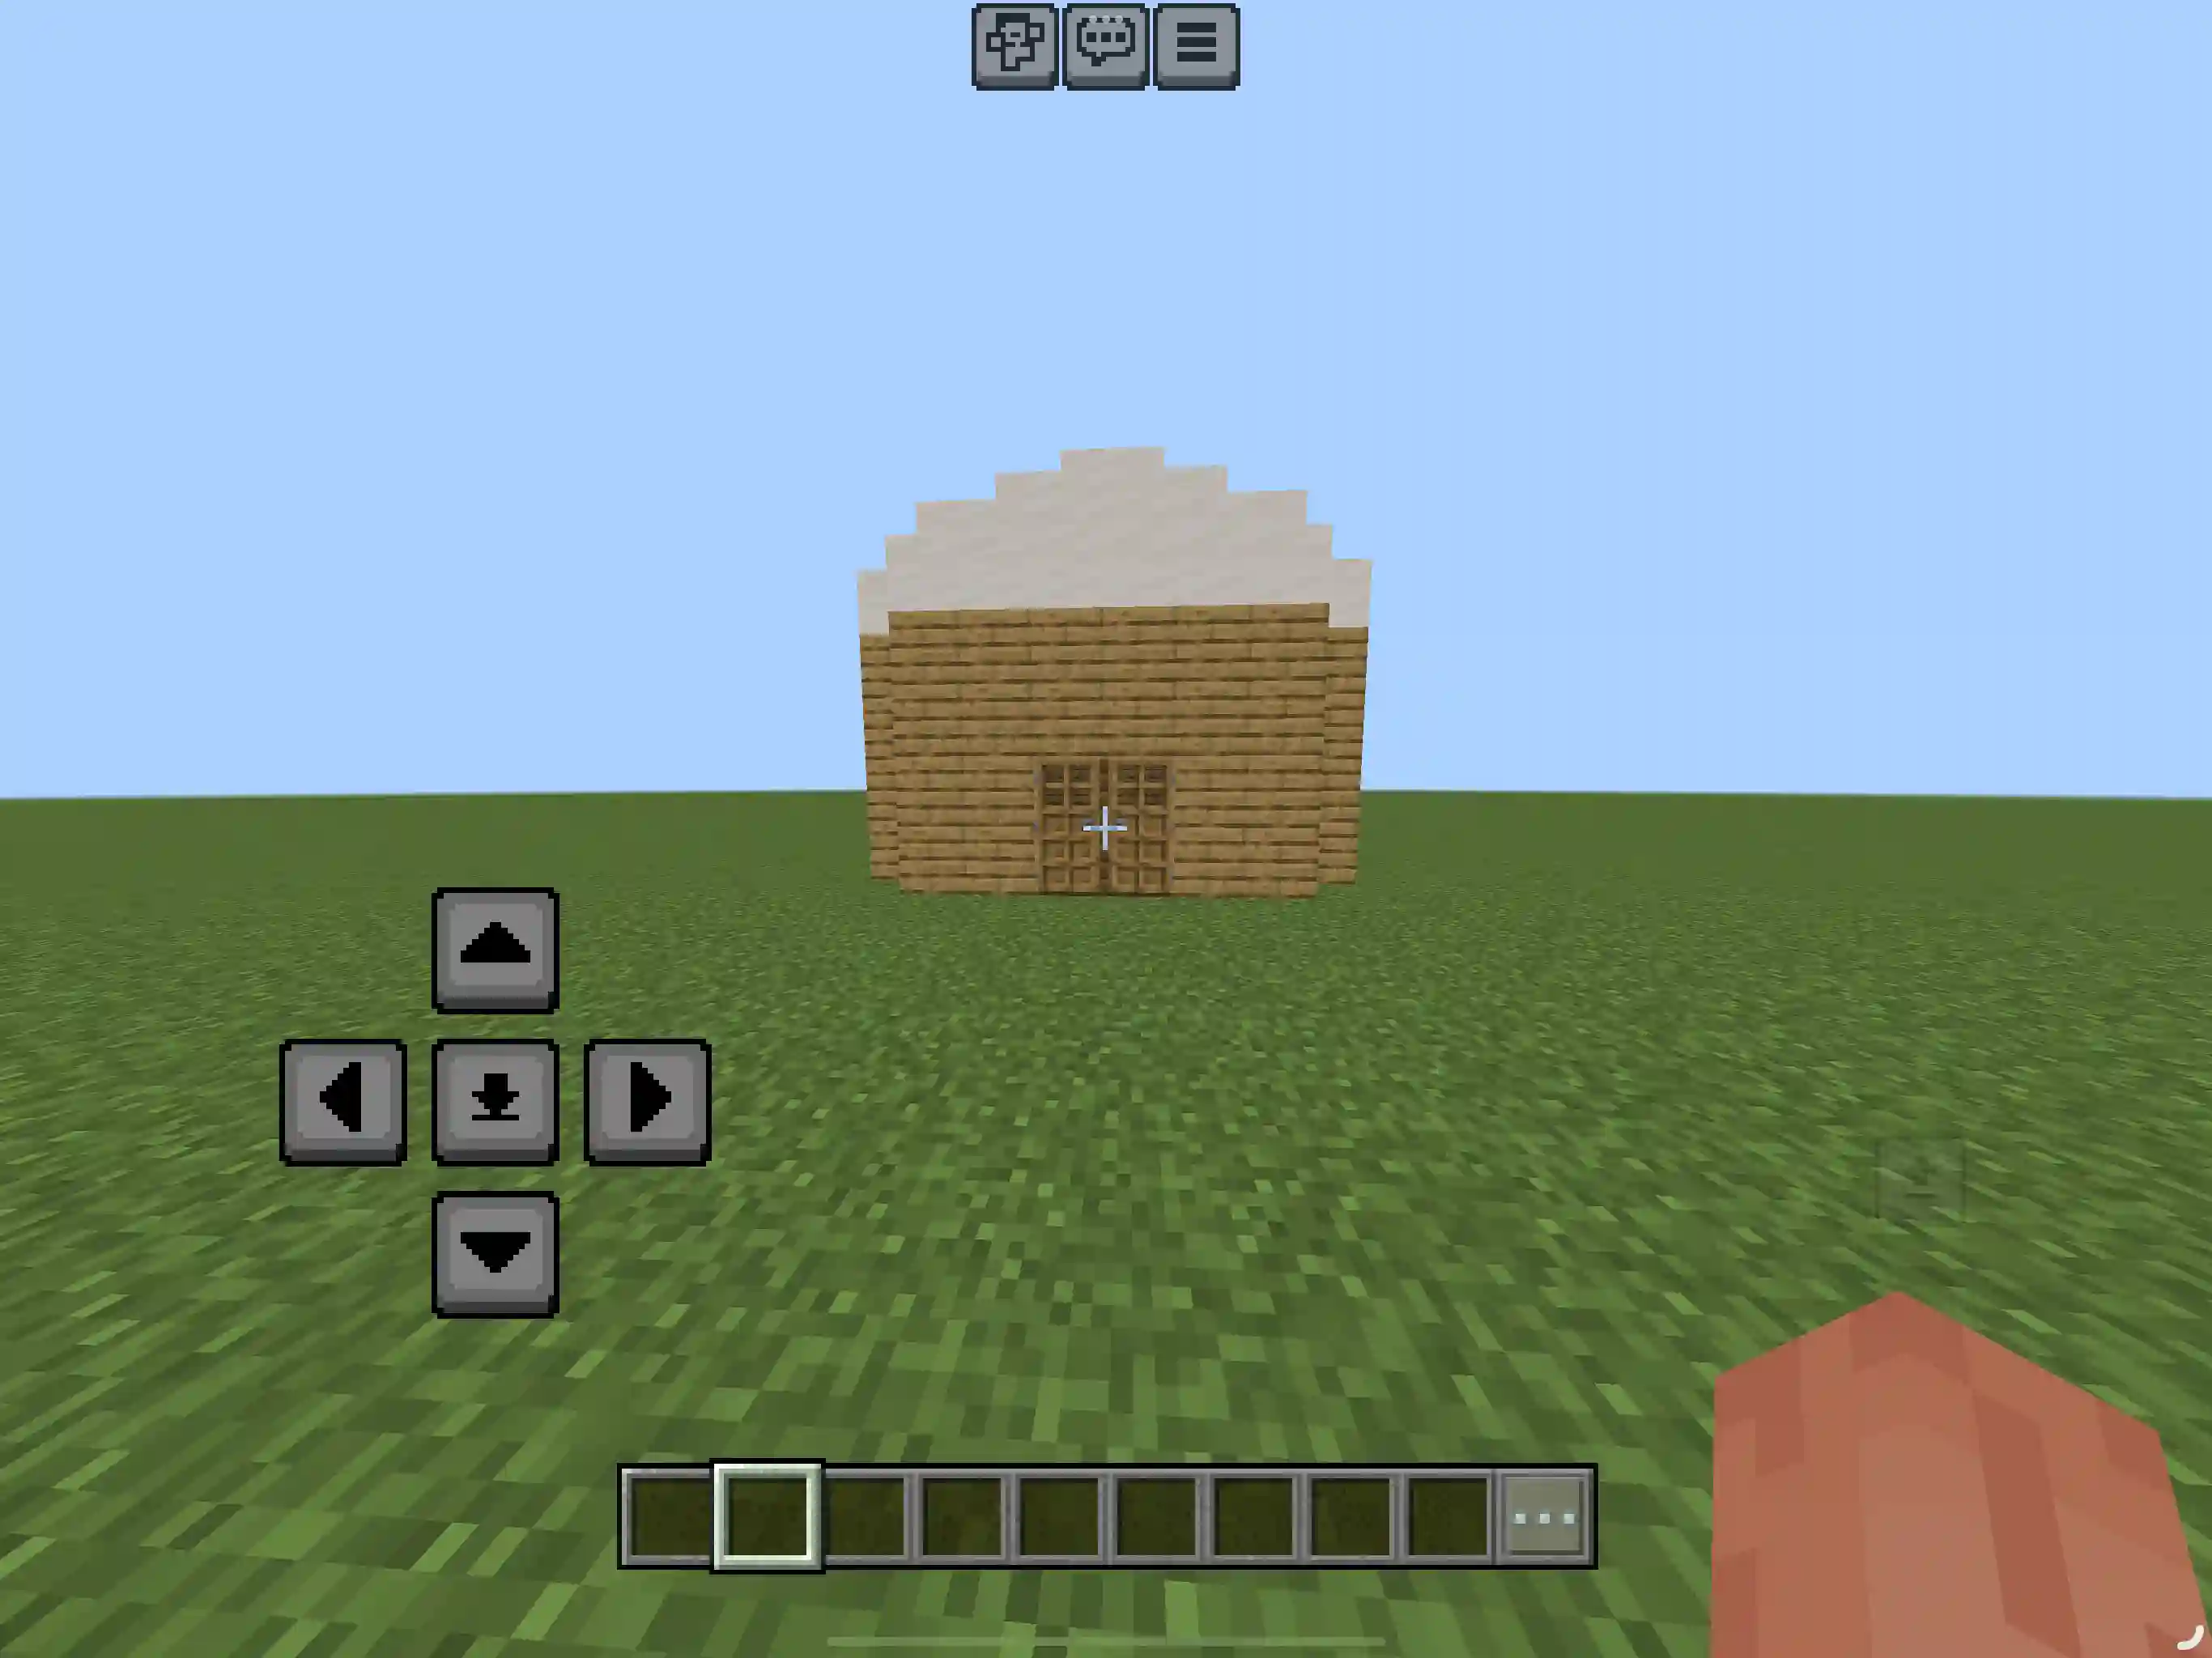
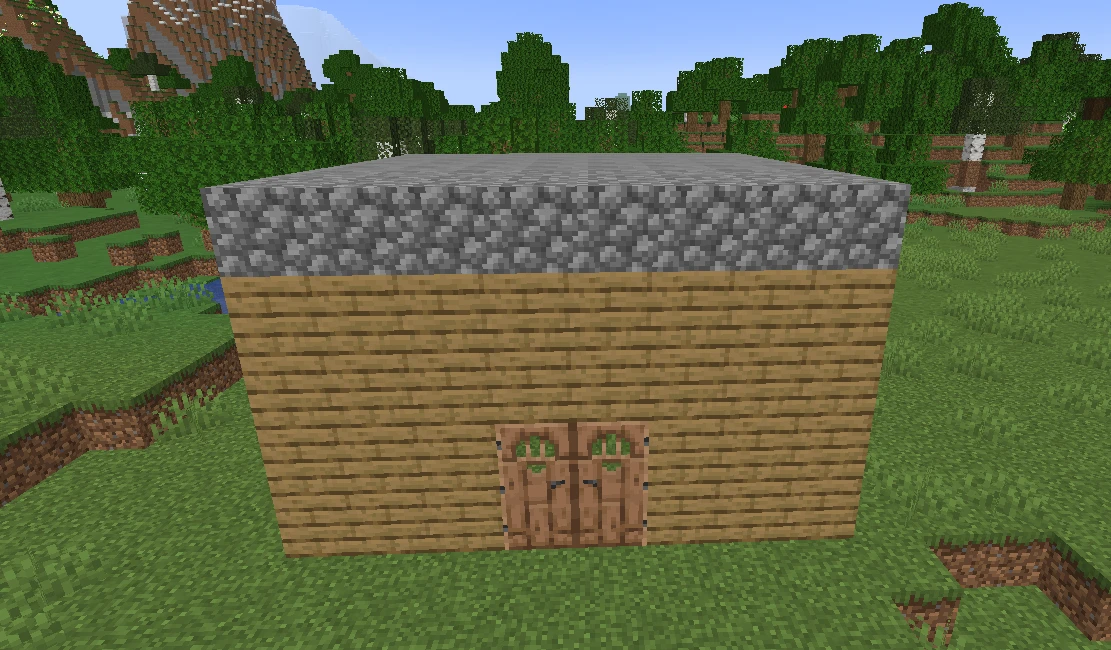
1. Place a simple one layer roof over your house to start.
2. As an overhang add slabs of the same block type around the edge of the house. Make sure you place the slabs towards the bottom of the original roof to generate a nice aesthetic feel.
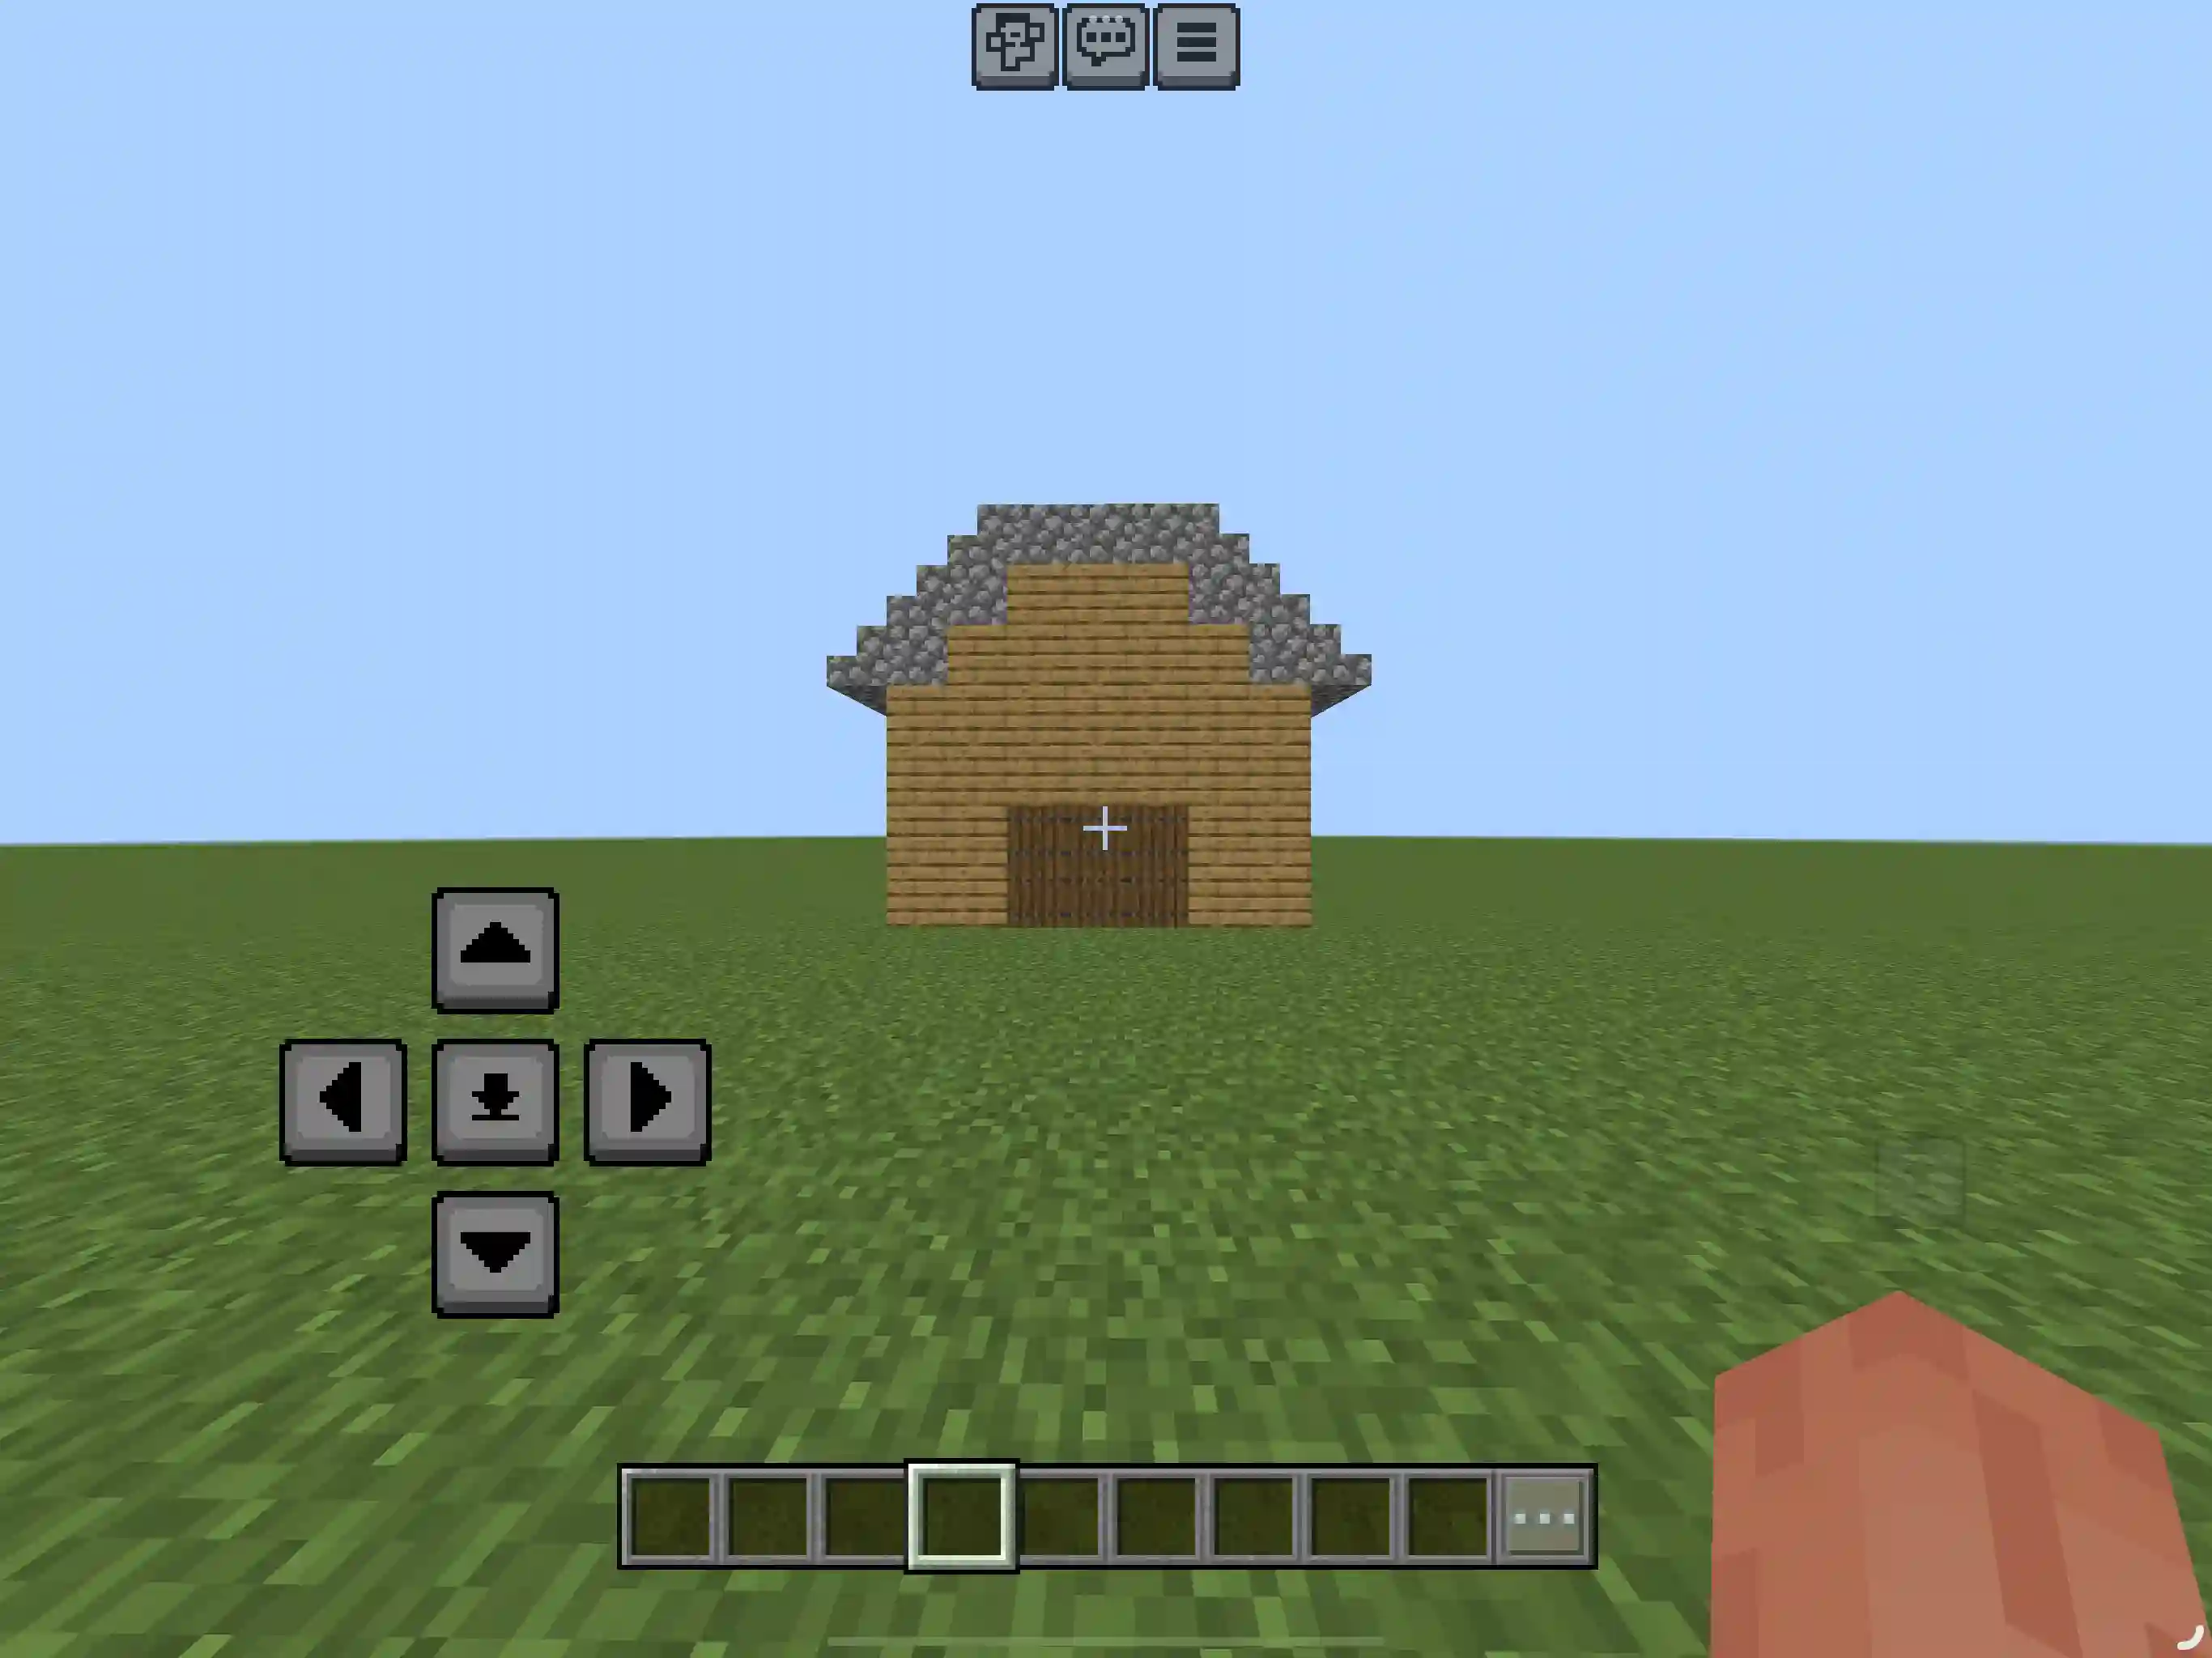
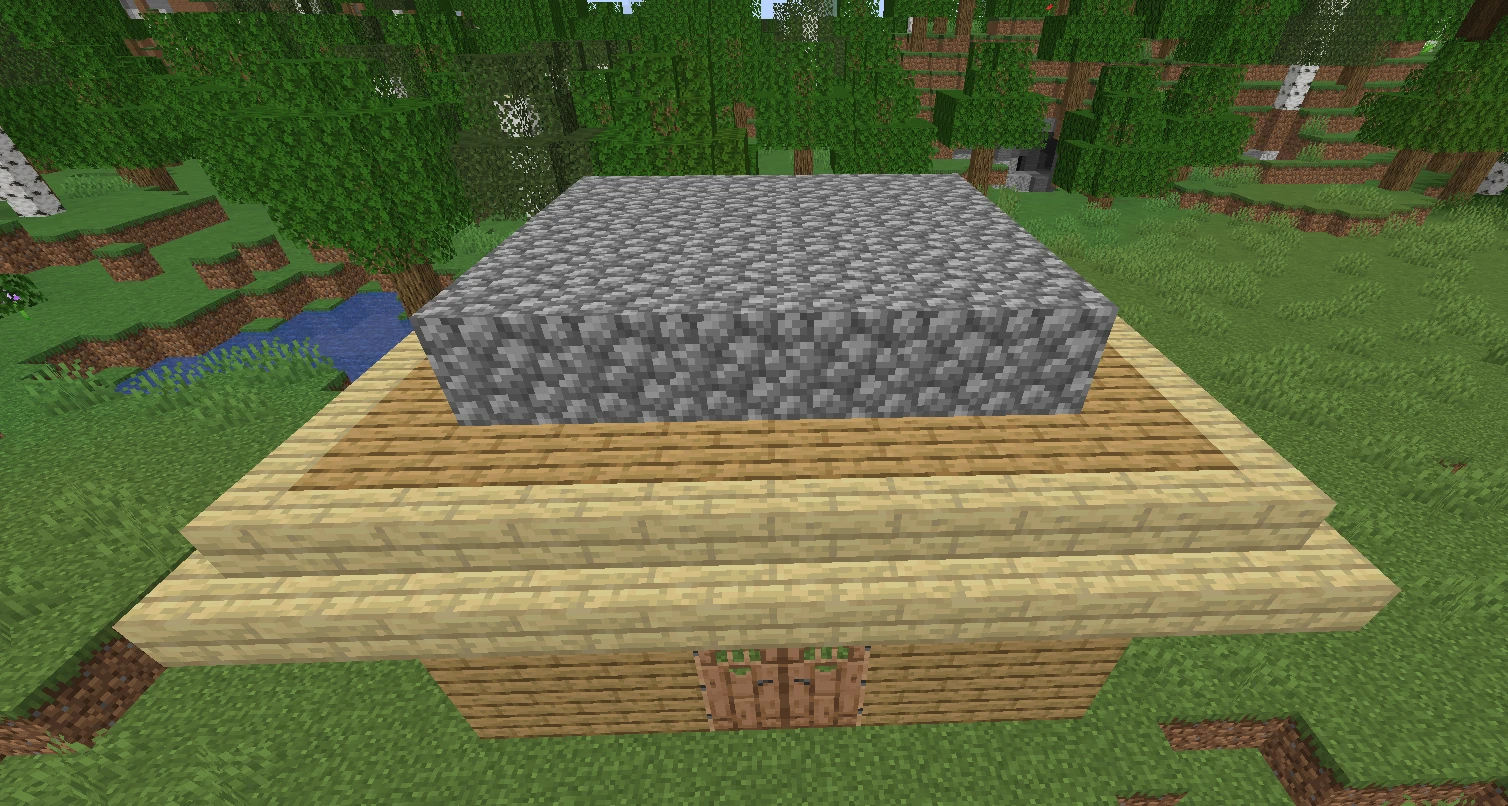
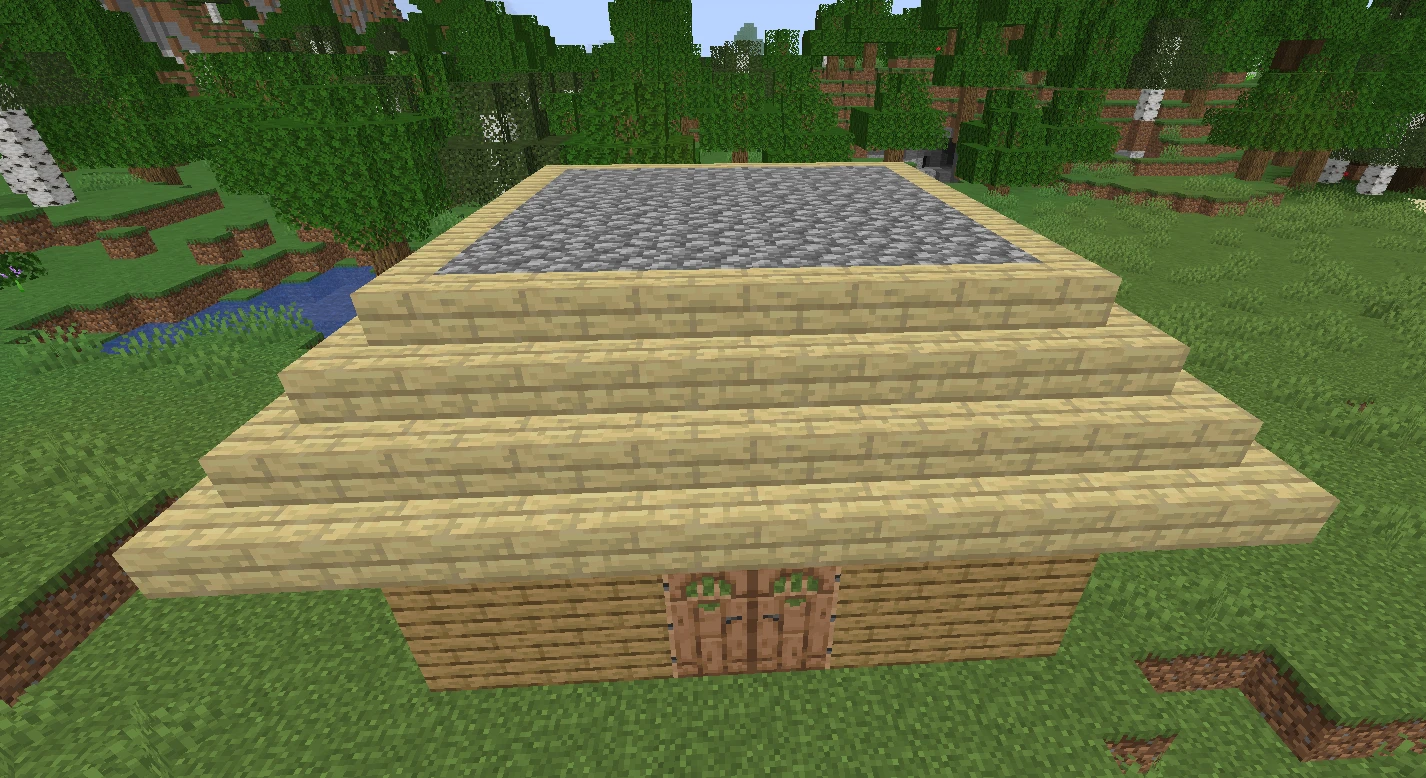
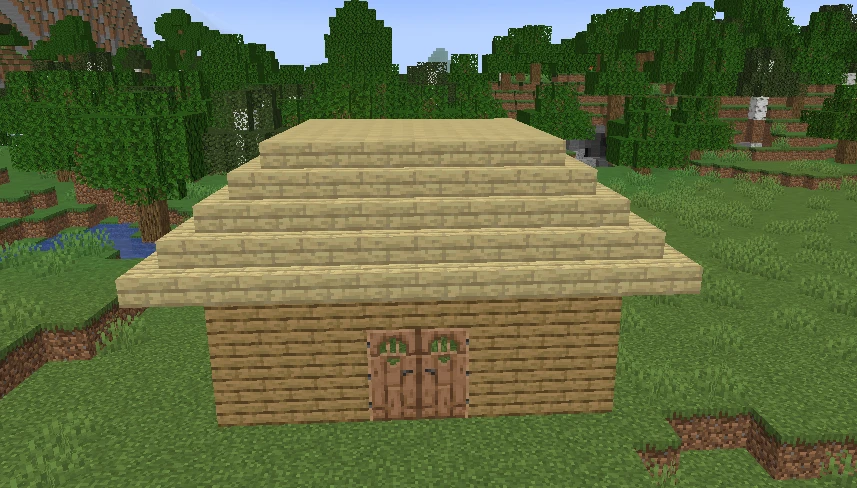
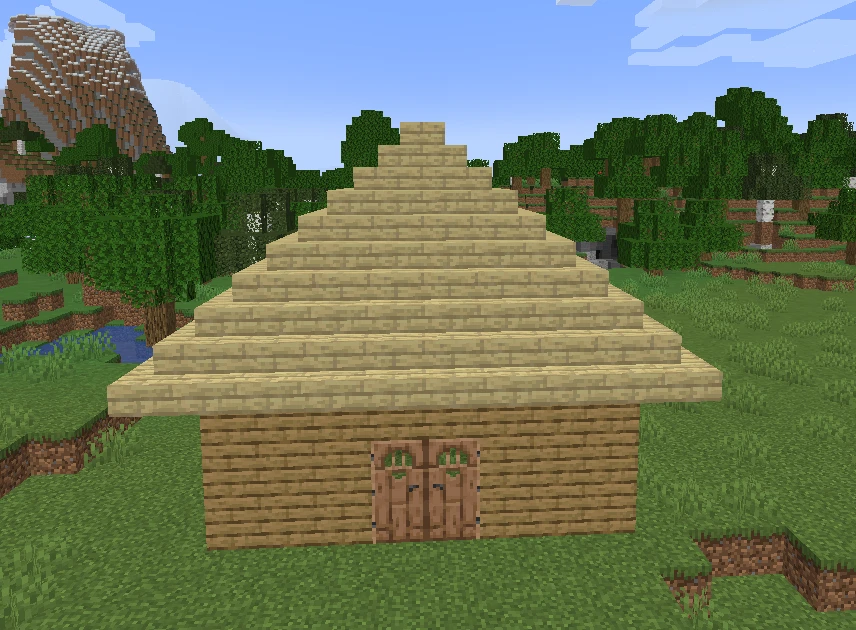
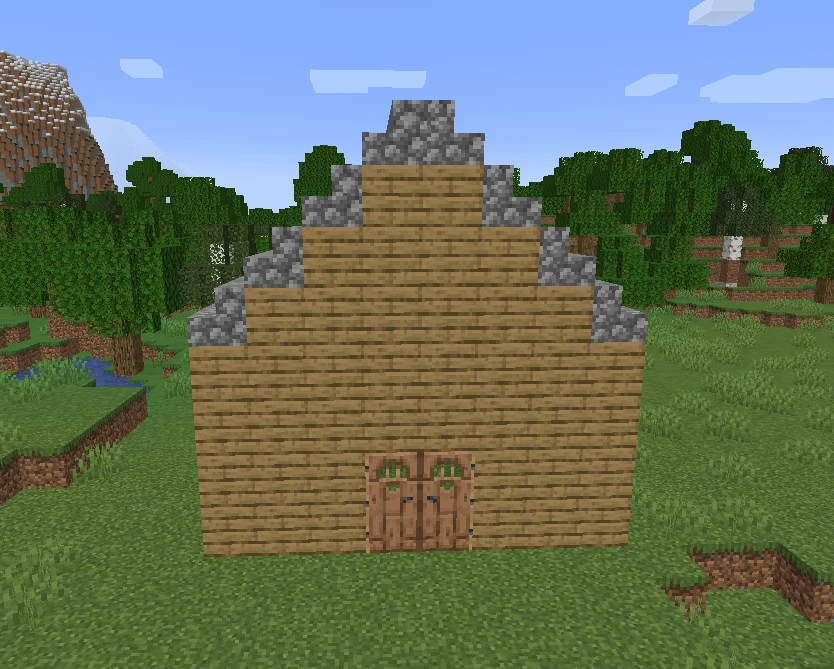
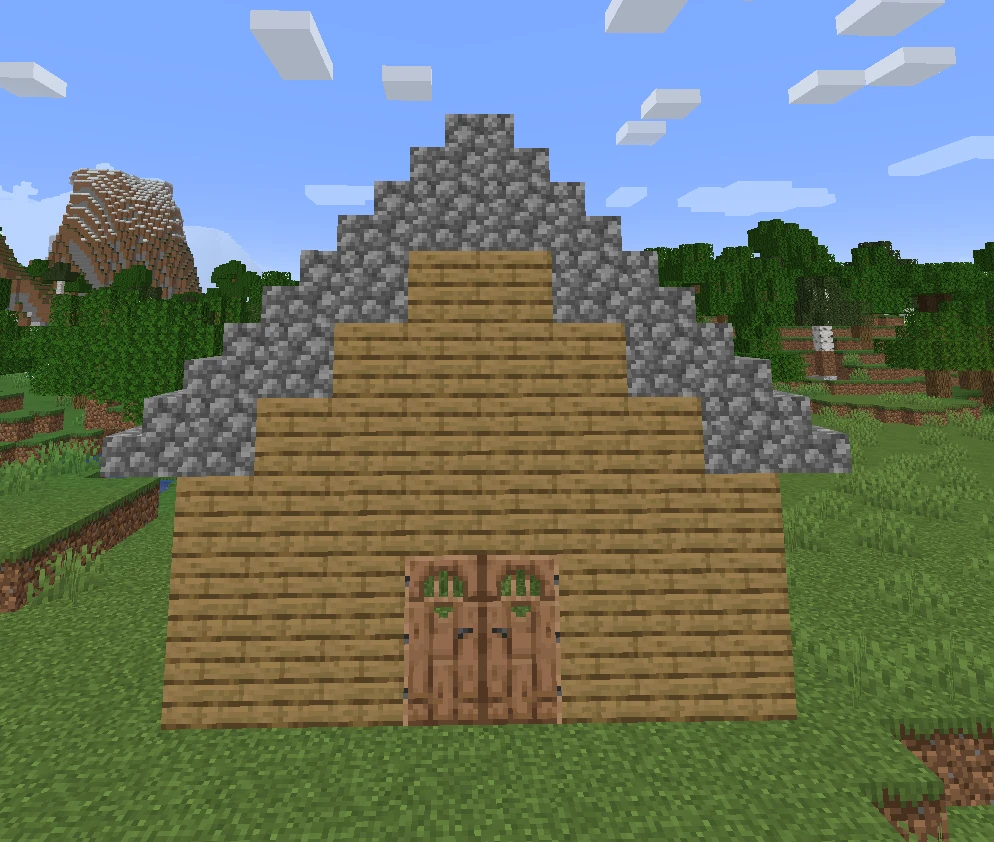
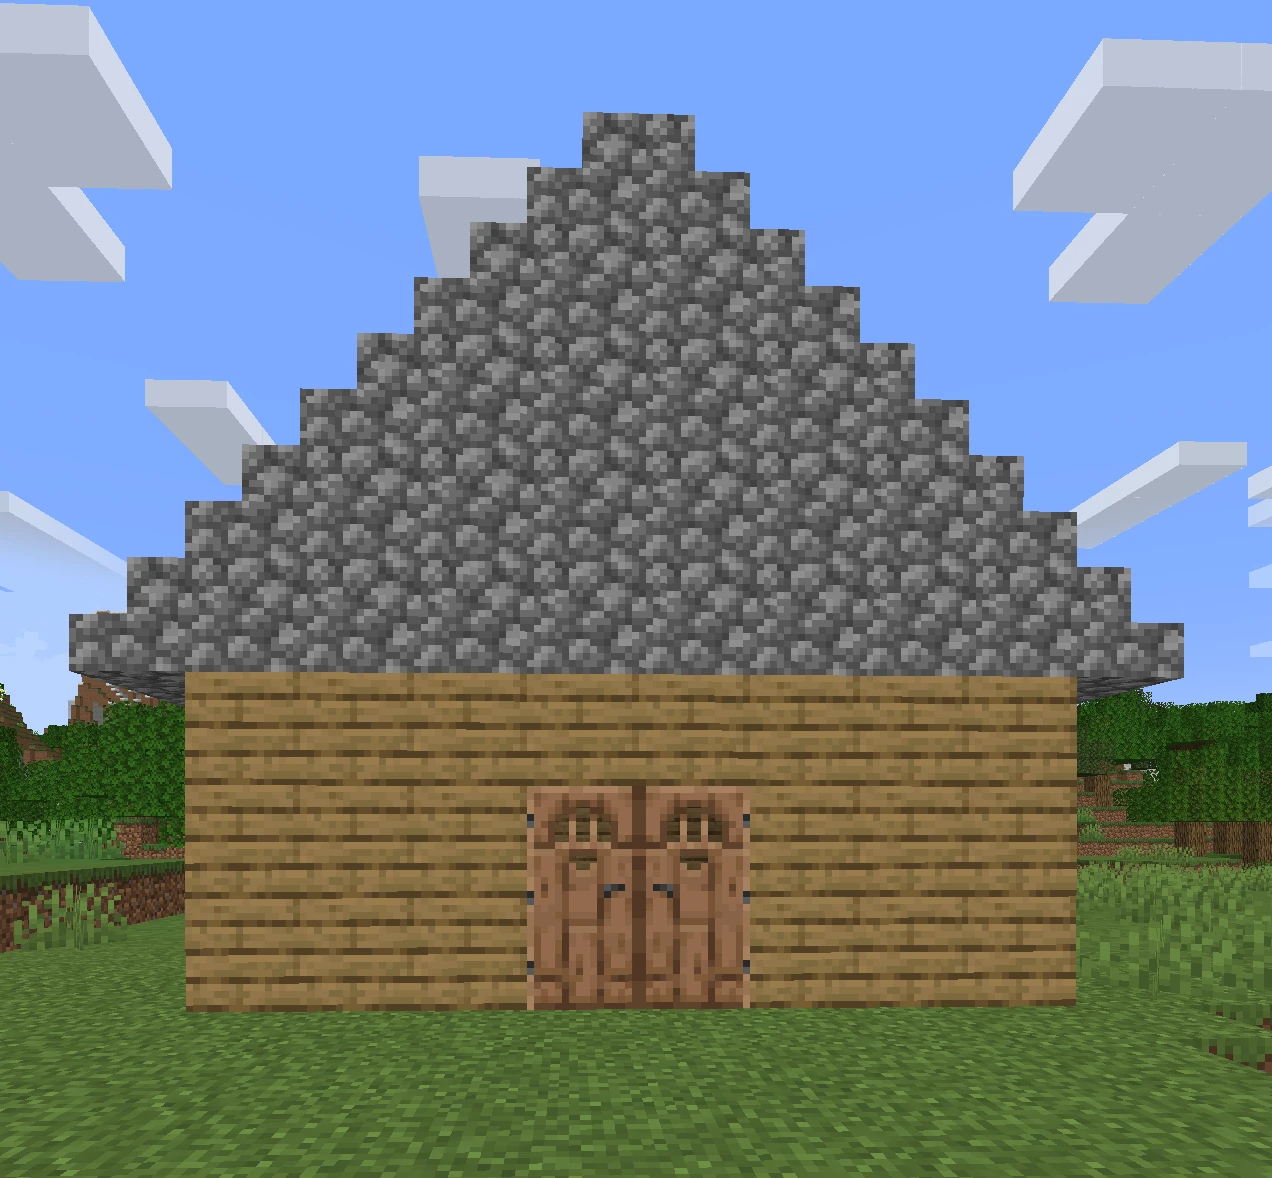
Method 2 (Stairs)
1. Place a simple one layer roof over your house to start.
2. Remove the outer part of the roof. Make sure your house is still completely covered (see images below).
3. Place stairs as an overhang at the edge of the house.
4. Place stairs layer by layer; moving up.
5. Choose either step 6 or 7, not both.
6. Once your roof has reached desired elevation, you can decide to cap it off with slabs.
7. Keep going up and up until you can place more stairs. Be careful as if the dimensions of your roof are not exact (your roof is not square), you would be better off choosing option 1 as your roof.
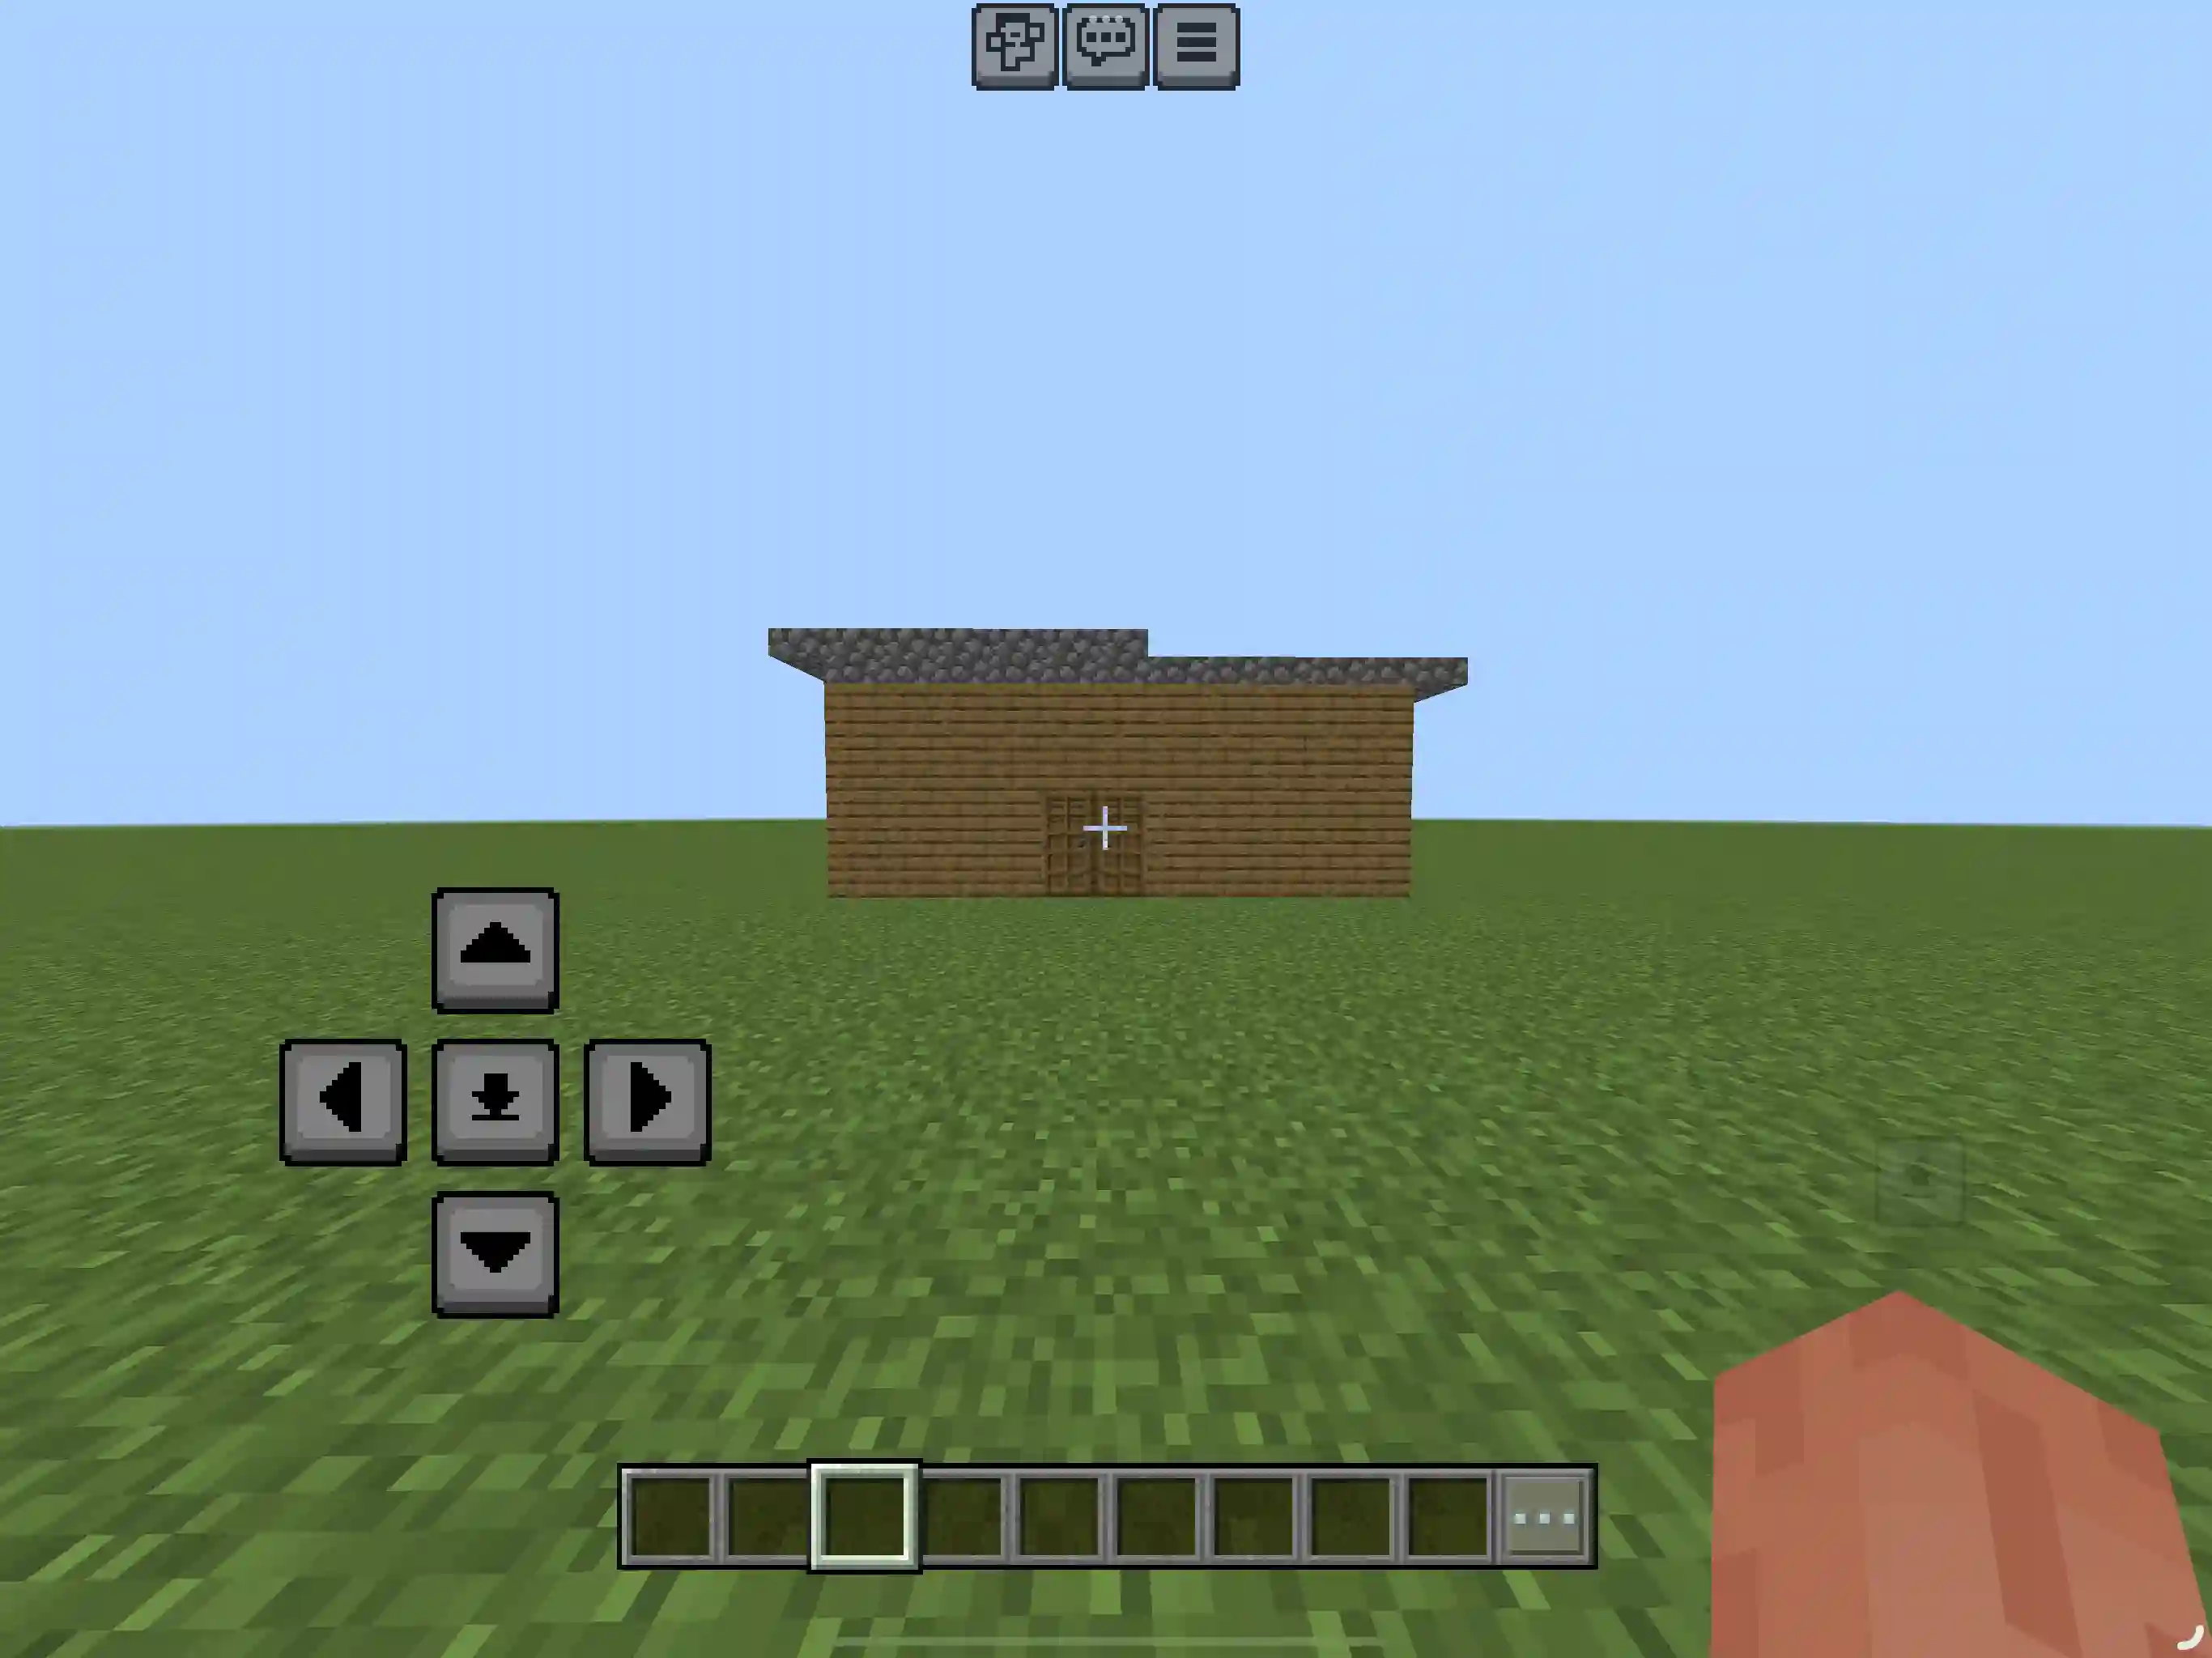
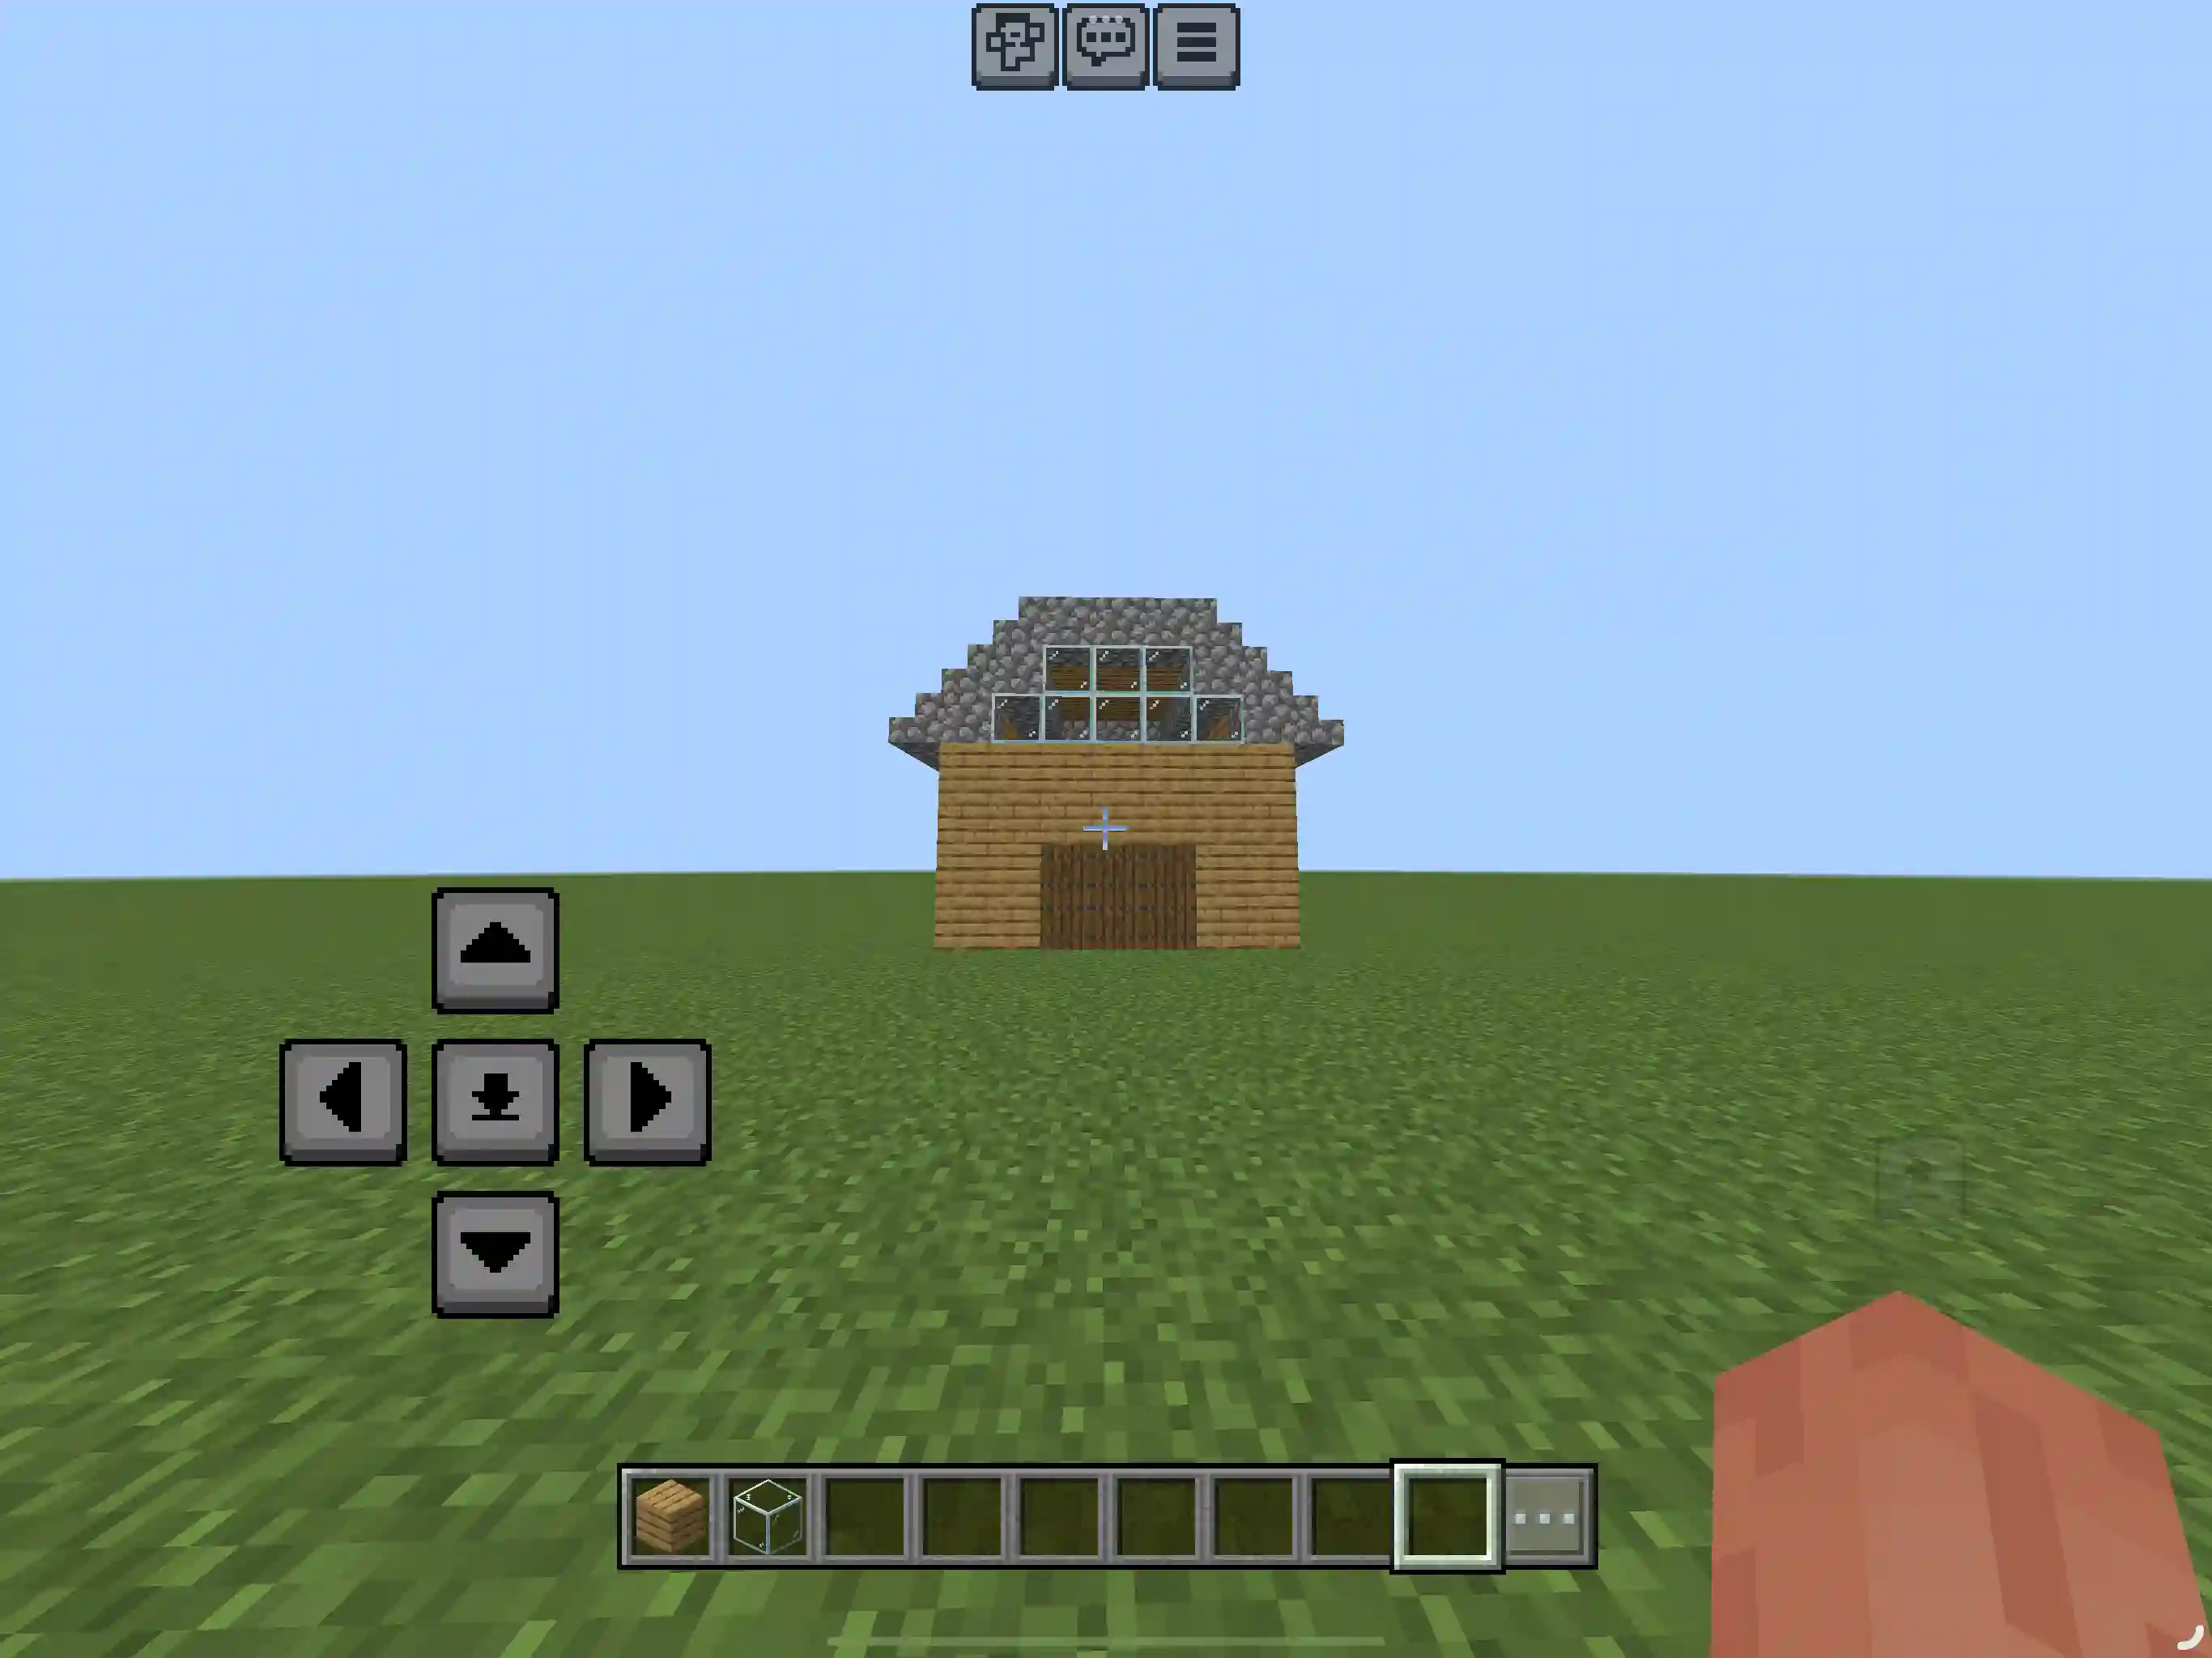
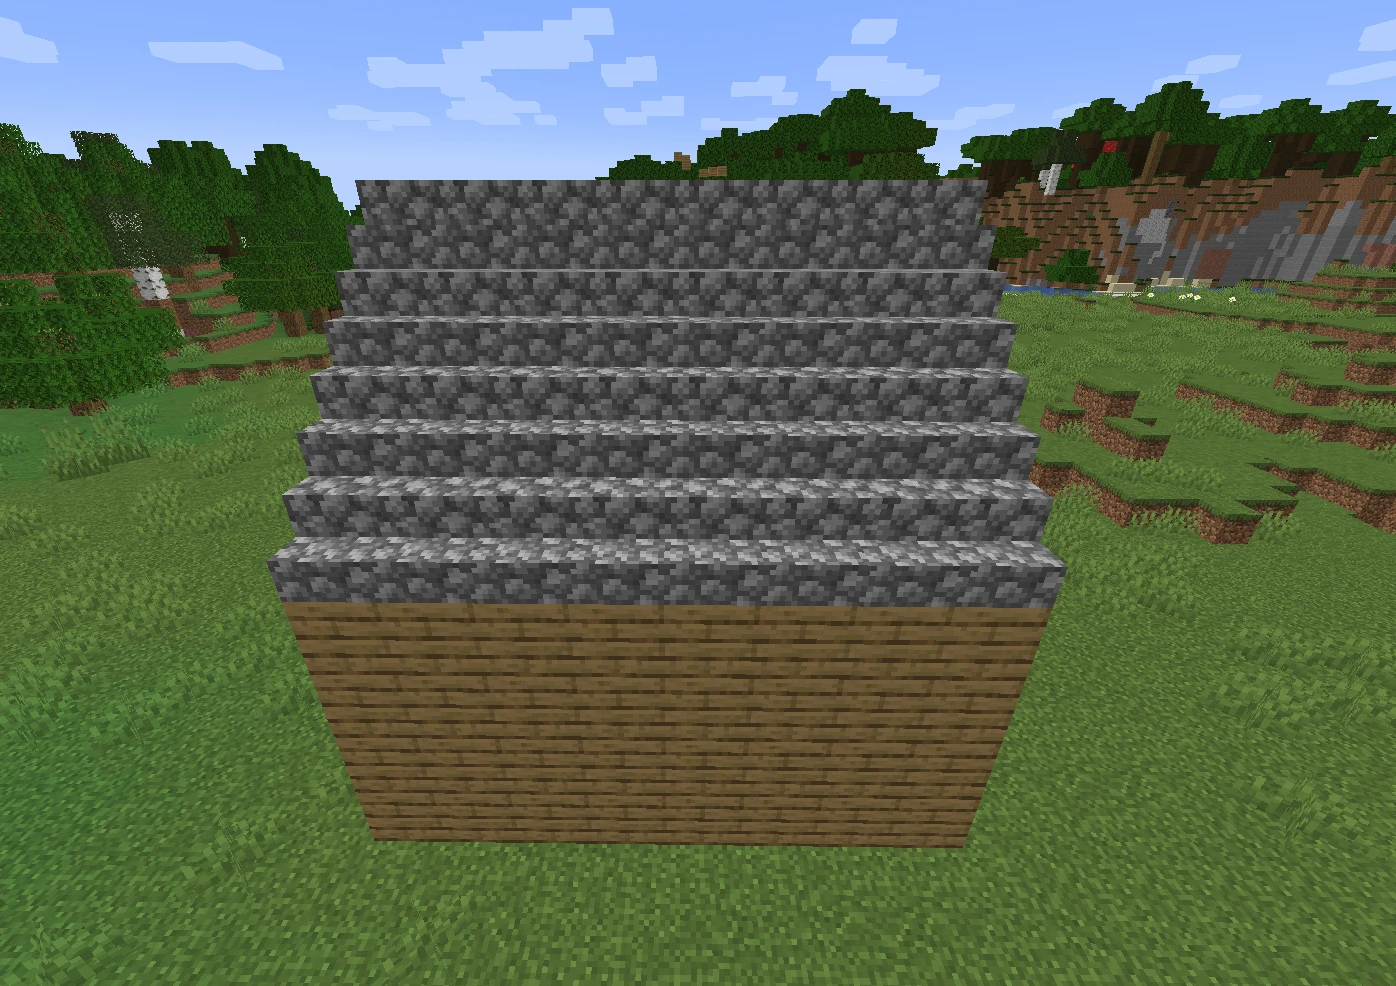
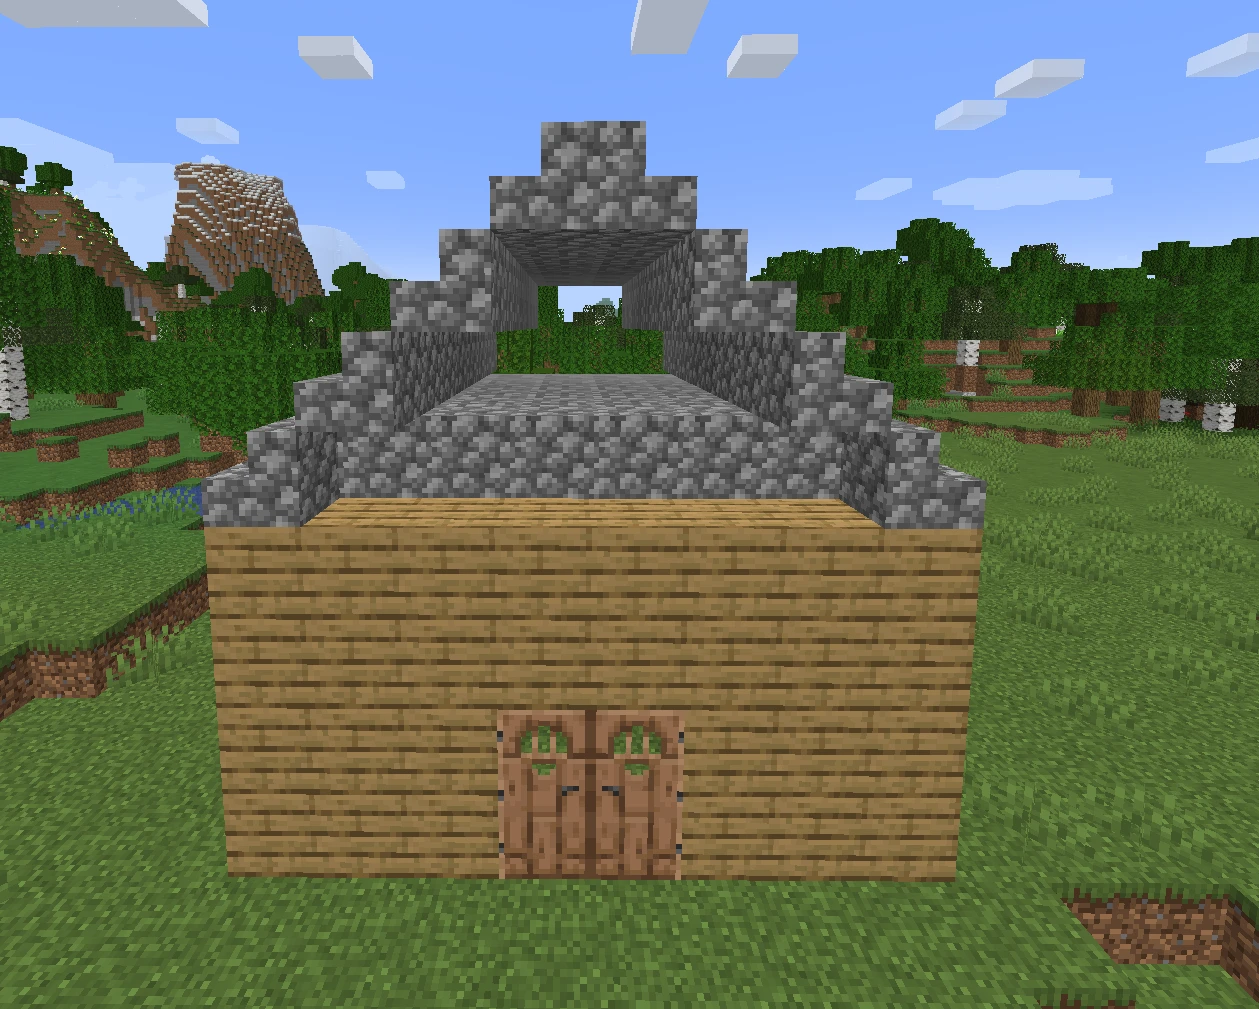
Method 3 (Stairs)
1. Locate the two sides of your house that are neither the front or back (assuming your house is four sided).
2. Begin a staggered stair pattern starting from one side until the halfway point of the house. (see images below).
3. Do the same for the other side.
4. Add aesthetics such as overhang and replace a few blocks to make the roof look nicer.
Conclusion
In Minecraft, roofs are more than just architectural elements—they are opportunities for creativity and expression. Whether you prefer the classic simplicity of a gable roof, the grandeur of a dome roof, or the functionality of a flat roof, understanding different roof types and construction techniques allows you to enhance the visual appeal and functionality of your builds. Experiment with shapes, materials, and decorative elements to create unique and memorable structures in the blocky world of Minecraft. With these varied roof designs and tips at your disposal, you're ready to embark on crafting roofs that elevate your Minecraft creations to new heights. Happy building!
If you liked this blogpost, learn how to get an obsidian in Minecraft.
If you are interested in more Minecraft content, checkout our Minecraft glossary, what horses eat in Minecraft, how to get scutes,
how to get a barrier block, making pumpkin pie, villagers opening doors, getting Acacia wood, and our blogpost on how to kill mobs in Minecraft. You might also like our blogpost on Minecraft Player-vs-Player mode of gameplay. Also checkout and participate in Kodeclik's Minecraft Settlement Creation contest. Also learn about Minecraft MLG.
Want to learn Minecraft modding? Checkout Kodeclik's 1:1 and small group classes.